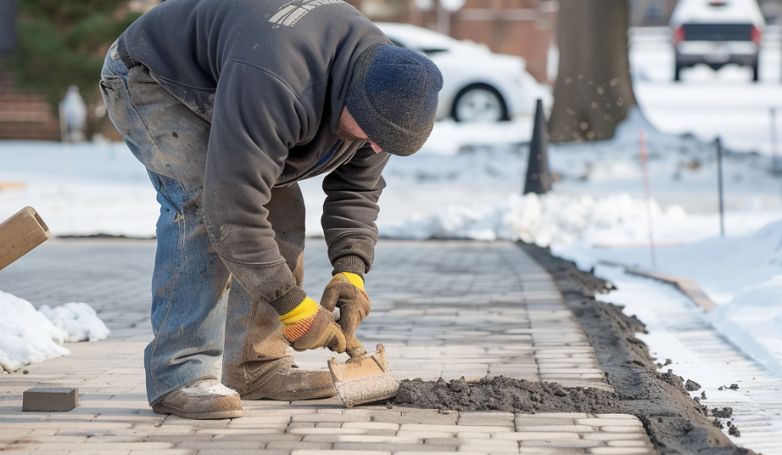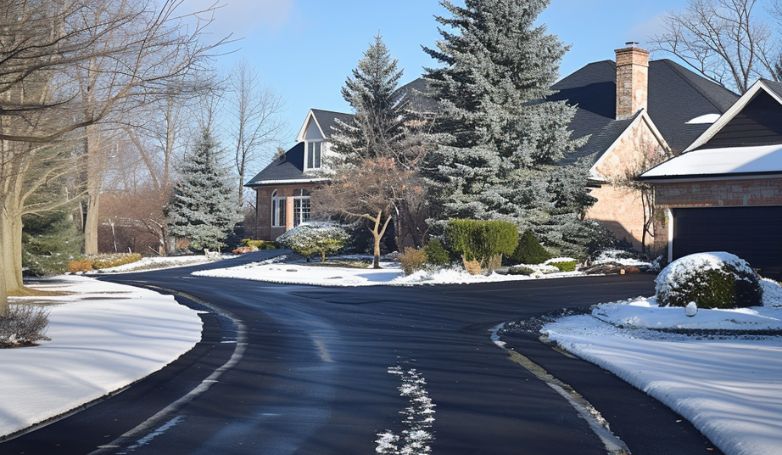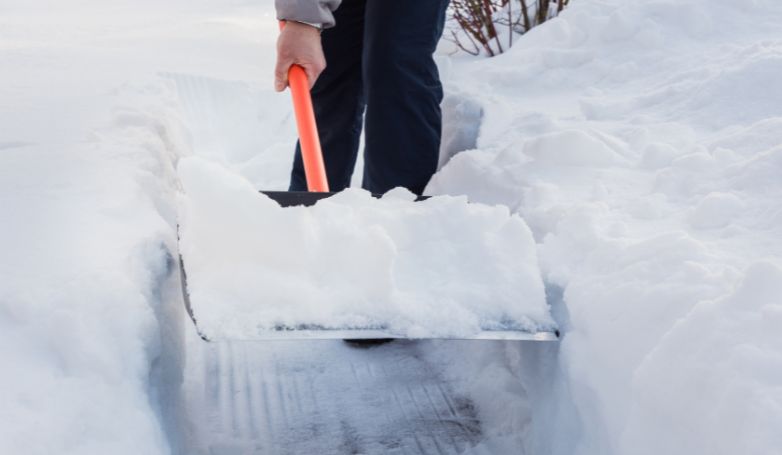
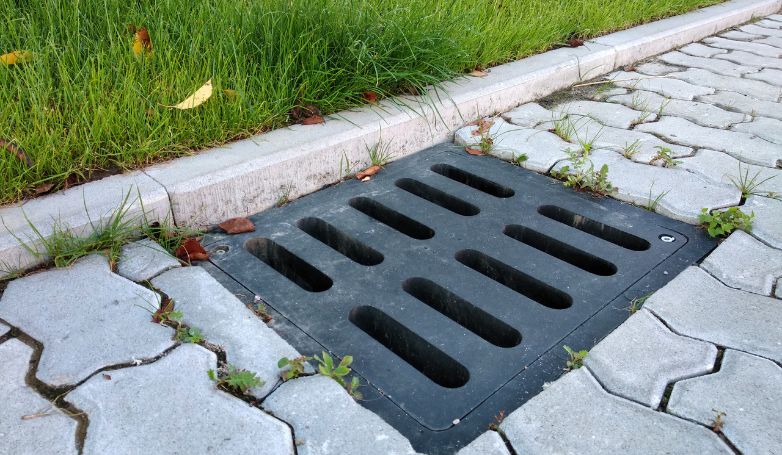
Storm drain repair is essential for preventing flooding and maintaining efficient water flow in urban areas. Timely maintenance ensures the longevity and functionality of drainage systems.
Storm drain repair involves inspecting and fixing damages within the drainage system, such as blockages, cracks, or wear and tear. Regular maintenance is crucial to prevent water buildup and protect roadways and properties from water damage. By addressing issues promptly, cities can avoid costly repairs and ensure public safety and environmental protection.
Discover the importance of regular storm drain maintenance and the best practices for ensuring a reliable and effective drainage system.
Identifying Common Problems with Storm Drains

Storm drain systems play a crucial role in urban infrastructure by managing rainwater runoff, but they can face several challenges that impact their effectiveness and longevity.
Blockages
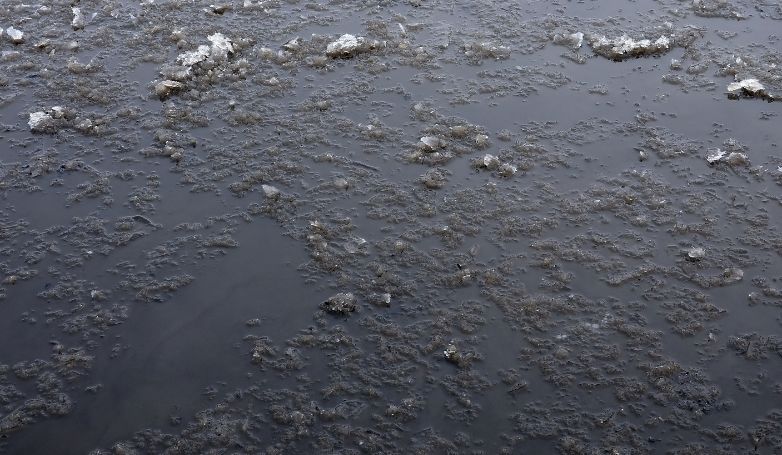
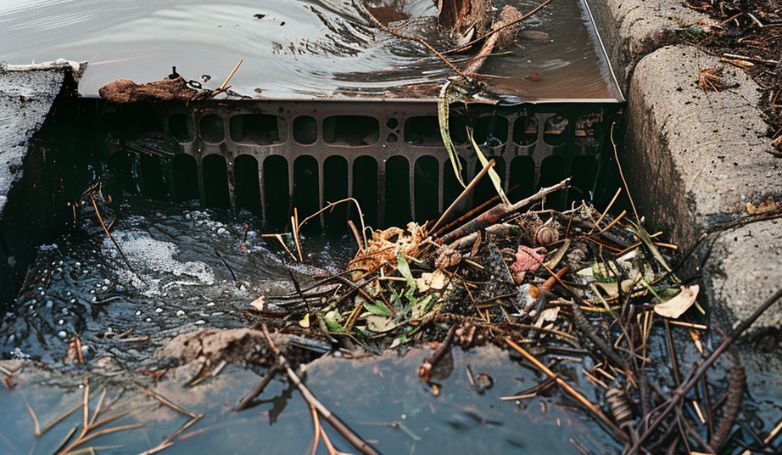
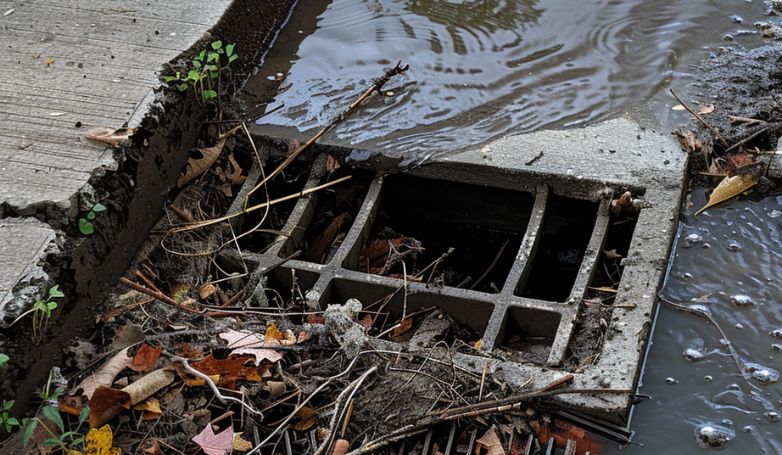
Blockages are a primary concern for rain drain systems, often caused by accumulated debris such as leaves, trash, and sediment. These obstructions impede water flow, leading to potential flooding and property damage. Regular cleaning and public awareness campaigns about not disposing waste into drains are vital for mitigating this issue and ensuring efficient drainage.
Structural Damage
Structural damage, including cracks, breaks, and joint displacements, can compromise the system’s integrity. Causes range from natural aging to ground movement and heavy vehicular traffic. Timely inspections and repairs are crucial to prevent minor damages from escalating into major infrastructure failures, potentially leading to extensive and costly repairs.
Inefficient Design and Water Flow Issues
Inadequate design and construction of storm drain systems can lead to inefficient water flow, resulting in standing water and flooding. This problem is often seen in older or poorly planned urban areas where drainage was not adequately considered. Retrofitting with modern design principles and technologies is essential to enhance capacity and adapt to changing environmental conditions.
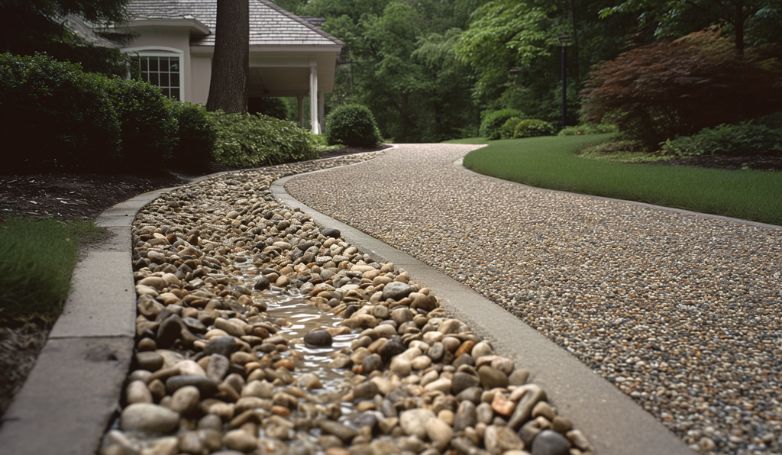
Outlet and Inlet Erosion
Erosion, inlets and outlets can lead to significant problems, including undermining nearby structures and sediment accumulation within the drainage system. Factors contributing to erosion include high flow velocities and lack of protective measures. Implementing erosion control techniques, such as riprap or vegetative buffers, can mitigate these effects and protect the integrity of the drainage infrastructure.
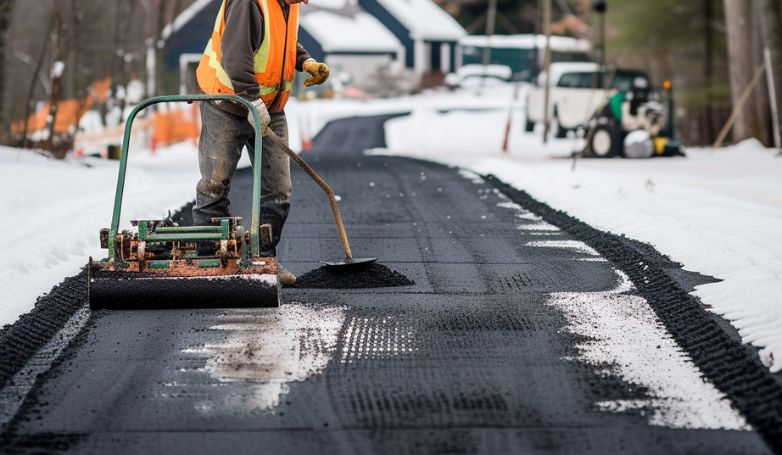
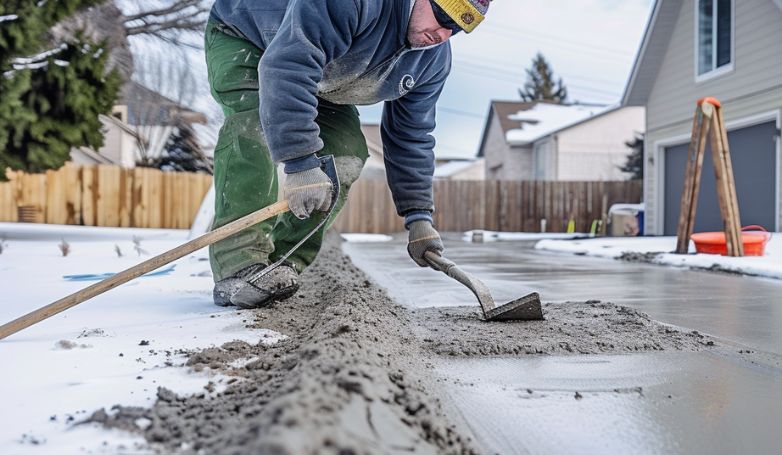
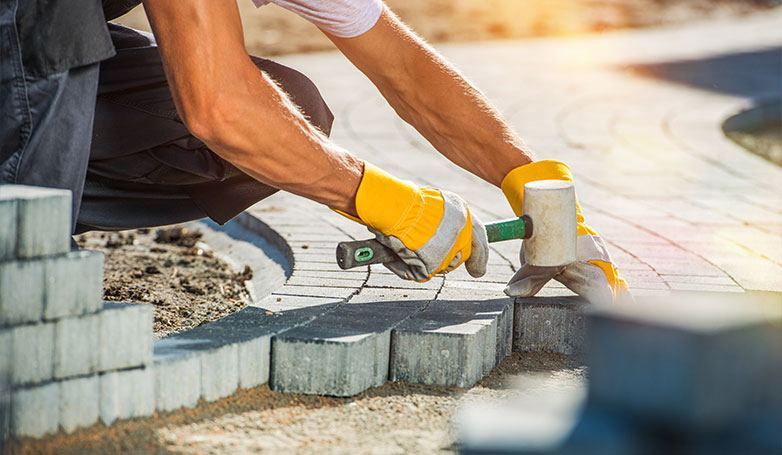
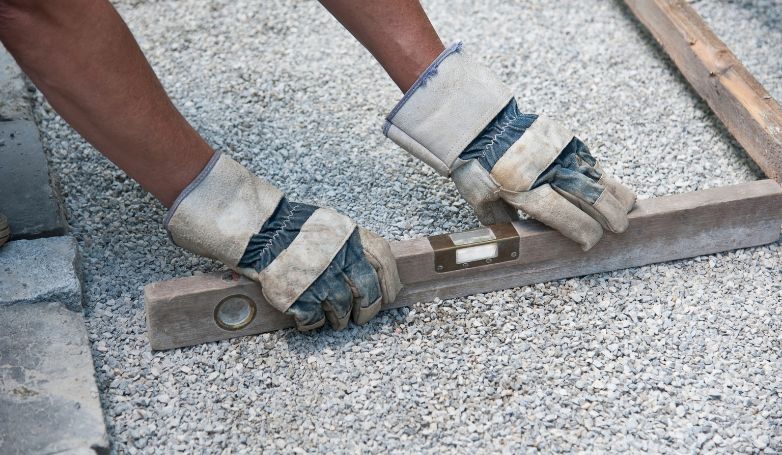
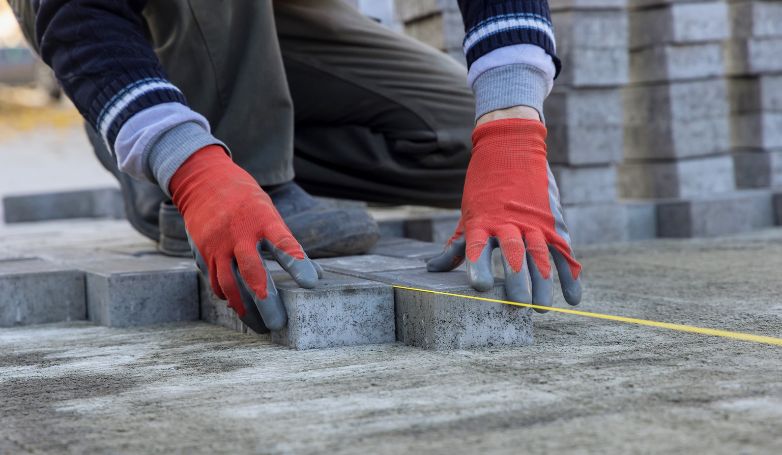
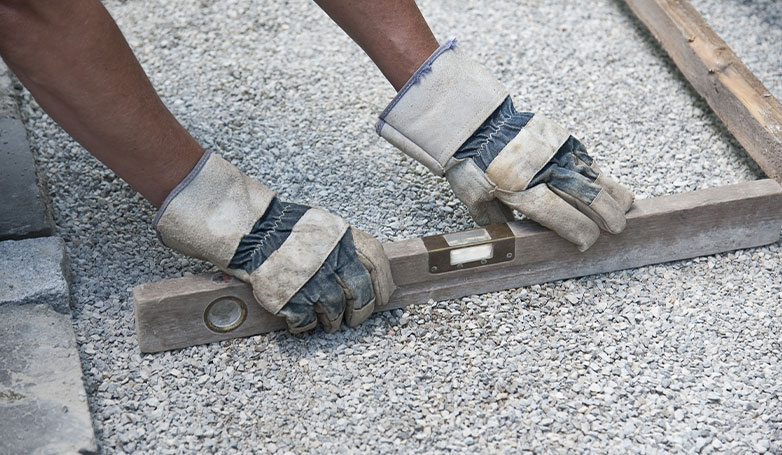
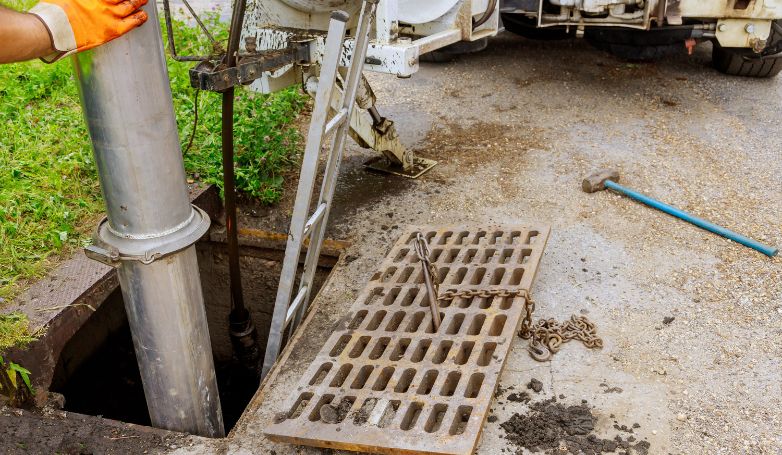
Step-by-Step Storm Drain Repair Process
Here are the detailed steps involved in the repair process:
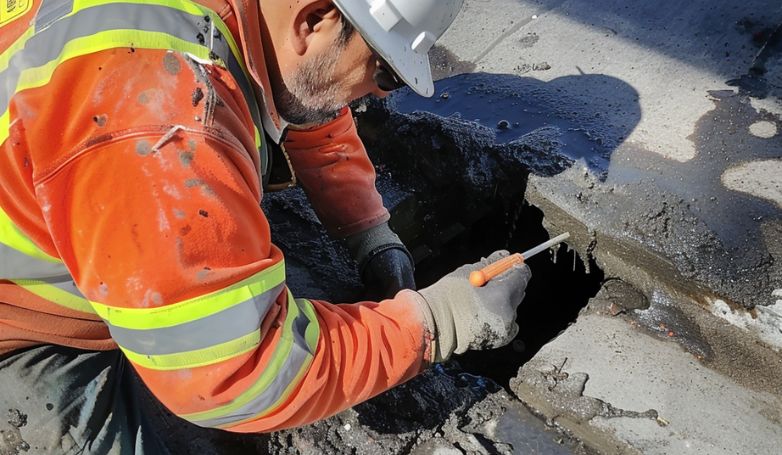
1. Conduct a Visual Inspection
This crucial step involves examining the drain’s surface, inlets, outlets, and accessible parts for any indications of blockages, structural damage, erosion, or wear. Inspectors look for cracks in the concrete, signs of sediment buildup, debris accumulation, and any other irregularities that could impair the drain’s functionality.
This initial assessment helps in determining the extent of the issues and prioritizing the repair needs, setting the stage for more detailed investigations and remediation actions.
2. Perform a CCTV Inspection for Underground Pipes
Following the visual inspection, a Closed-Circuit Television (CCTV) inspection is conducted for a more detailed examination of underground storm drain pipes. This sophisticated technique involves inserting a camera into the drainage system to capture real-time video footage of its internal conditions.
The CCTV inspection helps identify hidden problems such as internal blockages, pipe collapses, cracks, root intrusion, and other structural or operational issues that are not visible from the surface.
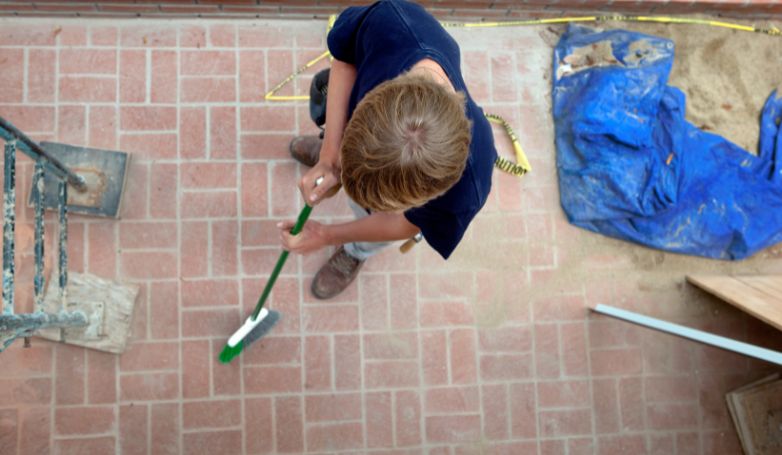
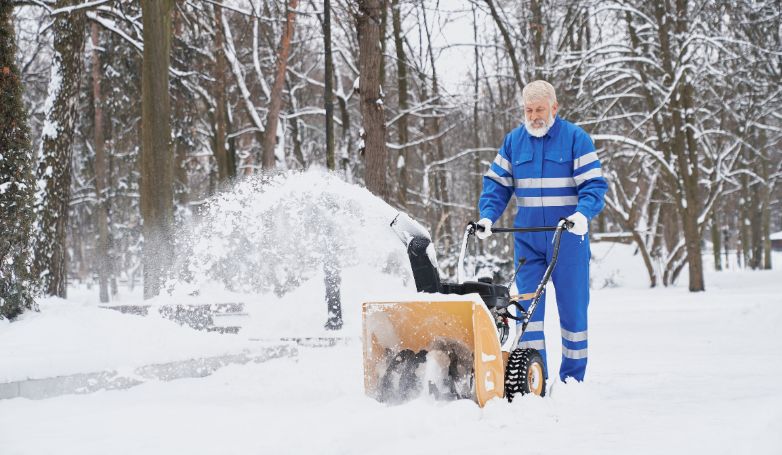
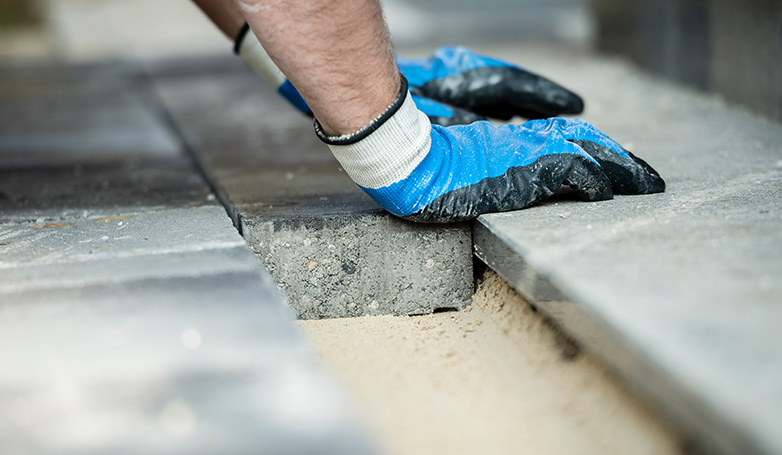
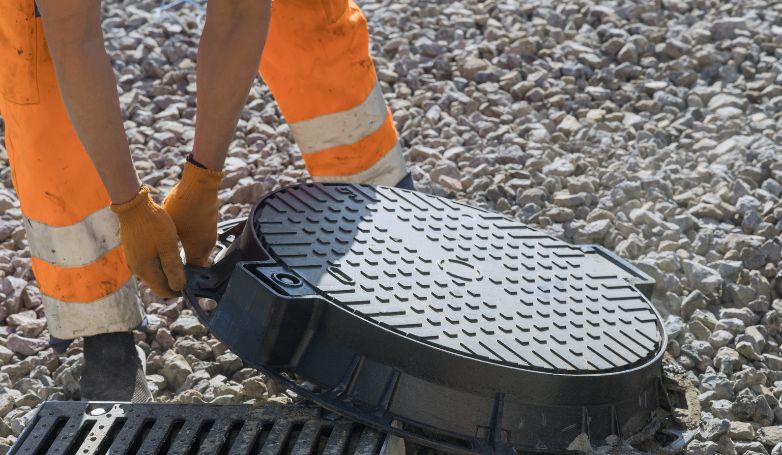
3. Manually Remove Surface Debris
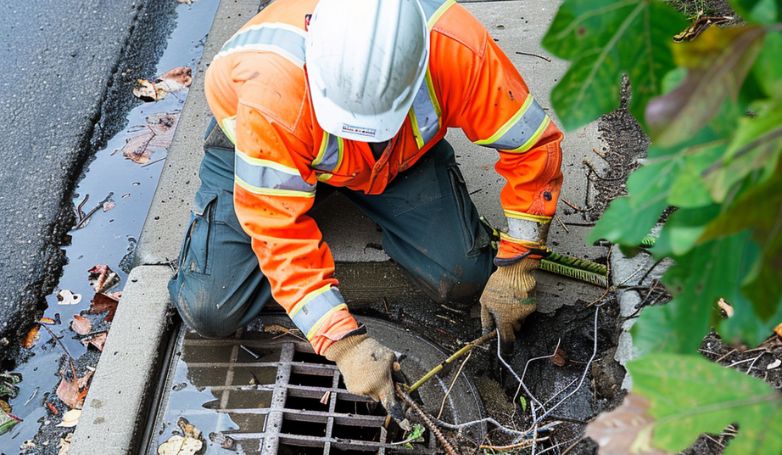
This involves clearing leaves, trash, twigs, and other debris that have accumulated around the storm drain inlets and grates. This task is essential for preventing blockages that can lead to water buildup and flooding.
Manual removal is a straightforward but critical maintenance activity that ensures the storm drain system remains functional and efficient, particularly before and after heavy rainfalls, to maintain optimal drainage performance.
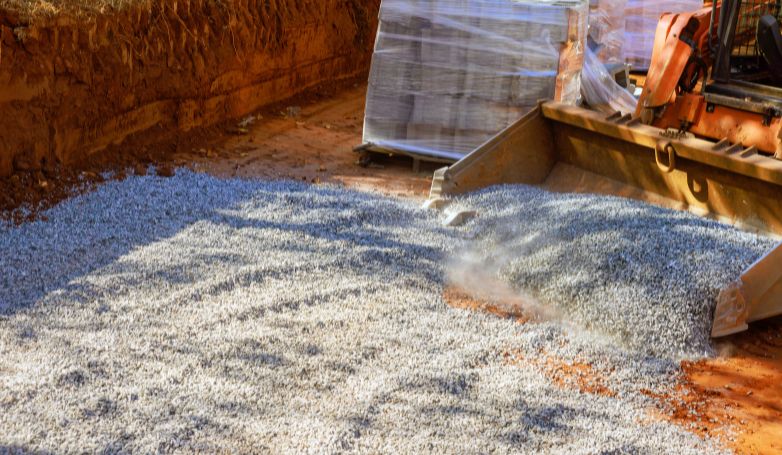
4. Use Hydro Jetting for Internal Blockages
Hydro jetting is a powerful and effective method used to clear internal blockages within storm drain pipes. This process involves using high-pressure water jets to break up and remove sediment buildup, debris, grease, and roots that have penetrated the drainage system.
Hydro jetting not only clears blockages but also cleans the inner walls of the pipes, restoring optimal flow capacity. This method is preferred for its efficiency and ability to clean pipes thoroughly without causing damage, ensuring the long-term functionality of the storm drain system.
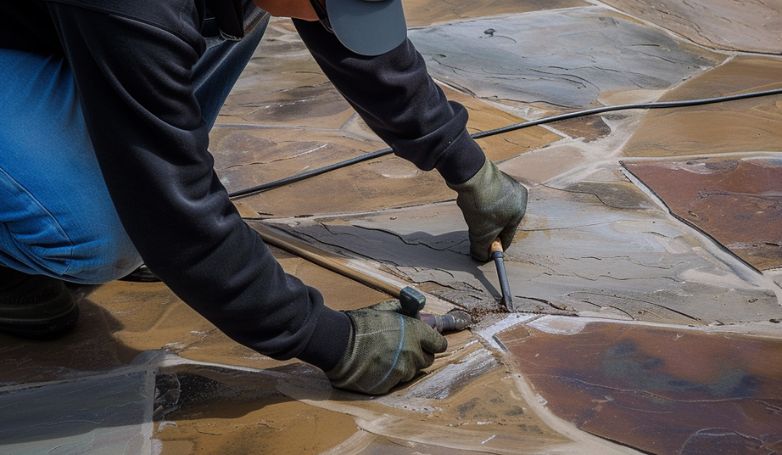
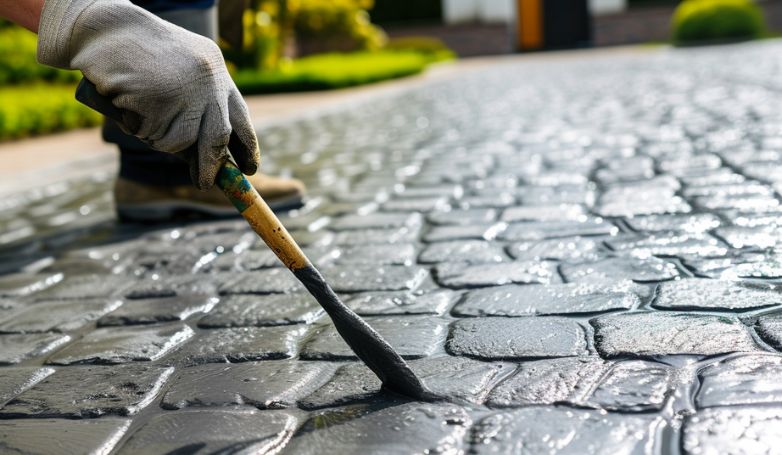
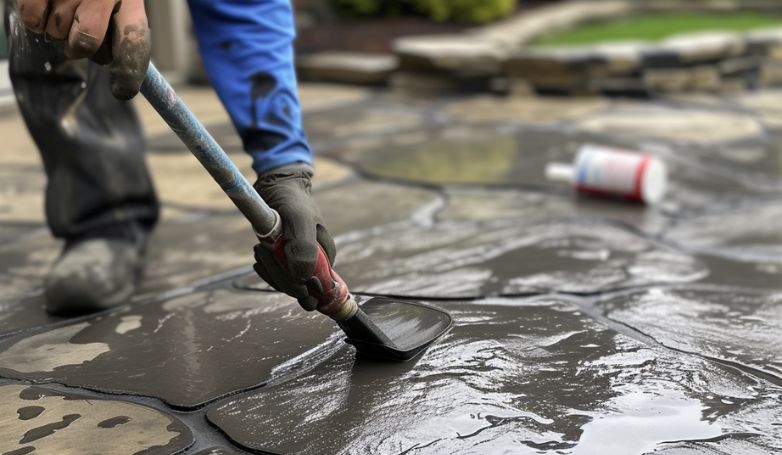
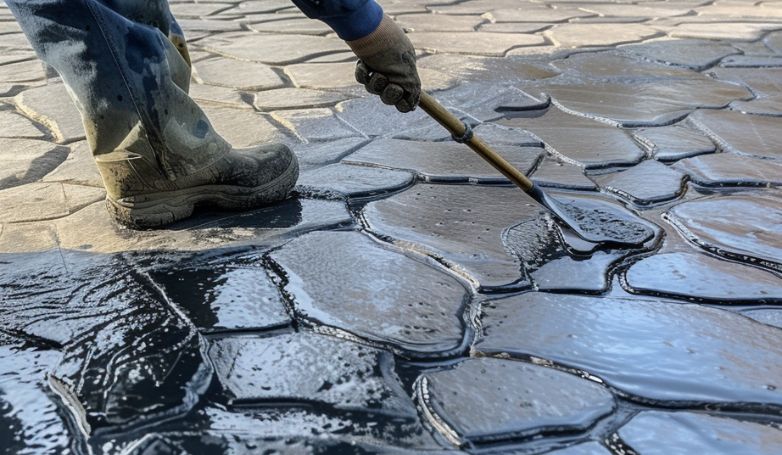
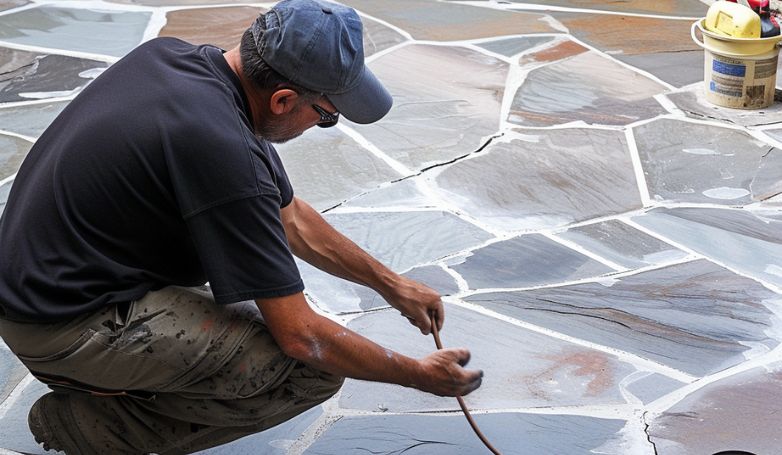
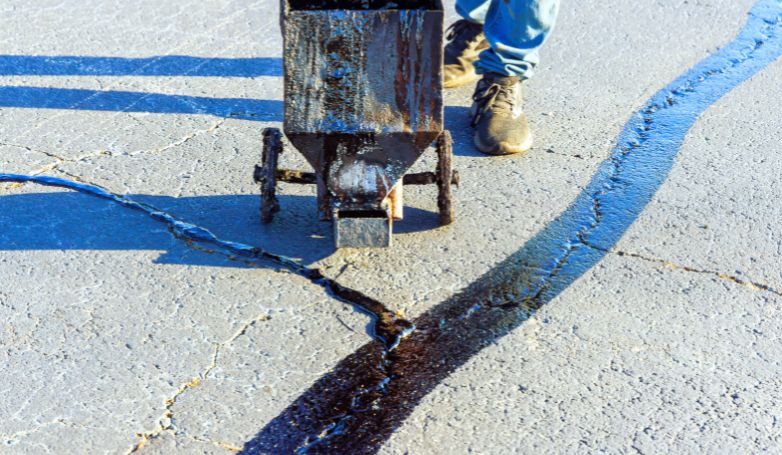
5. Seal Cracks for Minor Damage
This involves applying a durable, waterproof sealant to the damaged areas to prevent water infiltration and further deterioration. Sealing cracks helps to maintain the structural integrity of the storm drains, extending their lifespan and preventing minor issues from escalating into major problems.
This repair method is cost-effective and can be quickly implemented, offering a practical solution for maintaining the storm drain’s performance.
6. Apply Slip Lining for Internal Repairs
Slip lining is a trenchless rehabilitation technique used for internal repairs of storm drain pipes. This method involves inserting a new, smaller pipe, typically made of plastic, into the existing damaged pipe. The space between the old and new pipes is then filled with grouting material to secure the liner in place.
Slip lining is an efficient way to repair leaks, restore structural integrity, and improve water flow within the storm drain system without the need for extensive excavation, reducing repair time and costs.
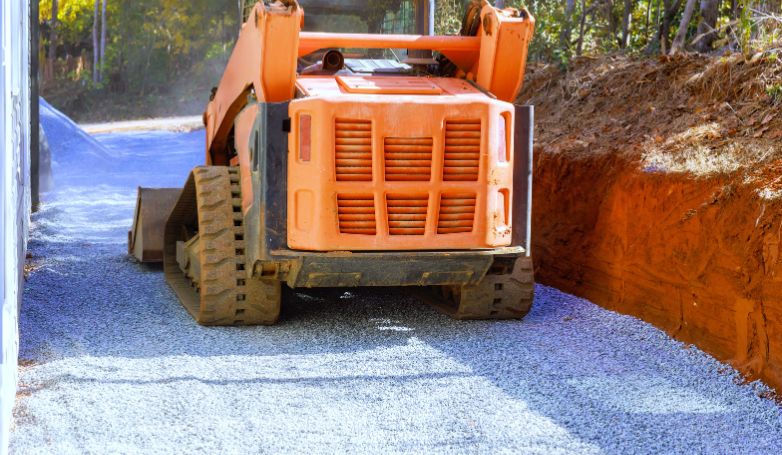
7. Undertake Full Pipe Replacement for Major Damage
In cases where storm drain pipes have sustained major damage, full pipe replacement may be necessary. This extensive repair process involves excavating the old, damaged pipe and installing a new one. Full pipe replacement is required when the damage is too severe for other repair methods to be effective, such as in the case of significant structural failures, collapses, or when the system’s design no longer meets current standards.
While this method is more time-consuming and costly, it ensures the long-term functionality and reliability of the drain system.
8. Adjust Slope and Gradients
Adjusting the slope and gradients of storm drain pipes is crucial for ensuring optimal water flow and preventing stagnation. This process may involve regrading or repositioning sections of the drainage system to enhance its efficiency.
Proper slope and gradient adjustments ensure that water is effectively directed towards the main drainage outlets, minimizing the risk of flooding and water damage. This repair strategy is particularly important in areas where improper initial installation or ground movement has affected the system’s ability to drain water efficiently.
9. Redesign Drainage Paths
In some instances, the most effective solution to recurring storm drain issues is to redesign the drainage paths. This involves analyzing the current layout and functionality of the drainage system and making strategic changes to improve its performance.
Redesigning drainage paths can help address problems such as chronic flooding, inefficient water flow, and environmental impact. By optimizing the route and capacity of the drainage system, water can be managed more effectively, protecting properties and infrastructure from water-related damage.
10. Install Riprap or Concrete Mats at Outlets and Inlets
Installing riprap or concrete mats at storm drain outlets and inlets is an effective method for preventing erosion and sediment buildup. Riprap consists of large, irregularly shaped stones placed around drainage points to dissipate the energy of flowing water, while concrete mats are prefabricated blocks designed to protect against erosion.
Both solutions help to stabilize the area around storm drains, ensuring that water flows smoothly into and out of the system without causing damage to the surrounding landscape.
11. Implement Vegetative Solutions for Erosion Control
Vegetative solutions, such as planting grasses, shrubs, and other groundcovers, are natural and sustainable options for erosion control around storm drain systems. These plants help to anchor the soil, absorb water, and reduce the velocity of surface runoff, minimizing erosion and sediment transport into the drains.
Implementing vegetative solutions not only enhances the effectiveness of the storm drain system but also promotes biodiversity and improves the aesthetic appeal of the area. This approach is especially beneficial in urban environments, where green spaces can provide additional environmental and social benefits.
Cost Analysis of Storm Drain Repair
Understanding the financial aspects of storm drain repair is essential for effective budgeting and decision-making. Let’s explore the key components that contribute to the overall cost.
Overview of Cost Factors
The cost of storm drain repair can vary widely, influenced by factors such as the extent of damage, accessibility of the site, and the chosen repair method. Material costs, labor rates, and any necessary equipment rentals also play significant roles.
Estimating Your Repair Costs
To estimate repair costs, assess the scope of damage and consult with professionals for quotes. Consider the cost of materials, labor, and any additional fees for specialized equipment or techniques. Getting multiple estimates can provide a clearer picture of expected expenditures.
Balancing Cost with Longevity and Performance
When planning repairs, it’s important to balance initial costs with the expected longevity and performance of the solution. Opting for higher quality materials and professional services might have a higher upfront cost but can lead to longer-lasting repairs and better overall system performance, reducing future expenses.
Preventive Maintenance and Best Practices
Adopting a proactive approach to storm drain maintenance can significantly reduce the risk of costly repairs and ensure the system’s efficiency. Here are essential practices to consider:
Regular Cleaning and Inspections
This includes removing debris from inlets and outlets, and conducting visual assessments for signs of wear or damage. Such proactive measures can significantly extend the lifespan of storm drain systems and enhance their efficiency.
Addressing Minor Repairs Promptly
Acting swiftly on minor repairs such as sealing cracks, clearing blockages, or fixing dislodged grates can prevent more serious problems down the line. Prompt attention to these smaller issues is cost-effective, minimizes the risk of system failure, and ensures continuous operation of the drainage infrastructure.
Long-term Improvements and Upgrades
Investing in long-term improvements and upgrades is crucial for adapting to changing environmental conditions and increasing urbanization. This may include enhancing the system’s capacity, installing more durable materials, or incorporating advanced technologies. Such upgrades improve resilience against extreme weather events and reduce the need for frequent repairs, contributing to a more sustainable stormwater management strategy.
FAQs about Storm Drain Repair
Check out the most frequently asked questions:
Can you repair a collapsed drain?
Certainly! You can repair a collapsed drain by employing specific methods tailored to the extent of the damage. In certain situations, dynamic trenchless technologies such as pipe lining or pipe bursting come into play, allowing for the restoration of the collapsed section without the need for extensive excavation.
How do you unblock a blocked stormwater drain?
Blocked stormwater drains can be cleared by using various methods. This may include using a drain snake or auger, high-pressure water jetting, or chemical drain cleaners. In some cases, professional assistance may be required for more stubborn blockages.
Why is my storm drain not draining?
Several reasons could be causing a storm drain not to drain properly. Common issues include blockages from debris, sediment buildup, or even collapsed pipes. It’s essential to inspect the drain system to identify and address the specific problem causing the drainage issue.
Do storm drains need traps?
Stormwater drains efficiently channel rainwater, surface runoff, and other non-contaminated water directly to natural bodies of water, eliminating the need for traps in their design.
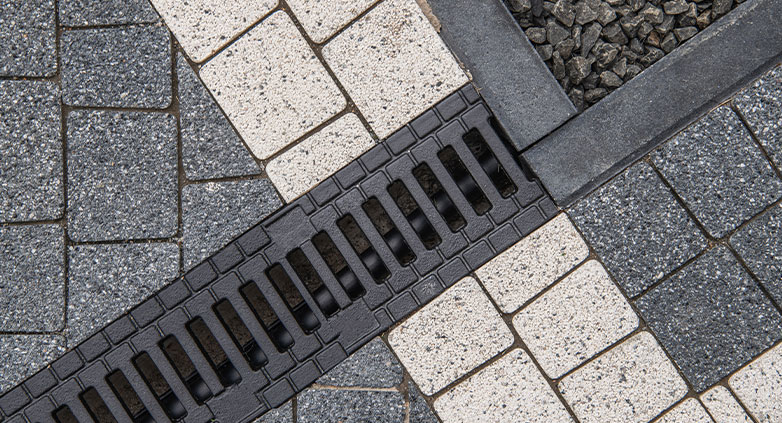
What’s the difference between a storm drain and a catch basin?
A storm drain is a system that collects and directs rainwater or surface runoff, while a catch basin is a component of the storm drain system. The catch basin, also known as a stormwater inlet or curb inlet, is a structure that includes a sump to capture debris and prevent it from entering the drainage pipes. In summary, the storm drain is the overall system, and the catch basin is a key component within that system.
Conclusion
In conclusion, prioritizing storm drain repair is essential for safeguarding urban areas against flooding and ensuring the longevity of drainage systems. Regular maintenance and timely interventions address common issues, from blockages to structural damage, promoting efficient water flow. The step-by-step repair process, including inspections and various techniques, allows for targeted solutions. Cost considerations and preventive practices underscore the importance of balancing expenses with long-term system resilience. Investing in storm drain upkeep not only protects against water-related damage but also contributes to sustainable stormwater management in urban environments.