Resurface Asphalt Driveway – Renew Your Path in 11 Steps
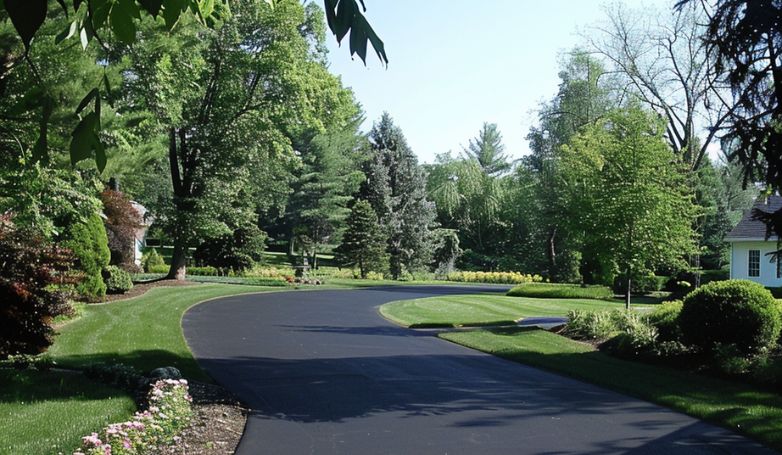
Resurfacing an asphalt driveway rejuvenates your home’s curb appeal and extends the life of your driveway, making it a practical and cost-effective maintenance solution.
Resurfacing an asphalt driveway means applying a new layer of asphalt over the existing driveway to repair damage, improve appearance, and extend its lifespan. This process restores the surface to its original condition without the need for a complete replacement. To successfully resurface an asphalt driveway, follow these steps:
- Inspect driveway for any damage
- Clean the driveway thoroughly to remove debris
- Repair cracks and potholes
- Prepare the surface for resurfacing
- Apply primer if required
- Mix the asphalt resurfacer according to instructions
- Apply the asphalt resurfacer evenly across the surface
- Smooth the resurfacer for a uniform finish
- Allow the new surface to dry completely
- Apply a second coat if necessary for optimal thickness and protection
- Cure the resurfaced area to ensure durability and readiness for use
Discover the detailed steps, benefits, and maintenance tips for a newly resurfaced driveway in the following sections.
Signs your asphalt driveway needs resurfacing
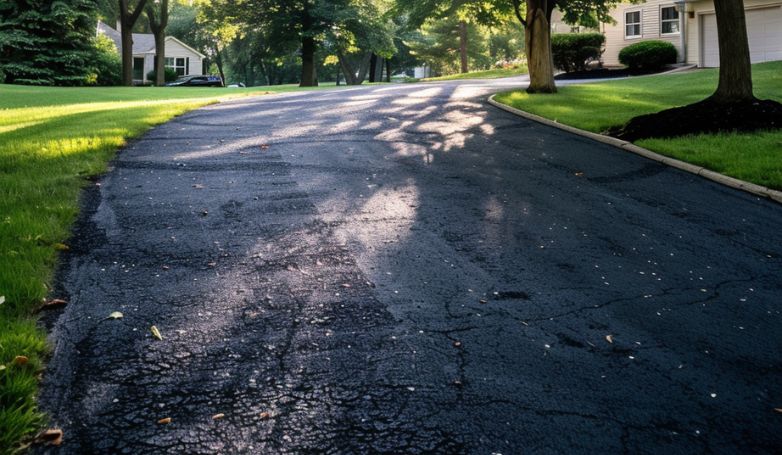
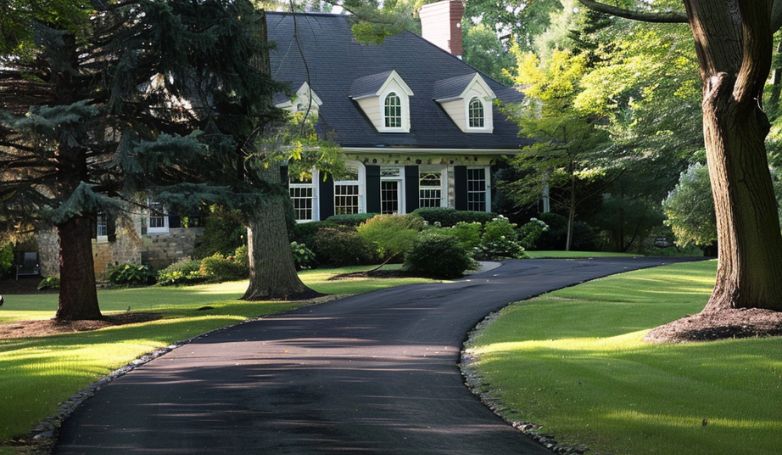
When your driveway starts showing uneven textures, fading from its original black to gray, and the surface becomes rough, it’s time to consider resurfacing. These indicators suggest wear and exposure to elements, signaling the need for a fresh asphalt layer to restore its appearance and functionality.
Visible cracks and potholes
Cracks and potholes are signs of underlying issues with your asphalt driveway. Left unaddressed, they can lead to more significant damage, affecting the driveway’s structural integrity. Resurfacing fills these imperfections, providing a smooth, safe driving surface.
Surface discoloration
Over time, UV rays, rain, and chemicals can discolor your asphalt driveway, turning it from deep black to a dull gray. This discoloration isn’t just cosmetic—it often indicates surface wear that can compromise the driveway’s durability. Resurfacing rejuvenates its color and protective properties.
Drainage issues
Proper drainage is crucial for maintaining your driveway’s condition. If water pools on the surface, it can seep into the asphalt, causing cracks and potholes. Resurfacing not only addresses these symptoms but can also improve drainage by leveling the surface and ensuring water flows away efficiently.
Now that you’re aware of the signs indicating your driveway needs resurfacing, let’s dive into the 11 steps you should follow to achieve a smooth, revitalized asphalt surface.
How to Resurface Asphalt Driveway in 11 Steps
Take a look at the detailed steps below to understand how to effectively resurface your asphalt driveway, ensuring a durable and visually appealing result.
1. Inspect driveway for any damage
Start your resurfacing project by meticulously inspecting your driveway for damages like cracks, holes, and uneven surfaces. This initial step is crucial for tailoring the resurfacing process to your driveway’s specific needs. Use chalk or markers to highlight areas that require repairs or special attention. Identifying these problem areas ensures a thorough and effective resurfacing, laying the groundwork for a smoother application of the new asphalt layer.
2. Clean the driveway thoroughly to remove debris
Cleaning your driveway is essential for the resurfacing material to adhere properly. Start by sweeping away loose debris and dirt. For oil stains and embedded dirt, use a degreaser and a stiff brush, followed by pressure washing the entire surface. This step not only prepares the surface for resurfacing but also prevents future deterioration by removing materials that could interfere with the new asphalt’s bonding process.
3. Repair cracks and potholes
Addressing cracks and potholes is a critical step before you resurface your asphalt driveway. Utilize an asphalt patching compound for minor cracks and cold asphalt patch material for significant potholes. Thoroughly fill and compact the damaged areas to ensure a smooth surface. These preparatory repairs are essential for the longevity of your driveway, preventing water infiltration and further damage, setting the stage for a successful resurfacing project.
4. Prepare the surface for resurfacing
Once repairs are made, preparing the surface ensures optimal adhesion of the new asphalt layer. This may involve applying a tack coat or primer to the cleaned and repaired surface, which helps the resurfacing material bond with the old asphalt. Follow the manufacturer’s recommendations for the best results, as this step is pivotal for a durable resurface.
5. Apply primer if required
If your resurfacing product or method requires a primer, apply it according to the instructions. The primer promotes better adhesion between the old driveway surface and the new resurfacing material. Ensure even coverage and allow it to dry as recommended, which is usually a matter of hours. This preparatory step is vital for a seamless, long-lasting resurface.
6. Mix the asphalt resurfacer according to instructions
The quality of your resurfacing job depends significantly on how well you mix the asphalt resurfacer. Follow the manufacturer’s instructions closely to achieve the correct consistency. Typically, this involves adding a specific amount of water to the resurfacer mix and stirring until you achieve a uniform, lump-free mixture. Proper mixing is essential for an even application and the strength of the layer.
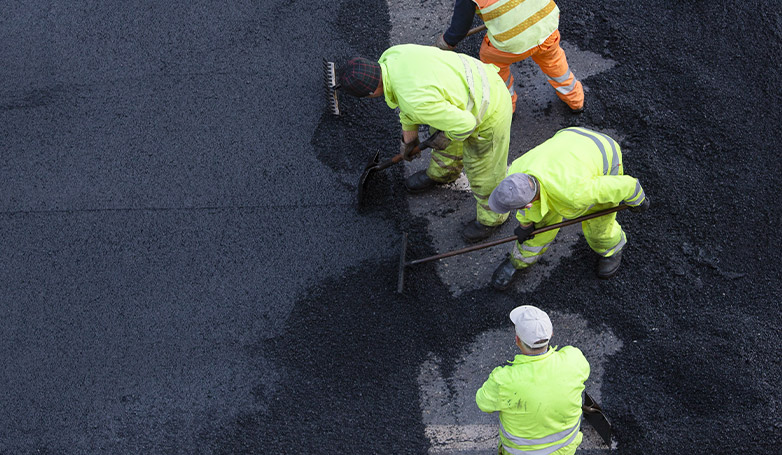
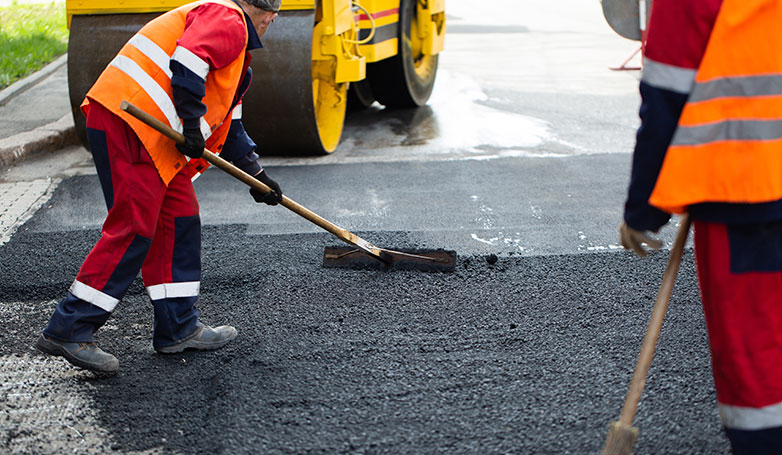
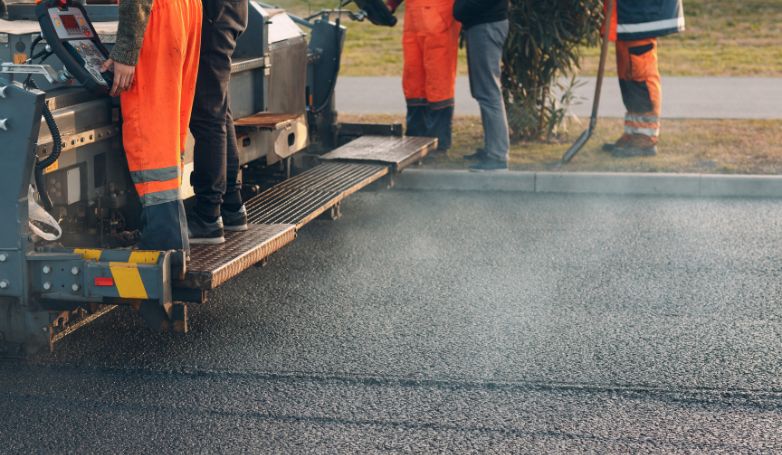
7. Apply the asphalt resurfacer evenly across the surface
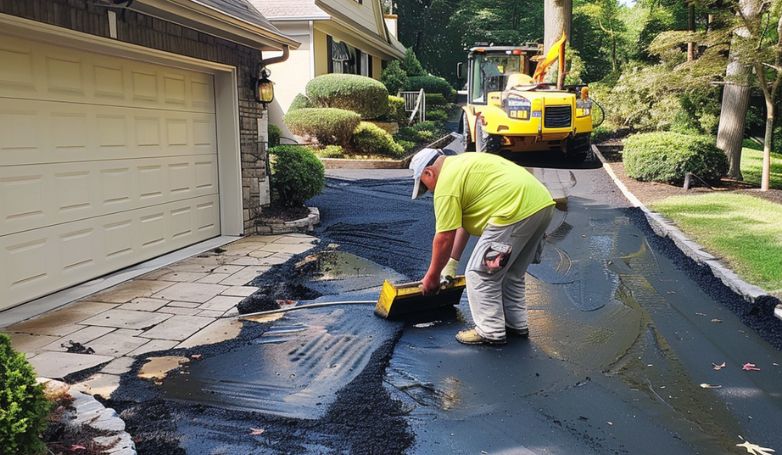
With the resurfacer mixed, apply it evenly across your driveway, starting at one end and working your way to the other. Use a squeegee or a trowel for a consistent layer. Ensure you cover the entire surface, paying extra attention to the areas that were previously repaired. An even application is crucial for a smooth finish and uniform drying.
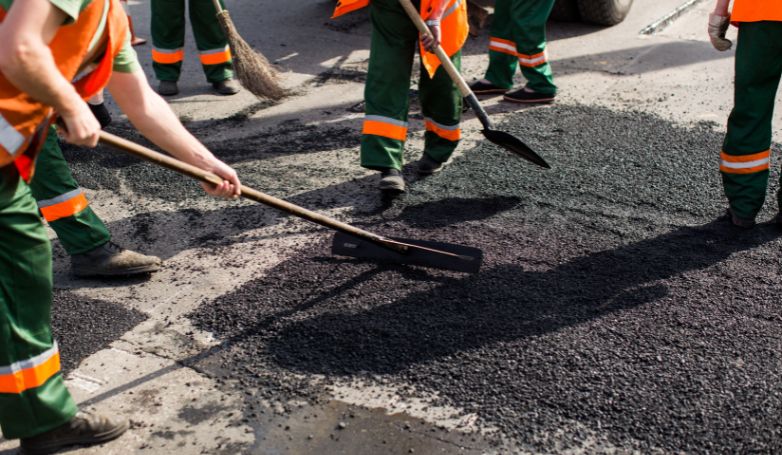
8. Smooth the resurfacer for a uniform finish
After applying the resurfacer to resurface your asphalt driveway, use a trowel or a broom to even out the surface for a uniform finish. This step not only enhances your driveway’s appearance but also guarantees a smooth surface free from bumps and lumps, crucial for durability and proper drainage. A smooth, consistent finish is vital for a professional-looking resurface, ensuring your driveway remains both functional and aesthetically pleasing.
9. Allow the new surface to dry completely
Let the newly applied asphalt resurfacer dry and harden completely before using the driveway. Drying times can vary based on the product used, temperature, and humidity. This step is crucial to ensure the durability of your resurfaced driveway, as premature use can cause damage and affect the surface’s integrity.
10. Apply a second coat if necessary for optimal thickness and protection
In some cases, a second coat of resurfacer may be necessary to achieve optimal thickness and protection. If the manufacturer’s instructions suggest it, or if the initial application was absorbed unevenly, apply a second coat. This enhances the driveway’s durability and extends its lifespan by providing additional protection against wear and tear.
11. Cure the resurfaced area to ensure durability and readiness for use
The final step in resurfacing your asphalt driveway is allowing it to cure properly. Curing time can vary, but it’s generally recommended to wait at least 24-48 hours before walking on the surface and longer before driving on it. Proper curing is essential for the resurfaced driveway to achieve full strength and durability, ensuring it can withstand vehicle traffic and environmental conditions.
Benefits of Resurfacing Your Asphalt Driveway
Explore the significant advantages of opting to resurface your asphalt driveway, from cost savings to environmental impact, detailed in the sections below.
Cost-effectiveness compared to full replacement
Resurfacing an asphalt driveway is more affordable than replacing it entirely. This method uses fewer materials and requires less labor, offering a budget-friendly alternative that still significantly improves your driveway’s look and performance, without the higher costs associated with complete removal and replacement.
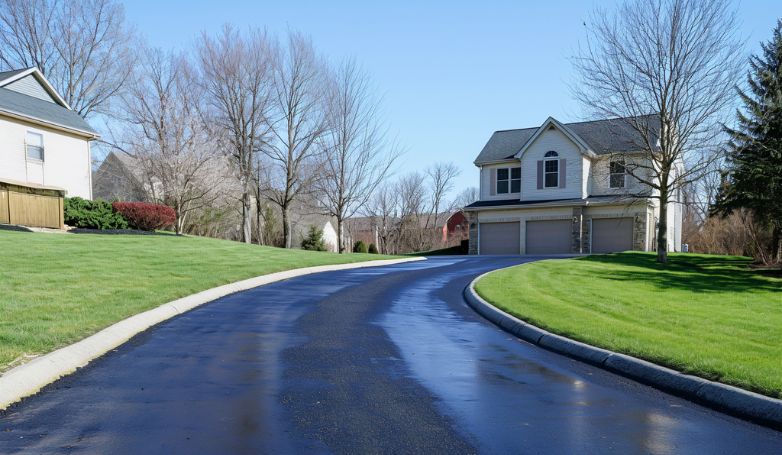
Extended lifespan of your driveway
A resurfaced driveway can extend its lifespan, delaying the need for a full replacement. This maintenance technique addresses existing surface damage and protects the underlying asphalt, prolonging the driveway’s durability and utility for years to come.
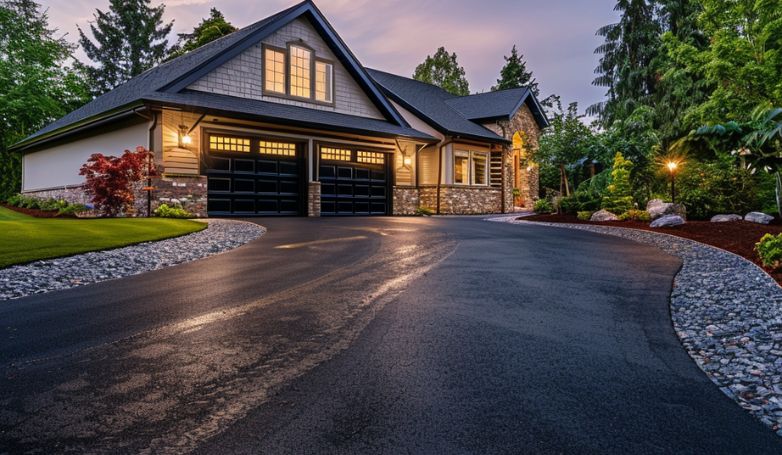
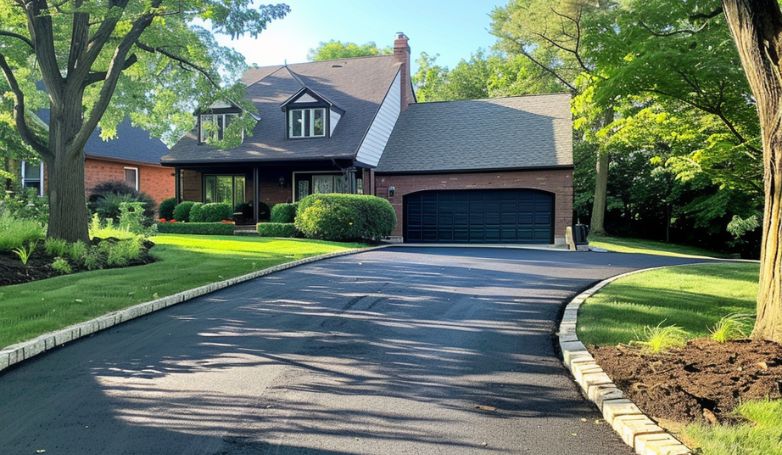
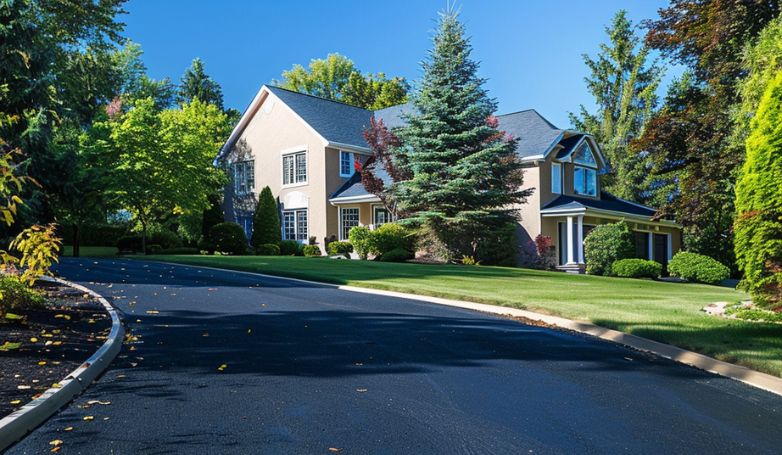
Improved appearance and curb appeal
Resurfacing revitalizes your driveway’s appearance, instantly boosting your home’s curb appeal. This simple update can transform a faded, cracked driveway into a smooth, inviting path, enhancing the overall aesthetic of your property.
Enhanced safety and surface traction
Resurfacing improves the safety of your driveway by increasing surface traction. This prevents accidents by reducing the likelihood of slips and falls for pedestrians and improving vehicle grip during adverse weather conditions.
Environmental benefits of resurfacing over replacing
Opting to resurface rather than replace your driveway has environmental advantages. It minimizes the waste generated from tearing out the old driveway and reduces the demand for new asphalt, conserving resources and lowering the carbon footprint associated with driveway construction.
Maintenance Tips After Resurfacing
Maintain the pristine condition and longevity of your newly resurfaced asphalt driveway with these essential maintenance tips:
Regular cleaning and debris removal
Engage in frequent cleaning to remove leaves, dirt, and debris, which prevents surface damage and maintains the driveway’s aesthetic. Regular removal of such materials also prevents the buildup that can lead to asphalt deterioration over time, ensuring the surface remains in good condition and extends its lifespan.
Prompt repair of small cracks and holes
Address small cracks and holes as soon as they emerge to prevent water infiltration and further degradation of the asphalt. Early repairs with a quality asphalt patching compound can maintain the driveway’s integrity, preventing minor issues from escalating into significant problems that require more extensive and costly interventions.
Sealcoating: Benefits and recommended frequency
Sealcoating your driveway every two to three years is a crucial maintenance step after you resurface your asphalt driveway, significantly extending its lifespan by shielding it from UV damage, water penetration, and chemical spills. This preventative care not only maintains the asphalt’s structural integrity but also boosts its appearance, ensuring your driveway looks freshly maintained and visually appealing.
Avoiding common damages (e.g., heavy equipment, chemical spills)
Mitigate common sources of damage by avoiding heavy equipment on the driveway and promptly addressing chemical spills. These measures protect the asphalt’s surface from unnecessary stress and chemical corrosion, thereby preserving its condition and appearance. Such proactive steps are crucial for maintaining the driveway’s durability and visual appeal.
DIY vs. Professional Resurfacing
Navigating the choice between DIY and professional asphalt driveway resurfacing requires understanding the benefits and drawbacks of each approach, recognizing when expert help is needed, and knowing how to select the right contractor for the job.
Pros and cons of DIY asphalt driveway resurfacing
Take a look at this comparison:
Pros: DIY resurfacing can be cost-effective, allowing homeowners to save on labor costs. It offers a sense of personal achievement and can be scheduled at your convenience.
Cons: Without professional expertise, there’s a higher risk of mistakes that could compromise the driveway’s durability and appearance. The project requires specialized tools and materials, and the learning curve can be steep for those unfamiliar with asphalt work.
When to call in professional paving contractors
Consider hiring professionals if your driveway has extensive damage, such as deep cracks, large potholes, or issues that require a complete overhaul. Professionals can also better handle driveways with complex designs or drainage problems. Their expertise ensures the job is done right the first time, saving you time and potential future costs.
How to choose the right contractor for your driveway
Selecting the right contractor involves researching and vetting potential hires. Look for contractors with:
- A solid reputation, confirmed by reviews and testimonials
- Proper licensing and insurance
- A portfolio of previous work
- Transparent pricing and a detailed contract
- A willingness to provide references
Asking for detailed quotes from multiple contractors is a wise strategy when planning to resurface your asphalt driveway. This approach allows you to gauge the market rate and understand the specific services included in the price. It’s an essential step in ensuring you receive competitive and fair pricing for your driveway resurfacing project, helping you make an informed decision.
Cost Considerations
Cost considerations play a crucial role in planning for asphalt driveway resurfacing. Understanding these financial aspects ensures you can budget effectively for your project.
Estimated cost range for asphalt driveway resurfacing
The cost to resurface an asphalt driveway typically ranges from $1 to $3 per square foot, but this can vary widely based on regional prices and the specific conditions of your driveway. For a standard driveway, this translates to an approximate total cost of $2,000 to $6,000.
Factors affecting the cost (driveway size, condition, location)
Several factors influence the final cost of resurfacing an asphalt driveway:
- Driveway Size: Larger driveways require more materials and labor, increasing the overall cost.
- Condition: Driveways in poor condition may need extensive prep work or repairs before resurfacing, leading to higher costs.
- Location: Prices for materials and labor vary by region, with urban areas typically having higher rates than rural locations.
Budgeting for your resurfacing project
When budgeting for driveway resurfacing, include a contingency fund of at least 10-20% of the total estimated cost to cover unexpected expenses. Obtain quotes from several contractors to get a realistic idea of the project’s cost. Consider the long-term benefits of resurfacing, such as increased property value and extended driveway lifespan, against the initial investment to ensure it aligns with your financial planning.
FAQs about Resurface Asphalt Driveway
Here are some of the most frequently asked questions about resurfacing asphalt driveways, providing clarity on the process, benefits, and considerations:
How does resurfacing differ from a complete driveway replacement?
Resurfacing involves applying a new layer of asphalt over the existing driveway, addressing superficial damage and wear. It’s less invasive and more cost-effective than replacement, which involves removing the old driveway and laying down a completely new surface, suitable for more severe damage or structural issues.
Can you put asphalt over old asphalt?
Yes, you can put a new layer of asphalt over old asphalt. This process, known as overlay or resurfacing, is a common practice for extending the life of a driveway with minor to moderate wear. Proper preparation, including cleaning and repairing the old surface, is crucial for the success of the overlay.
Should I resurface or replace my asphalt driveway?
The decision to resurface or replace depends on the condition of your driveway. If the foundation is stable and damage is mostly superficial, resurfacing is a viable option. For extensive damage, poor foundation, or drainage issues, replacement might be necessary to ensure longevity and performance.
How often should an asphalt driveway be recoated?
An asphalt driveway should typically be recoated every 3 to 5 years, depending on the climate, usage, and condition of the driveway. Sealcoating is a preventative maintenance measure that protects the asphalt from UV rays, water, and vehicle fluids, extending its lifespan.
How long will an asphalt overlay last?
An asphalt overlay can last between 10 to 15 years, depending on factors like the quality of the installation, the condition of the underlying asphalt, and how well the driveway is maintained. Regular maintenance, including sealcoating and prompt repairs, can significantly extend the overlay’s lifespan.
Conclusion
In conclusion, resurfacing your asphalt driveway is a cost-effective way to extend its lifespan, improve curb appeal, and enhance safety. By understanding the signs that indicate the need for resurfacing, following the outlined steps, and maintaining the new surface properly, you can ensure your driveway remains in top condition for years to come. Whether you choose a DIY approach or hire professionals, proper planning and execution are key to achieving a durable and attractive asphalt driveway.

Leave a Reply
Want to join the discussion?Feel free to contribute!