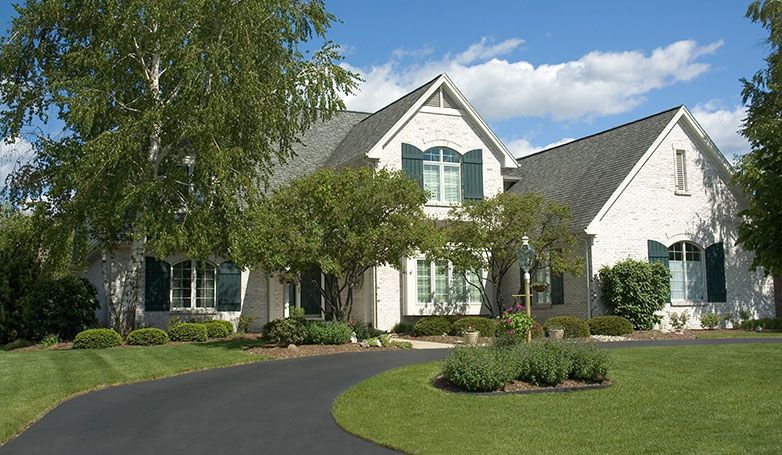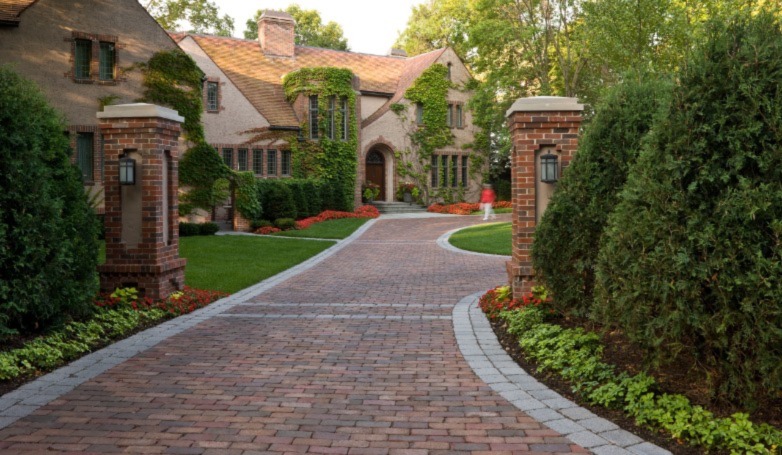
The best driveway gate ideas create a show-stopping entrance appeal. The perfect first impression to dazzle your visitors and keep your neighbors staring. They add a glossy touch to your landscape thereby setting the tone for the rest of your property. Driveway gates also provide security and privacy. However, the wrong driveway gate design may ruin your house style.
Driveway gate ideas span from decorative designs and security gates to privacy and garden gates. These designs vary based on different materials including wood, vinyl, wrought iron, steel, and pickets. There are more than ten types of driveway gates ideas, like the popular swinging and sliding gates. Each gate type has its unique features, pros, and cons. Although some driveway gate designs come with advanced security features like keyless entry, surveillance cameras, and alarm systems to heighten your house security and deter potential intruders. You can still create a custom design based on inspiration and your budget.
Your driveway gate should ooze your personal style and preferences. To get you inspired we explore some of the best driveway gate ideas in the world. Whether you’re looking for classic modern style or sophisticated designs there’s something more in this article than meets the eye. Let’s dive in!
Why Is It Important To Choose The Right Driveway Gate?
You may love to follow the easy route of searching the internet for a pretty design idea or buying the same as your neighbor’s. However, the truth is, choosing an entryway gate that fits your budget and needs is not a one-size-fits-all journey. Each driveway gate has different functions, like security, aesthetics, durability, safety, and privacy. So, your choice will depend on the essential functions you want.
Our Top Picks For Driveway Gate Ideas
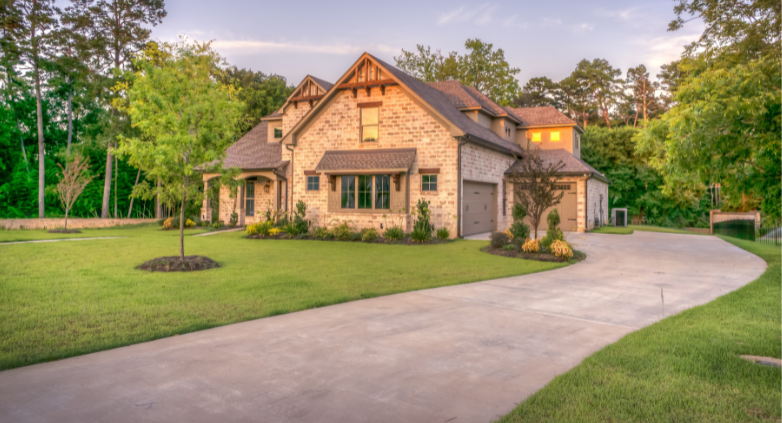
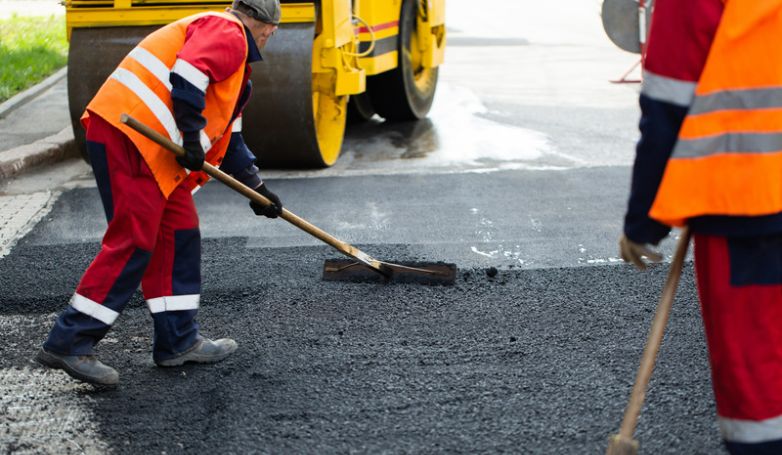
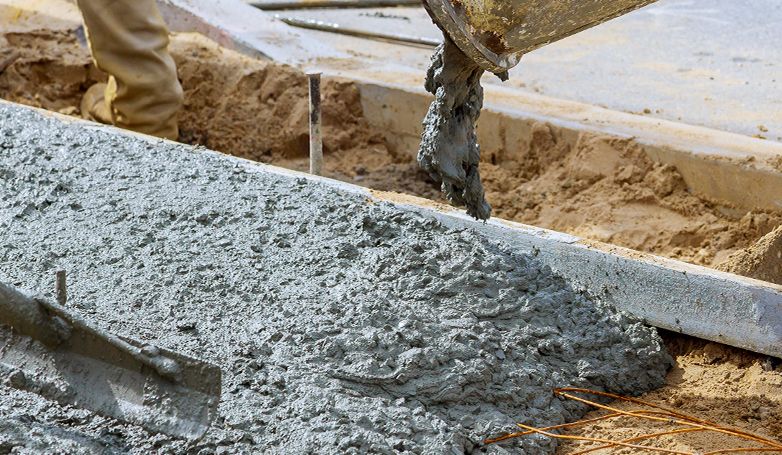
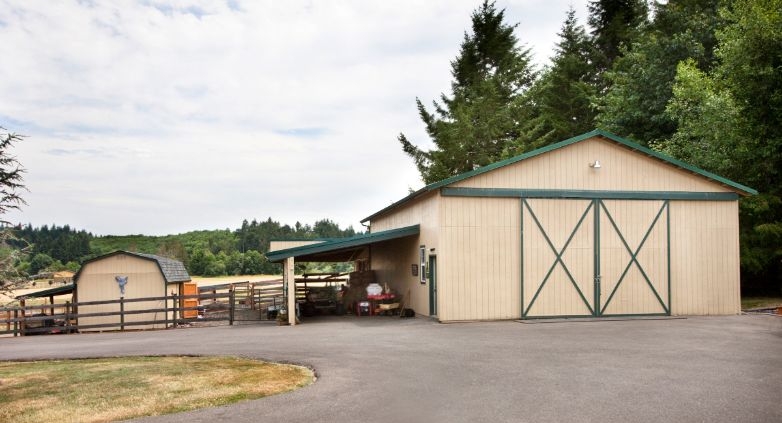
Are you ready to discover the best gate for your asphalt, concrete, or sandstone driveway? Below are ten driveway gates ideas, their features, strengths, and weaknesses, to help you consider the best option for your budget and need.
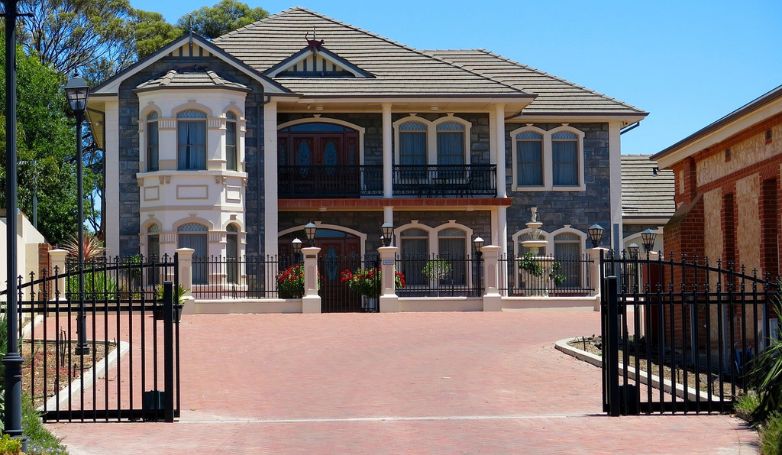
Swinging Gates
Swinging gates are one of the simplest yet classic gate designs. The swinging gate is designed to swing in or out. They typically cost between $1500 to $3000.
Pros
- Swinging gates operate less noisily and smoothly
- Swing gates are less susceptible to wear and tear. They are also low maintenance.
Cons
- They take up a lot of space. They may not be the best driveway gate ideas for you if your entryway is short or you have a sloping driveway.
- The wind can damage them.
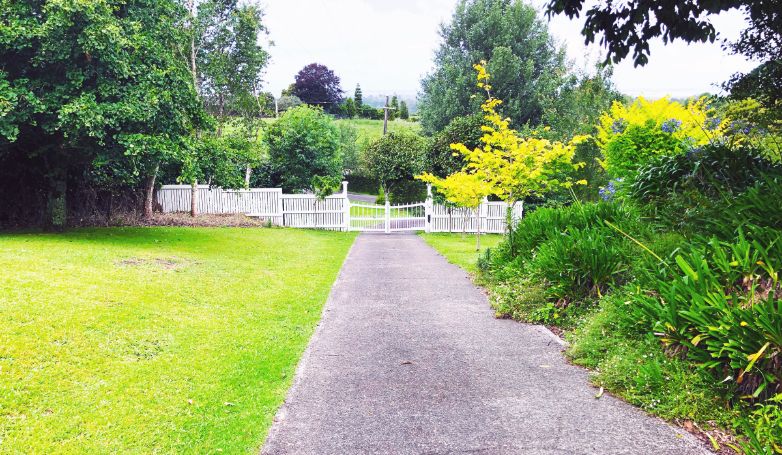
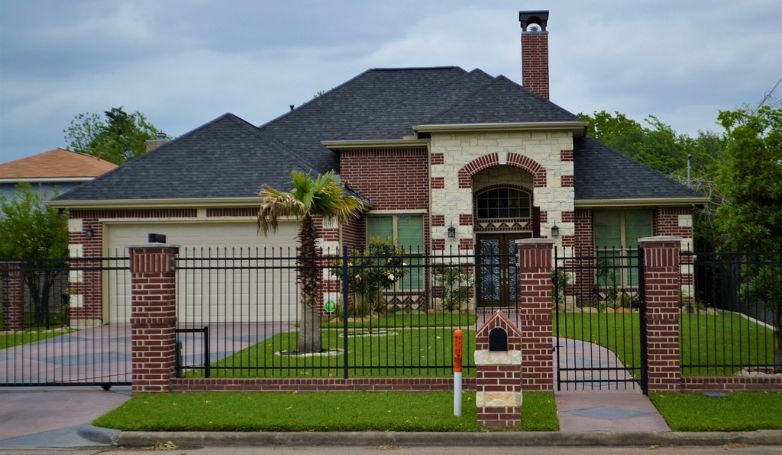
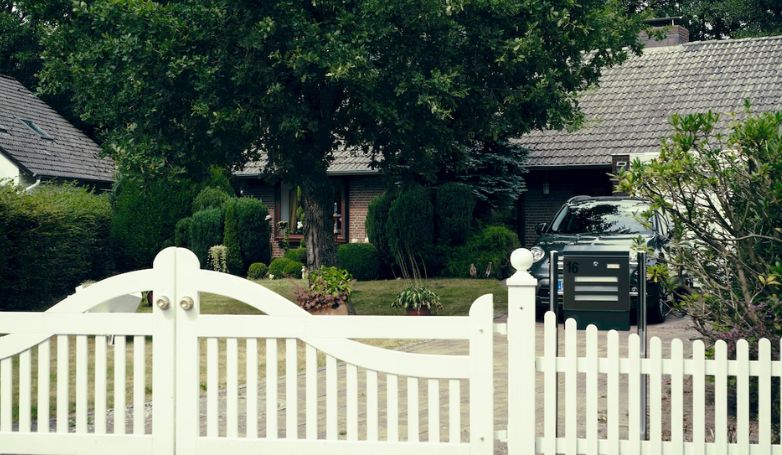
Picket Fence
The picket fence is constructed using vertical slats called pickets. These pickets are spaced evenly and attached to horizontal rails. The picket-style gate has a tremendous aesthetic function but is not a full privacy fence. Picket fence costs between $1500 to $4000.
Pros
- Picket fences last long
- They are customizable and can be made from different materials
- The picket fence provides security without obstructing your view
Cons
- Picket fences are not the best option for privacy.
- Wooden picket fences require regular maintenance, especially in moist regions susceptible to rot.
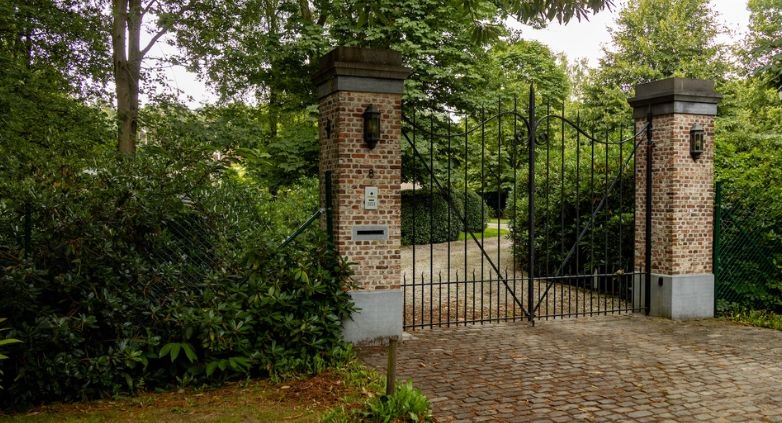
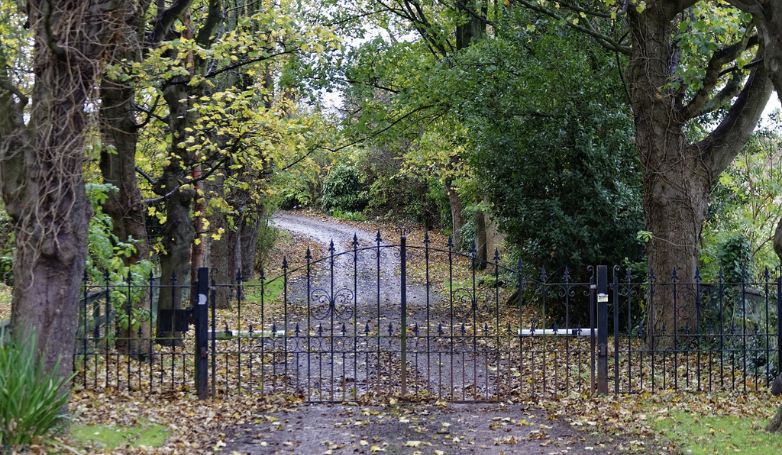
Wrought Iron Gates
If you worry about your gate being affected by the weather, wrought iron gates are one of the best driveway gate ideas you should consider. Wrought iron can withstand most harsh weather. Wrought-iron gates average cost is $2000 to $5000.
Pros
- Wrought iron gates are malleable, solid, and durable.
- With proper and regular maintenance, they can last for decades
- They are aesthetically attractive and fashionable.
Cons
- Without the protective sealant, wrought iron will rust. So, it is essential to properly maintain it by coating it regularly.
Retractable Gates
A retractable gate is a gate that can be folded up to reduce its size. They are an excellent gate design for compact driveways. Retractable gates usually cost between $3000 to $8000.
Pros
- Retractable driveway gates are made of stainless steel or aluminum alloy, making them durable.
- Retractable gates are easy to maintain
Cons
- Over time, the gate becomes more difficult to open as dust accumulates in the guiding channel.
- It needs more lubrication.
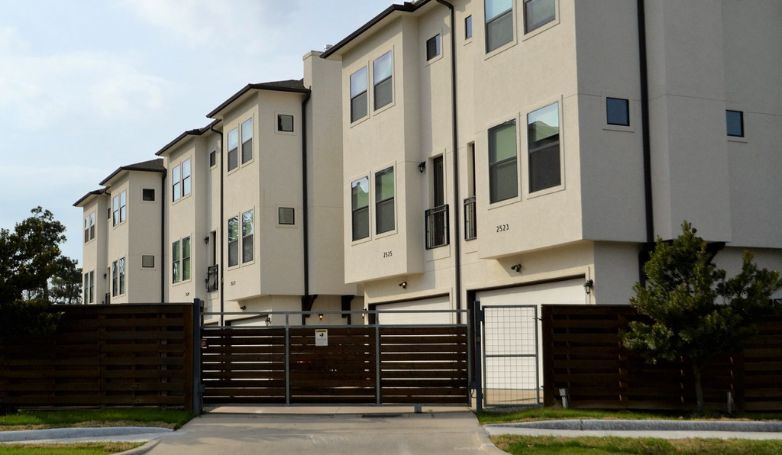
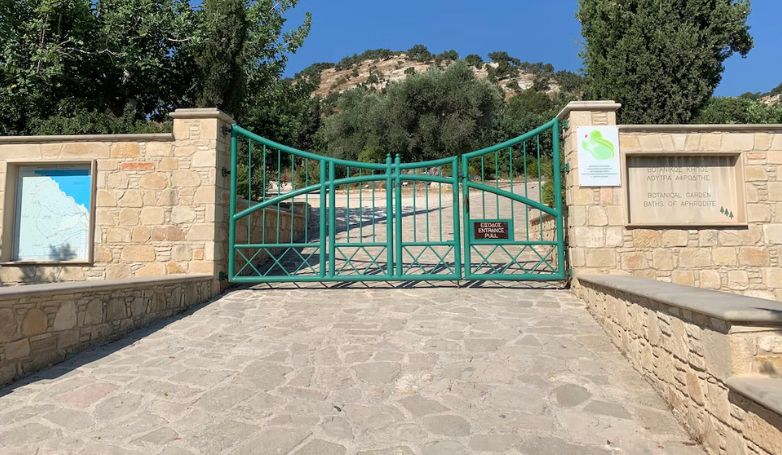
Sliding Gates
Sliding gates are usually the go-to design when you can’t install a swinging gate because of limited space. These gates offer driveway gate ideas for a sloping entrance with a perfect over-head view. They cost between $2000 to $4000.
Pros
- They are ideal for tight spaces.
- Sliding gates can be used in sloping driveways where swinging gates cannot function.
- They are less vulnerable to wind.
Cons
- They require regular maintenance. The moving parts must be regularly lubricated to work well. The track must also be cleaned often.
- Sliding gates are pretty expensive.
Automatic Gates
Automated gates take out the stress in gate opening and closing. They are usually connected to the main power line and can be opened with a remote or gate pass. Automatic gate’s average cost is $3000 to $8000.
Pros
- The use of a passcode or a card reader enhances access control
- Automatic gates are more convenient than manual driveway gates
- They provide better security
Cons
- Automatic entryway gates are expensive to purchase and install
- They rely on electricity
Cantilever Gates
Cantilever gates are a type of sliding gate that runs on trackless cantilevers. They use rollers that move the gate to open, making them more secure than regular sliding gates. Hence, you can consider cantilever as the best driveway idea for more security. A cantilever gate costs between $2000 to $5000.
Pros
- Cantilever gates can be opened faster than traditional gates.
- These gates can be fitted in different entrances, including rough driveways, like sandstone and granite entryways.
- They are easy to automate because the gate parts have no direct contact with the ground.
Cons
- Their tracks may be affected by the weather, like snow. Also, they are susceptible to high winds.
- The cantilever sliding system requires more space. The gate itself is usually about 50% larger than its opening. Hence, it is unsuitable for tight driveways since it requires extra space.
PVC Gates
PVC gates are a great alternative to wood driveway gate ideas. They require little to no maintenance and are easy to care for. PVC costs between $600 to $1500.
Pros
- They are resistant to rot, weather, and pest-infestation
- They are durable and last long
- PVCs also offer privacy which is a major concern for many homeowners.
Cons
- PVCs are lightweight and may end up cracking or breaking. This makes them vulnerable to extreme weather conditions.
- They are less environmentally friendly compared to other gates.
Aluminium Gates
Aluminum is relatively new in the market. However, aluminum gates have become a popular driveway gate idea. Many contractors opt for an aluminum gate when concerns for durability and maintenance set in. They cost around $1500 to $3000.
Pros
- You don’t have to worry about rust or oxidation compared to steel or other metals.
- They are also affordable for the quality they have.
Cons
- They may require recoating once in a while and this can be very expensive.
- They are not as decorative as other gate ideas.
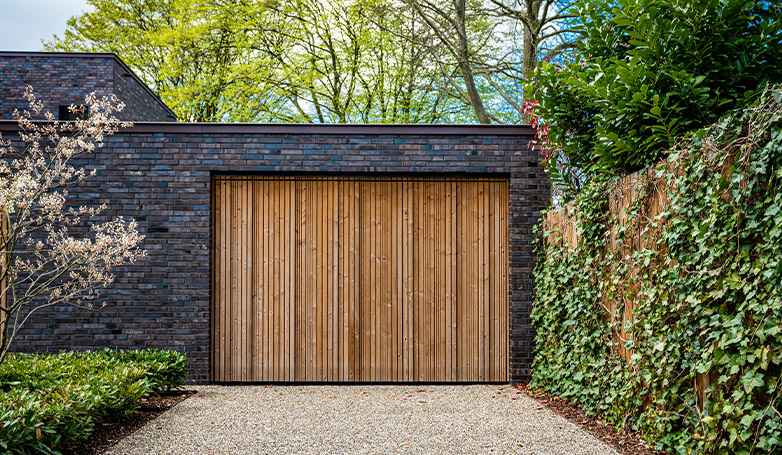
Wood Gates
Wood gates give off that classic driveway gate idea, especially with a wooden fence. The possible designs with wood are endless. And they cost around $1000 to $2000 on average.
Pros
- Wooden gates are very affordable and decorative.
- They are also eco-friendly
Cons
- Wood can easily be susceptible to harsh weather which makes them fade, crack, or warp overtime
- Wooden driveway gates can also rot and are prone to insect attacks
Key Factors To Consider When Buying Driveway Gates
Before you hurry to say yes to that design idea, wait! Below are vital factors to consider when buying a driveway gate:
What Is The Purpose?
The first question is, why do you need a driveway gate? Do you need it for security reasons? For privacy and safety? Or is it just for aesthetic purposes? This will inform your budget and the driveway gate ideas to consider.
What Material Is Best For You?
There are so many materials for making entryway gates. But, each material comes with its unique strengths and weaknesses. Hence, you must check if the material ticks your box before investing in it.
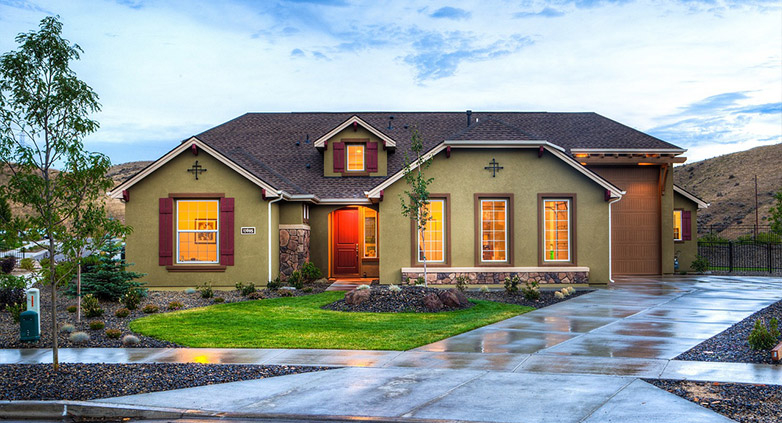
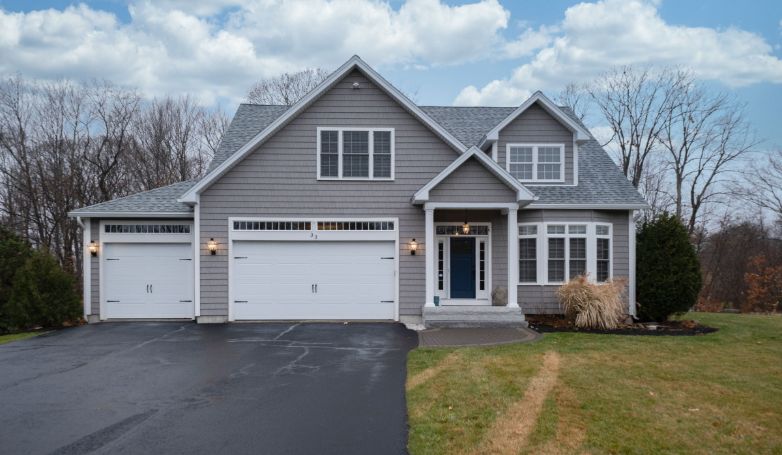
What Is The Style Of Your Home?
You want your gate to blend in nicely with the rest of the house. The style of your house exterior and the type of driveway plays a part in the kind of material and driveway gate design you choose. Remember, your driveway gate should fit your taste and match your style.
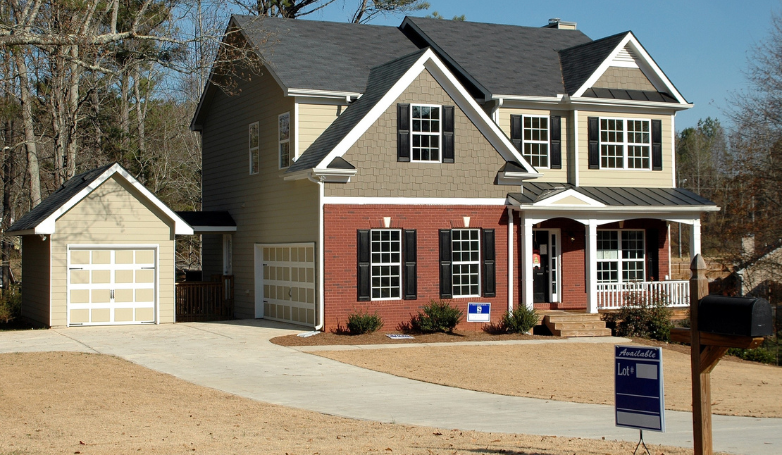
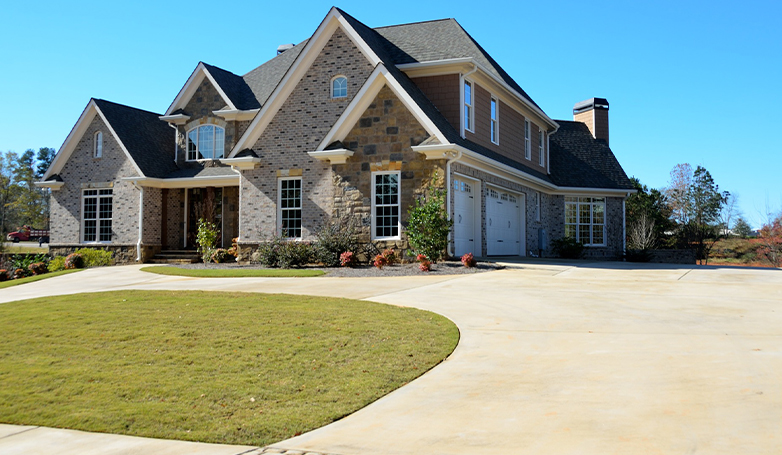
What Is The Size Of Your Driveway?
The size of your driveway dictates the size of the gate and could also influence the gate type. For example, a swinging gate would not be ideal for a tight driveway because it will take up too much space. Hence, you should consider your driveway size before choosing a gate design.
What Security Features Are Available?
If you are buying a driveway gate for security reasons, you should consider a gate that works with security features, like intercom systems,alarms, and passcodes. These elements would improve your security system and fulfill the purpose of your entrance design.
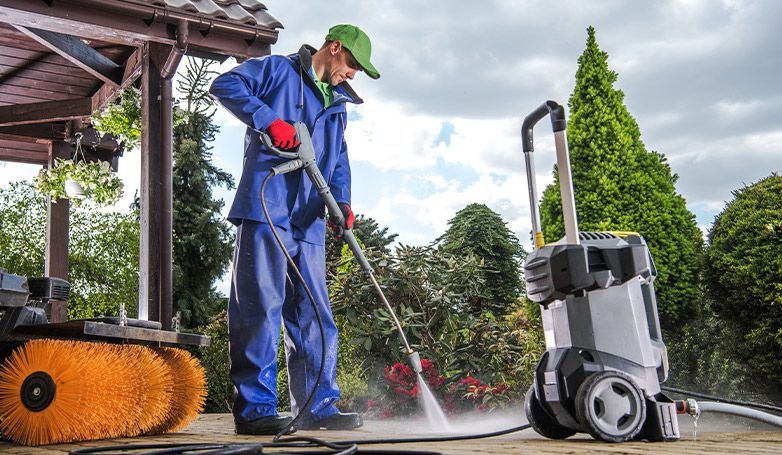
How Much Maintenance Is Required?
If you don’t have a knack for maintenance, then you want to be careful about which gate to choose. Usually, some driveway gate ideas require more maintenance than others because of their material or design.
What Is Your Budget?
We all want the best design idea for our gates, but you don’t have to break the bank to get it. It’s always wiser to shop within your budget, so run through your list of options, and find something that falls within your budget.
How to Install Your Gate
The final hurdle is installing your gate of choice. This start with hiring a professional contractor, preferably the manufacturing company. Since they understand their product better and wants your 5 star review, they can reduce the cost of installation and maintenance which is very helpful on the long run. Don’t leave your gate installation to chance because wrong installation can ruin your driveway design and give your visitors a wrong impression.
Conclusion
To find that ideal driveway gate idea, you shouldn’t only consider how beautiful the design looks. The purpose of the gate must come first (security, privacy, or aesthetics?). Then, check your budget, the gate material, house exterior style, driveway size, and maintenance involved. After considering these, you can review our top ten list, and you are sure to find the perfect fit for your driveway.