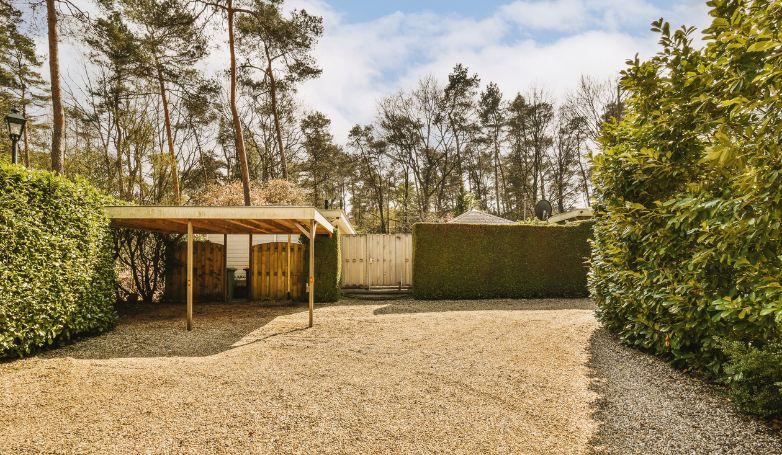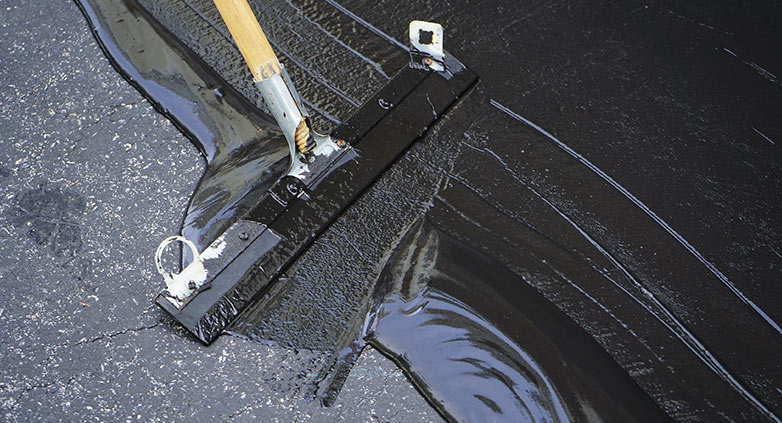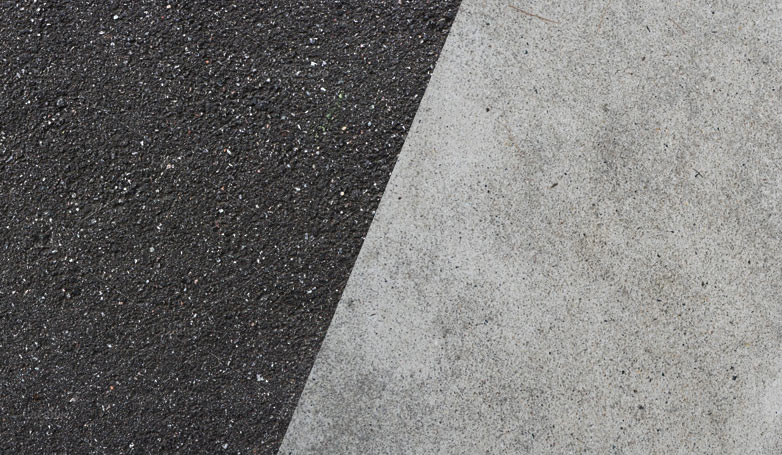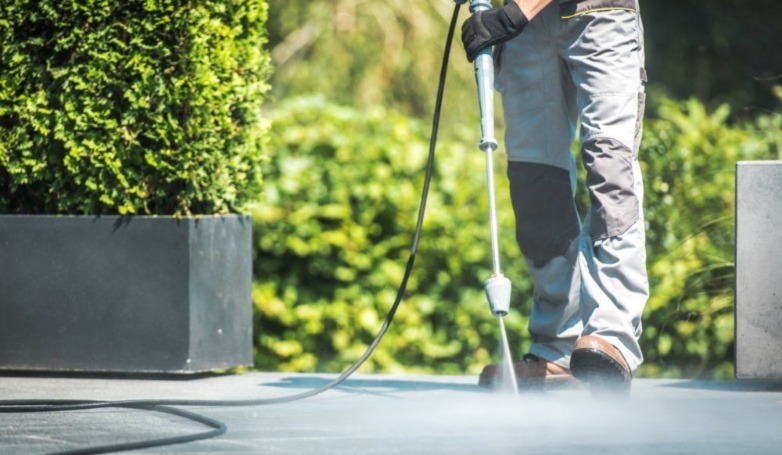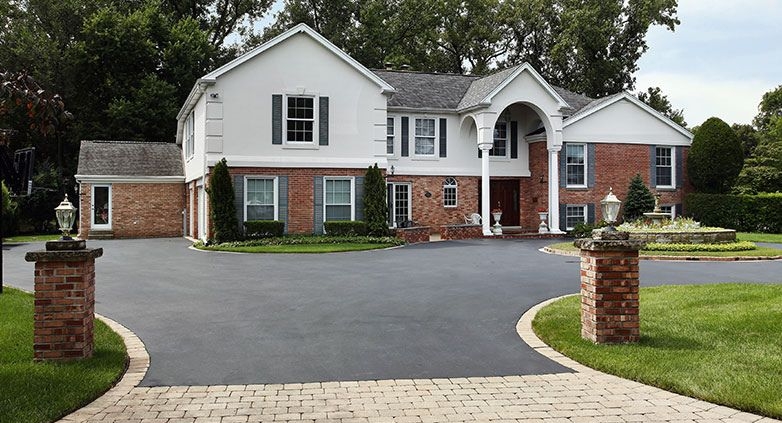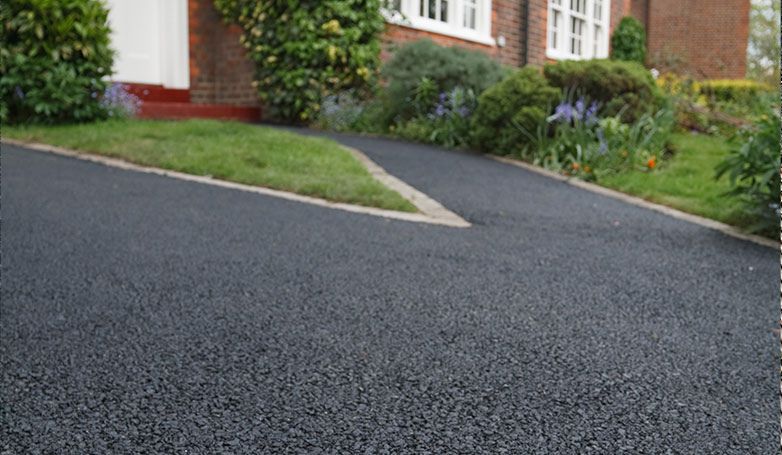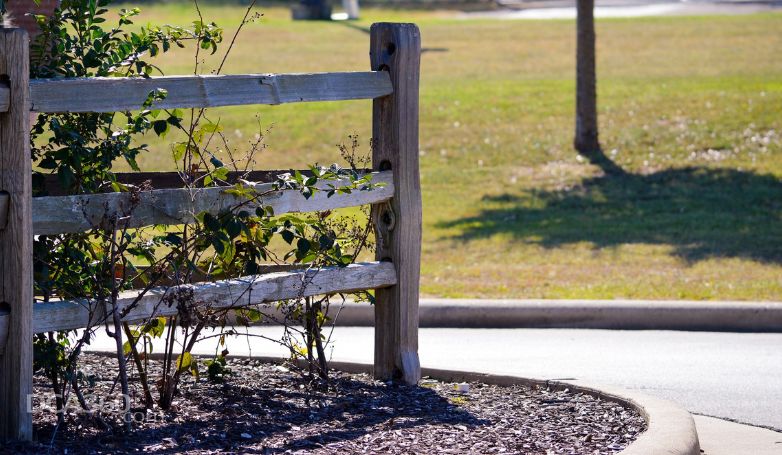
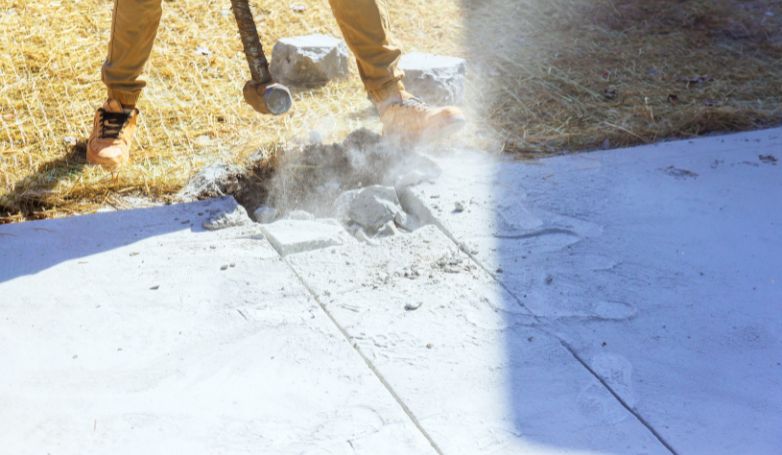
Crushed concrete is one of the most popular driveway options for homeowners nowadays, though many homeowners wonder whether having these tiny concrete pieces on the ground instead of asphalt is a good choice for their driveway.
Crushed concrete is one of the most cost-effective, eco-friendly, and versatile solutions for driveways. However, there are many homeowners that suggest the lack of durability, excess dust, and a lack of customization can be a major concern, especially when it is compared to other popular home driveway material options.
If you’re struggling to make the decision between a crushed concrete driveway and an asphalt driveway, come with us as we explore the advantages and disadvantages of concrete driveways.
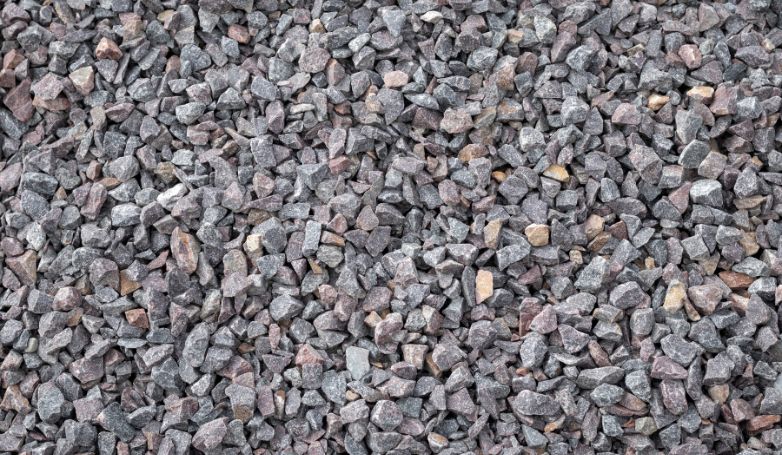
What Is Crushed Concrete?
Crushed concrete comes from demolished concrete. However, because concrete is not a biodegradable material, it either piles up in landfills for all of eternity or gets recycled for use in other residential or commercial projects, such as driveways.
When concrete is demolished, companies send it to recycling plants to be crushed even further. This process purifies the concrete and makes it suitable for use.
Some companies will make a supplement out of it to manufacture new concrete. However, it is also often sold similarly to the way you would buy regular gravel.
Is Crushed Concrete Good For Driveways?

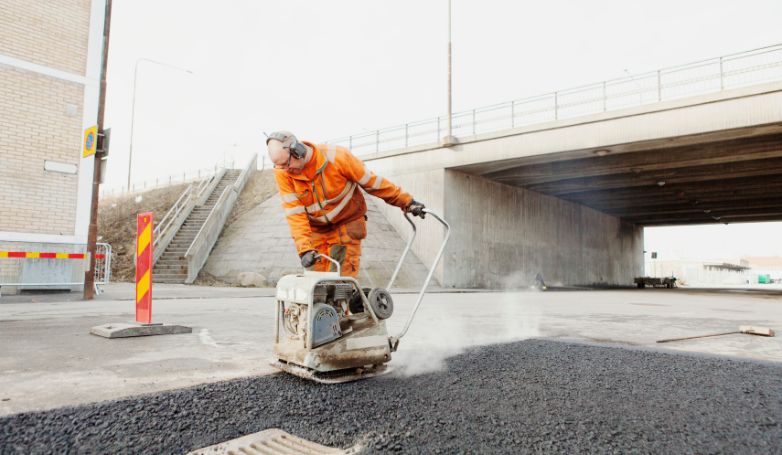
Crushed concrete is a very popular option for driveways for several reasons. It’s very cost-effective and never cracks or requires repairs. Of course, as with any driveway material, there are many pros and cons to consider.
Benefits of A Crushed Concrete Driveway
Opting for a crushed concrete driveway offers several benefits, making it an attractive choice for homeowners and contractors alike. Here are two key advantages associated with using crushed concrete for driveways
Price
One compelling advantage of opting for a driveway made from recycled materials lies in its exceptional cost-effectiveness. This results in significantly lower expenses compared to freshly poured driveways. Additionally, this choice proves to be a more budget-friendly alternative when contrasted with the costs associated with installing a driveway made of natural stone.
Eco-Friendly
Another notable advantage of opting for a crushed concrete driveway is its significant environmental friendliness. As mentioned previously, traditional concrete is non-biodegradable and, when not repurposed, contributes to landfill accumulation. By choosing crushed concrete for your driveway, you actively participate in mitigating this environmental impact, ensuring that demolished concrete doesn’t remain idle in landfills.
This practice not only conserves valuable landfill space but also diminishes the need for the production of new concrete, thereby lessening the overall environmental footprint associated with concrete manufacturing. Embracing crushed concrete as a sustainable alternative for driveways aligns with eco-conscious principles, fostering a responsible approach to construction materials while concurrently addressing waste management challenges.
Permeable
Moreover, crushed concrete exhibits exceptional permeability, contingent on its installation method. When applied in a conventional manner, it facilitates the seamless passage of rainwater into the ground. This permeable quality serves as a practical solution to alleviate the strain on local drainage systems, effectively diminishing the burden they would otherwise bear.
By enabling rainwater to permeate through, a properly installed crushed concrete surface not only supports efficient water management but also contributes to the sustainable handling of stormwater runoff. This permeability feature underscores the versatility of crushed concrete as a driveway material, providing both structural integrity and environmentally beneficial drainage characteristics.
Versatile
Crushed concrete offers cost-effective and eco-friendly benefits for driveways. By repurposing recycled materials, it reduces expenses compared to fresh concrete or natural stone. This choice not only saves money but also contributes to sustainability by minimizing landfill usage. Additionally, the permeability of crushed concrete aids in efficient water management, relieving strain on local drainage systems.
Beyond driveways, crushed concrete proves versatile in construction. Homeowners commonly use it in combination with other materials for paving projects, providing a visually appealing and cost-effective base. The material’s various variations cater to diverse applications, including surface and sub-base uses, allowing for flexibility in different construction scenarios.
Cons of A Crushed Concrete For Driveway
While crushed concrete is a popular choice for driveways due to its cost-effectiveness and environmentally friendly nature, it does come with certain drawbacks. Here are two cons associated with using crushed concrete for driveways:
Durability
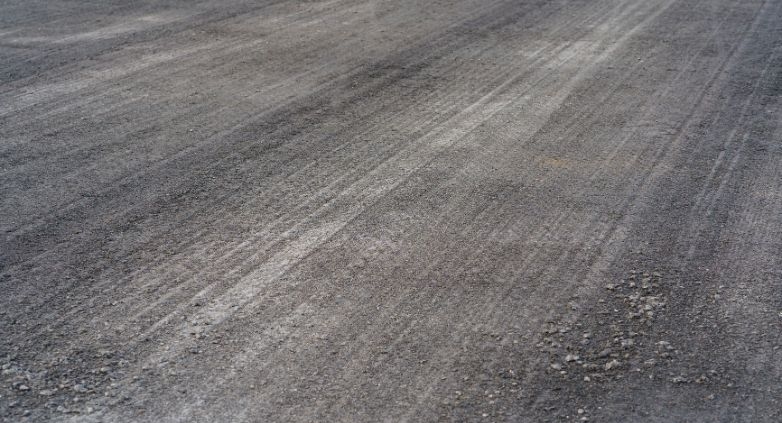
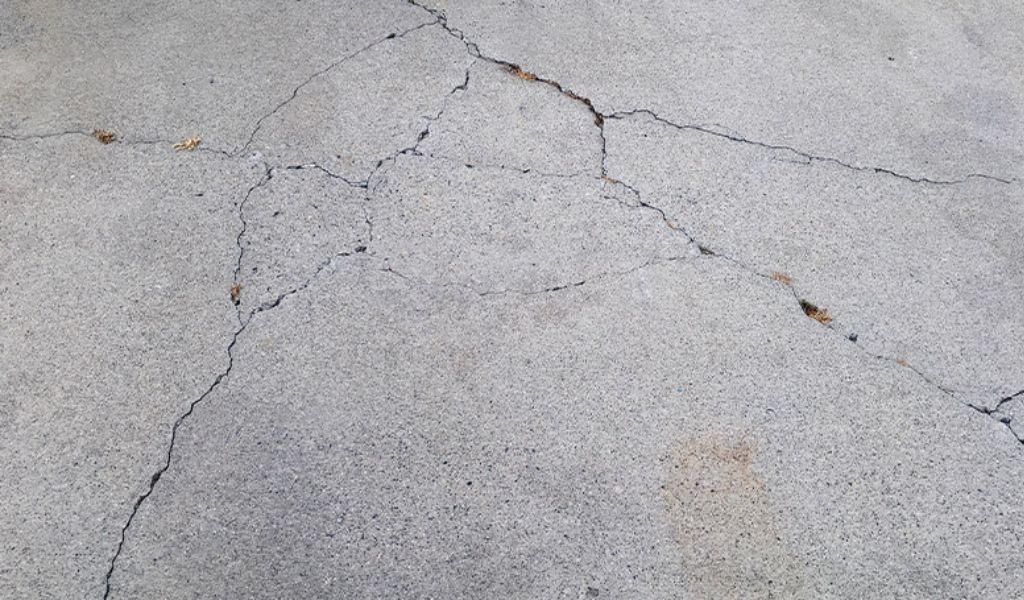
One of the main concerns homeowners have with crushed concrete driveways is durability. Yes, you’ll never have to worry about cracks with crushed concrete, which is a big advantage. However, crushed concrete is a lot like gravel in that it is loose. Over time, it can spread or thin out, requiring that you continuously add more crushed concrete every time so you don’t develop ruts or bare spots in your driveway.
Creates Dust
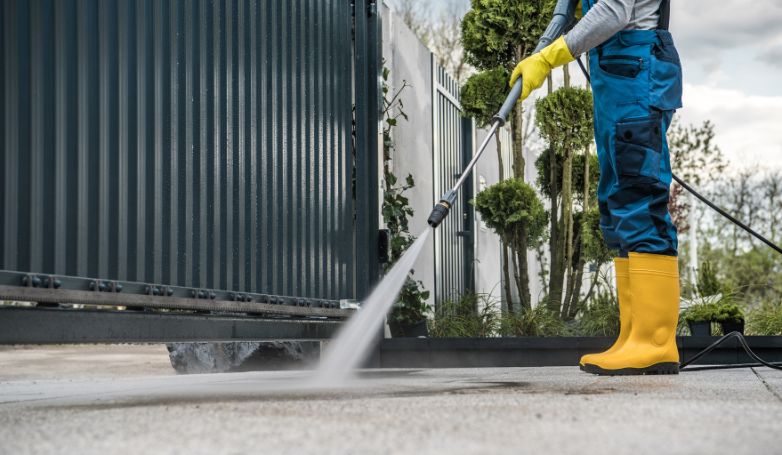
While crushed concrete shares a characteristic with gravel in generating dust, it’s important to be mindful of the potential implications. The fine particles produced have the tendency to become airborne, posing the risk of settling on nearby surfaces, including vehicles. This dust accumulation may result in frequent vehicle dirtiness, prompting homeowners to weigh the aesthetic trade-offs and consider mitigation measures, such as dust control applications or regular cleaning routines, when opting for crushed concrete driveways.
Minimal Style
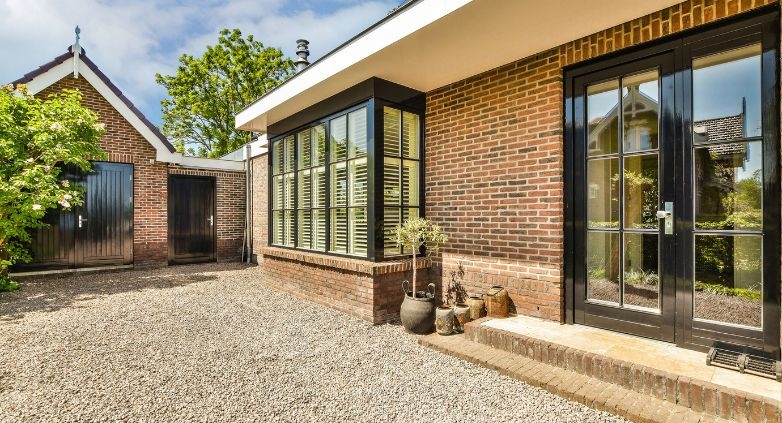
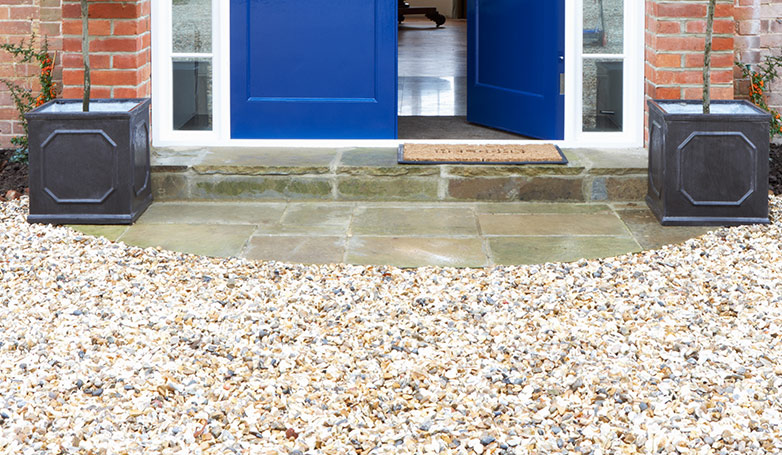
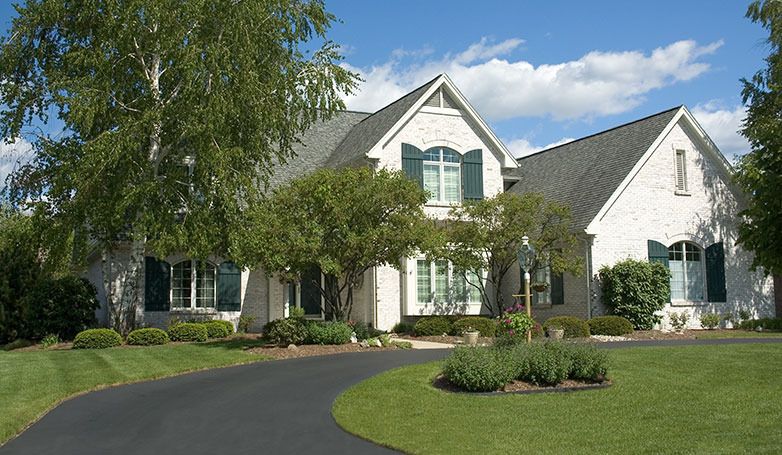
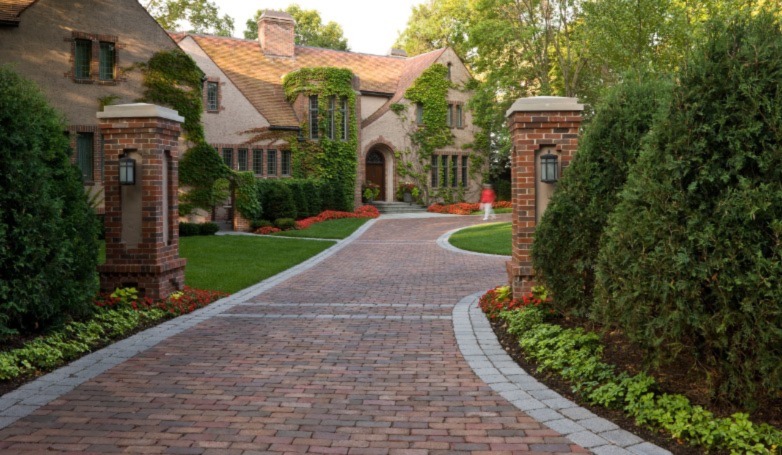
Opting for crushed concrete may not be the most suitable choice for those desiring an aesthetically pleasing or luxurious driveway. Its minimalistic style may not align with the desired visual appeal, especially for modern homes. Homeowners seeking a more stylish and complementary material have a variety of options available that can better enhance the overall appearance of their residential space. Exploring alternative materials tailored to modern aesthetics ensures a driveway that seamlessly integrates with the architectural style of the home.
Rutting
Depending on how you install your crushed concrete, it can actually have very limited permeability, which can keep water from passing through, forcing it to puddle in your driveway. When puddling starts to occur on your driveway, it becomes prone to something called rutting, which is a permanent deformation of the top layer of your paving materials.
Plus, with an irregular surface construction, it can become difficult to clean. If you live in an area where it snows often or where the leaves fall from the trees in autumn, trying to rid your driveway of this additional debris with so many moving pieces can be an absolute nightmare.
How Much Crushed Concrete Do I Need for My Driveway?
When it comes to determining the amount of materials you need for a construction job, you often use the same formula to find the measurement in cubic yards.
For example, if you’re looking at how much-crushed concrete you need for your driveway. You can multiply the width by the length by the height in feet and divide that number by 27. This will give you the amount of material you need.
So, let’s say your driveway is 10 feet by 20 feet, and you need six inches of crushed concrete. You would use the formula:
10’ x 20’ x 0.5’ to get 3.76 cubic yards.
We converted the six inches into 0.5 feet to make it work with this equation.
Of course, there are a few more variables you might want to consider to be certain you’re ordering the correct amount of material.
You’ll also need to determine the size of the material that you are using. Depending on the size of the material you choose, the coverage area can change. You’ll need to give the supplier your measurements to see how much you’ll need for each type of material.
Find out how wide your driveway should be by heading over to our article:
Driveway Width – How Wide Should My Driveway Be?
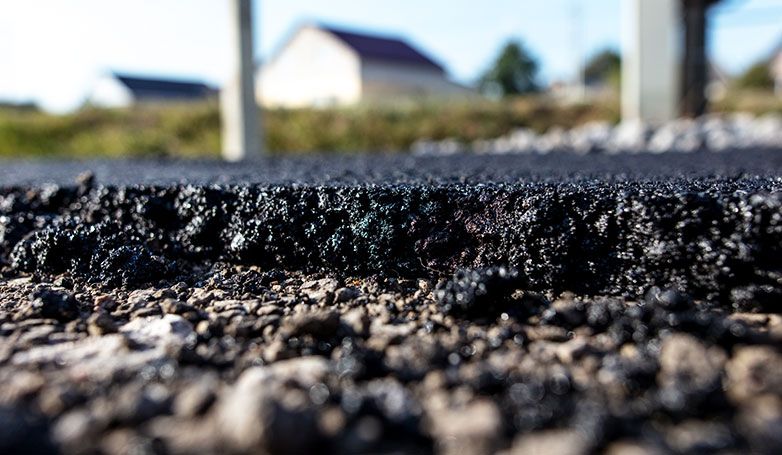
Does Crushed Concrete Harden?
Crushed concrete undergoes a natural process of hardening and compaction over time, resulting in a smoother driving surface. This transformation, however, is accompanied by a reduction in height. While the compacted surface enhances the overall driving experience, it necessitates periodic maintenance to uphold the driveway’s optimal condition.
To preserve the integrity of a crushed concrete driveway, it is advisable to add a layer annually. This proactive measure counteracts the gradual settling and compression, ensuring that the driveway maintains its desired level of firmness. Understanding the evolving characteristics of crushed concrete allows homeowners to manage their driveways effectively, fostering longevity and sustained performance.
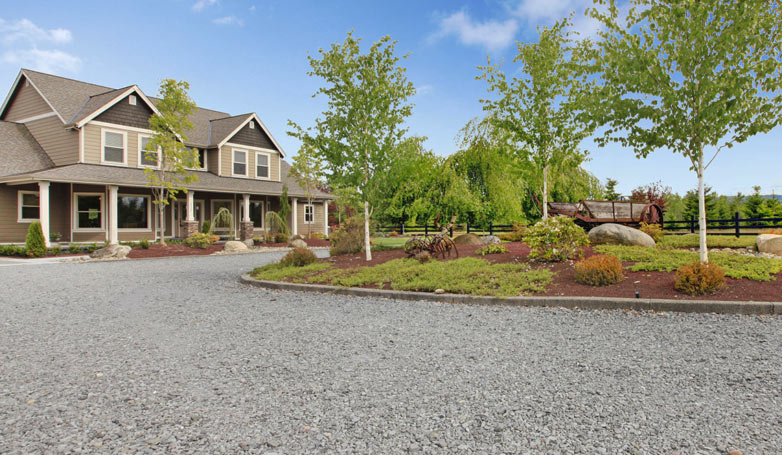
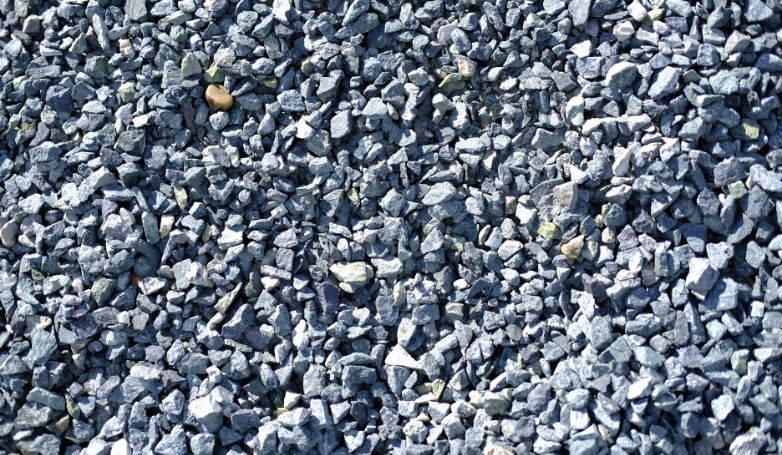
Is Crushed Concrete Better Than Gravel?

Compared to gravel driveways, crushed concrete is much more cost-effective, it’s very easy to repair, and it is very eco-friendly. However, compared to gravel, it can be more difficult to install and is not as permeable.
Gravel is a great choice for driveways when it comes to permeability. Remember, gravel is made up of groups of rock fragments that aren’t uniform in shape and size, which not only provides a unique look that many people like but also promotes better penetrability, allowing water to flow through naturally rather than pooling on top.
Essentially, a properly installed gravel driveway can stop mold and stains from appearing.
Gravel is also very easy to maintain, though it won’t compact as easily as crushed concrete, meaning you’ll often have to deal with a lot of dust.
We would say that the one major benefit to gravel is that there are plenty of different types of gravel, depending on your aesthetic choice. Some of the most common types of gravel include limestone, sandstone, and basalt. You’ll even find unique glow-in-the-dark gravel options, which can allow you to see into your driveway at night without the need for any lights, perfect for those with ultra-long driveways.
Crushed Concrete Driveway Cost
The cost of crushed concrete often depends on the kind of concrete that you buy, where you buy it from, and the market conditions. Most businesses either charge for crushed concrete by the yard or ton.
If you buy your crushed concrete by the ton, it will likely cost you anywhere between $6 and $14 per ton. However, if you purchase your crushed concrete by the yard, you’ll likely pay anywhere from $20 to $35 per yard.
More often than not, the more crushed concrete you are able to purchase, the better the deal you’ll get.
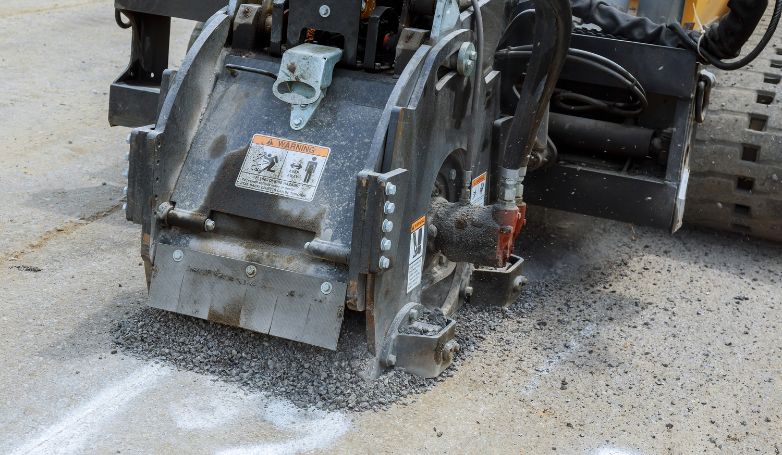
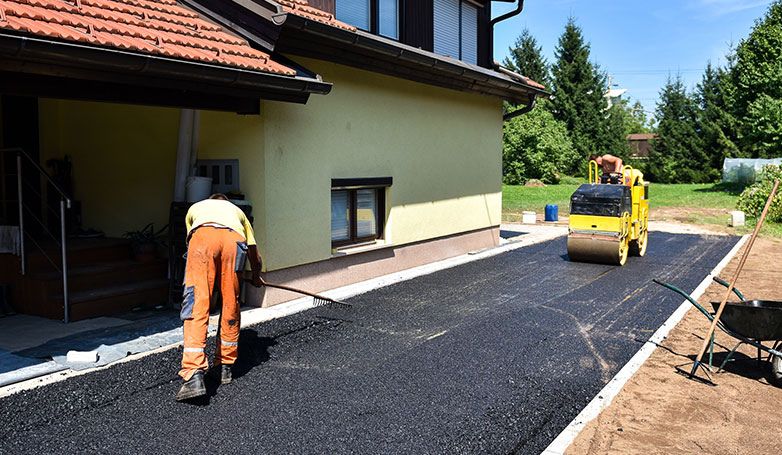
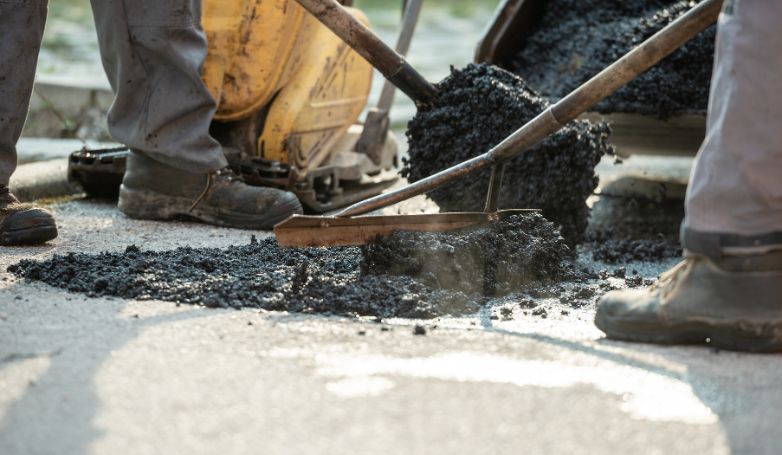
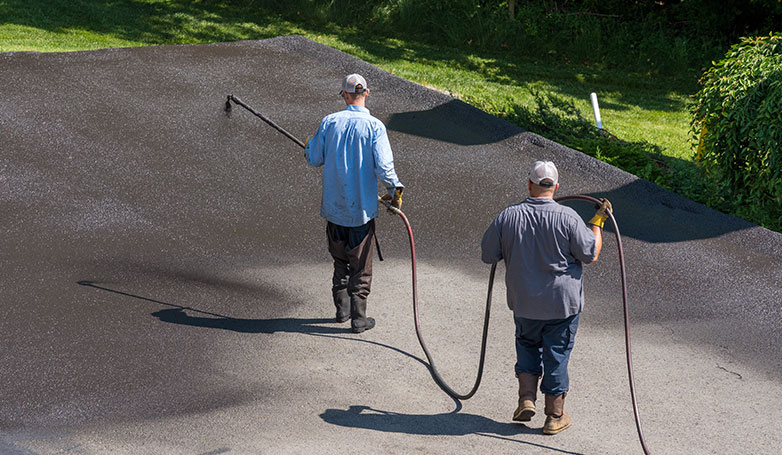
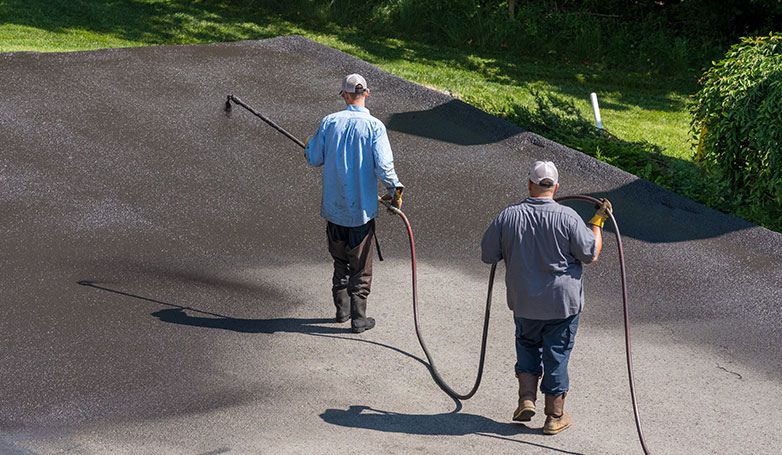
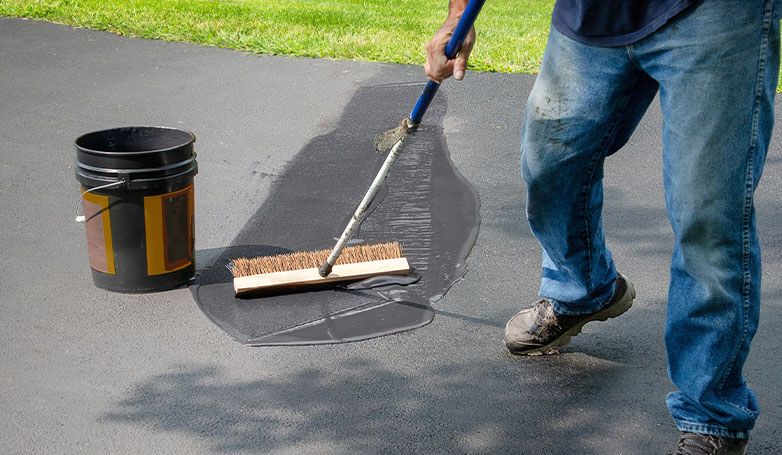
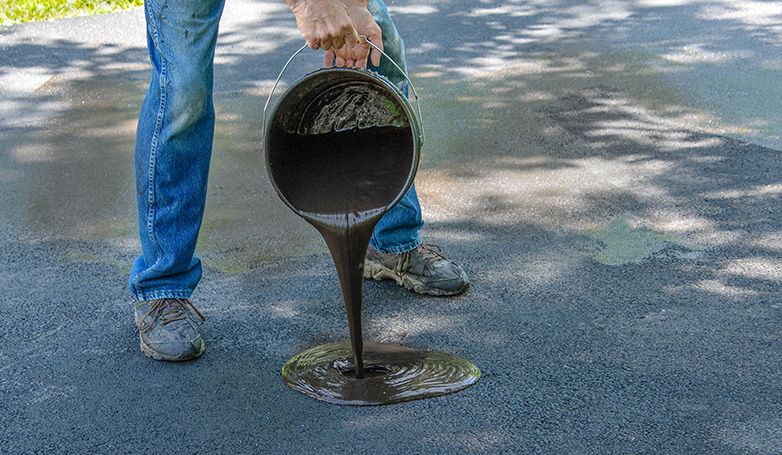
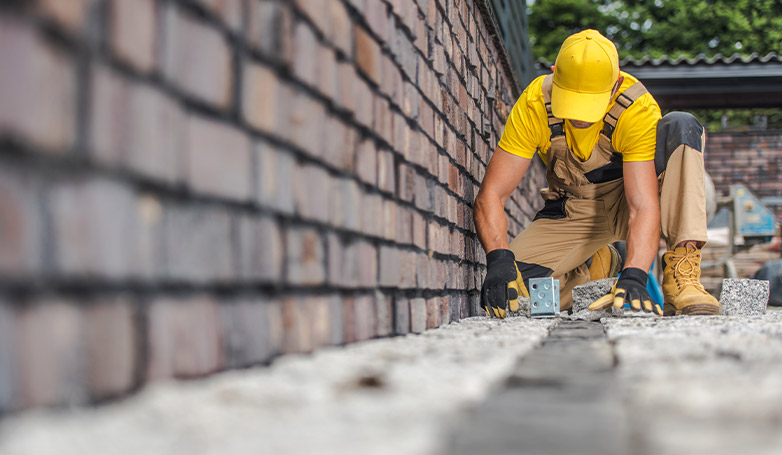
Practical Tips for Installation of a Crushed Concrete Driveway
Embarking on the journey of installing or maintaining a crushed concrete driveway can be a rewarding endeavor. These helpful suggestions are crafted to lead you through every stage of the procedure, guaranteeing that your driveway not only improves the visual appeal of your property but also remains durable and aesthetically pleasing over the long run.
Planning and Site Preparation
When planning to install a crushed concrete driveway, start by assessing the designated area. Consider the land’s slope, drainage capability, and accessibility to ensure optimal placement. Designing the layout is crucial; think about the driveway’s width and shape, including any specific design elements you might want to incorporate, such as decorative borders.
Preparing the Site
Preparing the site involves clearing any vegetation, debris, or existing surface material. This step might include excavating to a certain depth to create a stable base, especially important in areas prone to weather extremes or heavy vehicle use. Leveling and grading the area is next, ensuring that the driveway has the proper slope for effective water drainage.
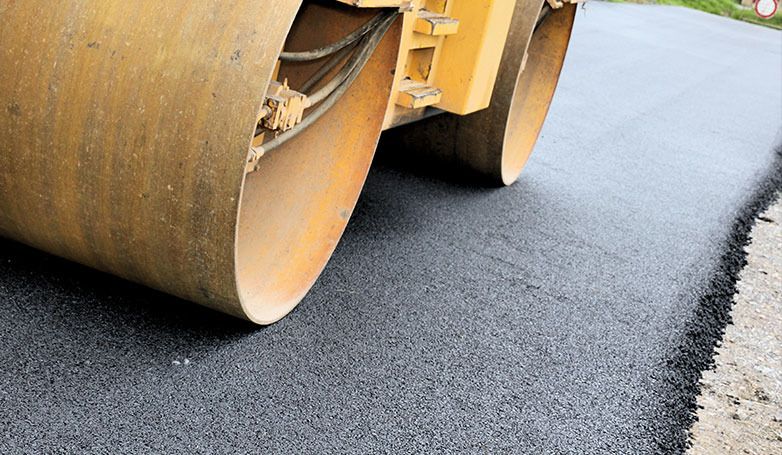
Base Layer and Compaction
The base layer is foundational to the driveway’s stability. The choice of material for the base layer, often gravel or sand, depends on your local soil type and climate conditions. Compacting this base layer is a critical step, providing a stable foundation that prevents the crushed concrete from shifting or settling unevenly over time.
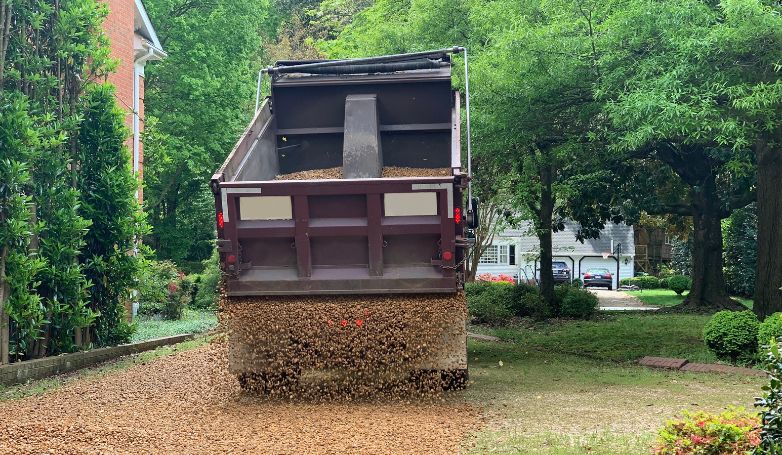
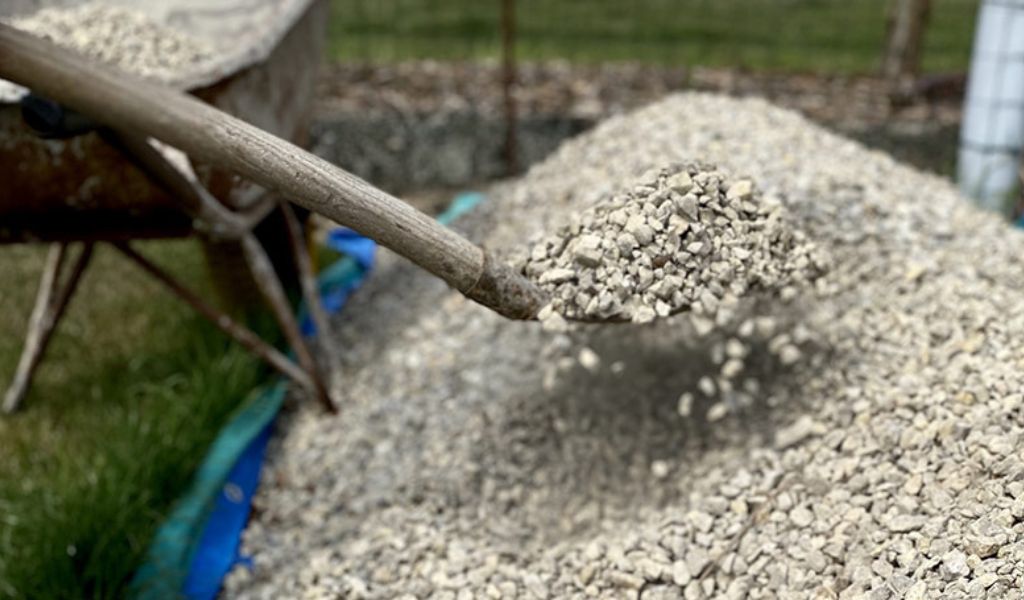
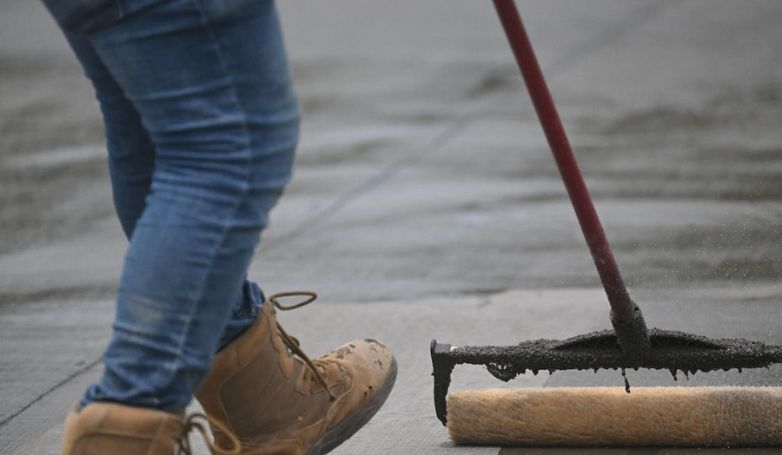
Laying the Crushed Concrete
Laying the crushed concrete involves careful selection of material. The grade and size of the crushed concrete should match the driveway’s intended use and expected traffic levels. Smaller pieces generally compact better, providing a smoother surface, while larger pieces can offer more stability in high-traffic areas. Even distribution of the crushed concrete over the base layer is essential, and this can be done with machinery for larger driveways or manually for smaller ones.
Finishing Touches
Finally, compacting the surface is vital to create a firm and durable driveway. Consider adding a top layer of finer crushed concrete for a smoother finish. Edging the driveway with bricks or stones can give it a more polished and defined look.
Maintenance of a Crushed Concrete Driveway
To establish or maintain a robust electrical wiring setup, simply follow our comprehensive list of guidelines. This step-by-step guide is designed to lead you through every aspect of the maintenance procedure, ensuring that your wiring not only enhances the functionality of your space but also remains safe and visually pleasing over time.
Routine Inspections and Care
Maintaining a crushed concrete driveway involves several key steps to ensure its longevity and appearance. Regular inspections are crucial. Keep an eye out for signs of wear such as unevenness, rutting, or spreading of the material. Addressing these issues promptly can prevent more significant problems down the line.
Top-Up Strategies
Over time, the driveway may require a top-up of crushed concrete to maintain its level and structural integrity. This is particularly important after periods of heavy use or extreme weather, which can cause the material to scatter or settle.
Cleanliness and Dust Control
Keeping the driveway clean is also essential. Regular removal of leaves, debris, and weeds not only maintains its appearance but also prevents organic materials from decomposing on the surface, which can affect its integrity. In dry conditions, consider lightly watering the driveway to control dust, but be cautious not to over-water as this can lead to erosion.
Effective Drainage Management
Finally, good drainage management is key to maintaining the health of your crushed concrete driveway. Ensure that the sides of the driveway and nearby drains or gutters are clear to prevent water from pooling on the surface. If puddles or ruts do form, address them promptly by adding more crushed concrete, regrading, or improving drainage in the affected area.
By following these guidelines for installation and regular maintenance, homeowners can enjoy a durable, functional, and aesthetically pleasing crushed concrete driveway. Regular care and prompt attention to any emerging issues will prolong the driveway’s lifespan and enhance its utility and appearance.
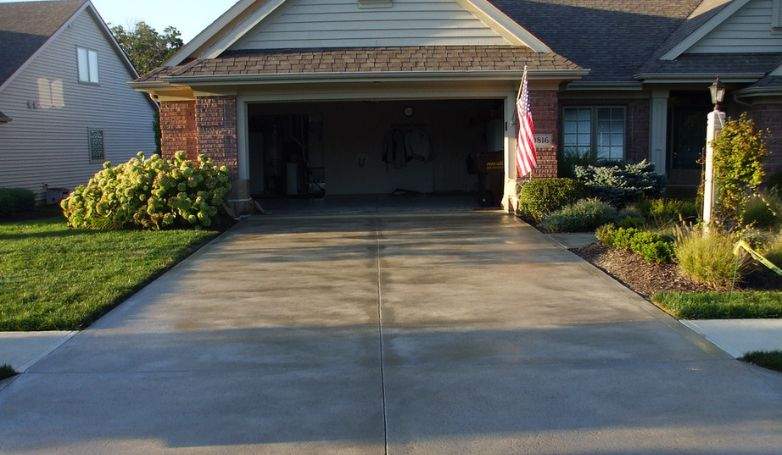
Final Thoughts
Considering a driveway made with crushed concrete? We strongly recommend it for its cost-effectiveness in comparison to gravel, asphalt, and traditional concrete. Additionally, this option is relatively low-maintenance, boasts longevity, and requires fewer repairs.
Standing out as one of the most versatile and accessible driveway materials, crushed concrete offers various applications and advantages.
Feel more assured about whether this material is suitable for your driveway needs. Our team at Paving Finder is ready to assist you with any paving services you require.
Join our pro network to connect with top-rated paving professionals in your area.