Concrete Driveway Resurfacing – Expert Tips, DIY Guide and FAQs
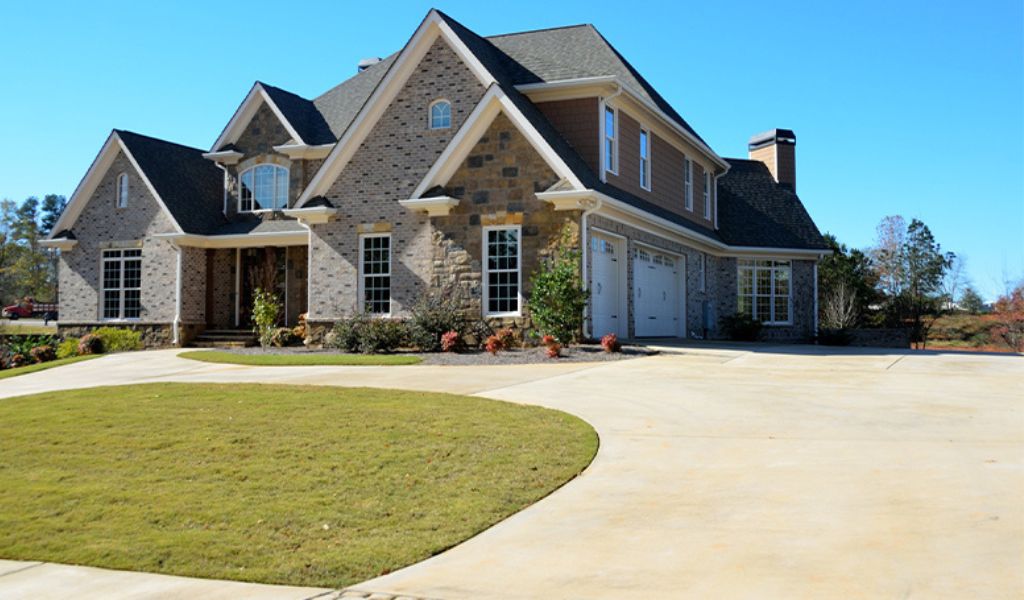
Concrete driveway resurfacing gives your existing concrete driveways an alluring makeover. It is a process that breathes new life into your concrete driveway giving it a refreshed and vibrant look. The process involves renewing the surface of your driveway with a new concrete layer to improve its appearance and durability.
Concrete driveway resurfacing is simply the process of replacing your concrete’s old driveway layer with a new one. The process involves cleaning the existing concrete driveway, removing all dirt and debris. Then you patch all cracks, holes or damage in the concrete. You then apply a bonding agent which helps the new concrete layer adhere firmly to the old one. Then finally, you pour the fresh concrete over the old surface, completely overlaying it. You can smooth over the poured concrete to ensure the surface stays even and uniform. Now, all you need to do is wait for the concrete to cure properly.
This process gives your concrete driveway a stunning transformation without breaking the bank or enduring the hassle of tearing up the old concrete. In this guide, we walk you through all the steps involved to resurface concrete driveway. We will also give you expert tips and answer frequently asked questions about concrete driveway resurfacing.
Signs Indicating the Need for Concrete Driveway Resurfacing
There are different signs that indicate that your concrete driveway is in need of resurfacing. In this section, we will talk about some of these signs.
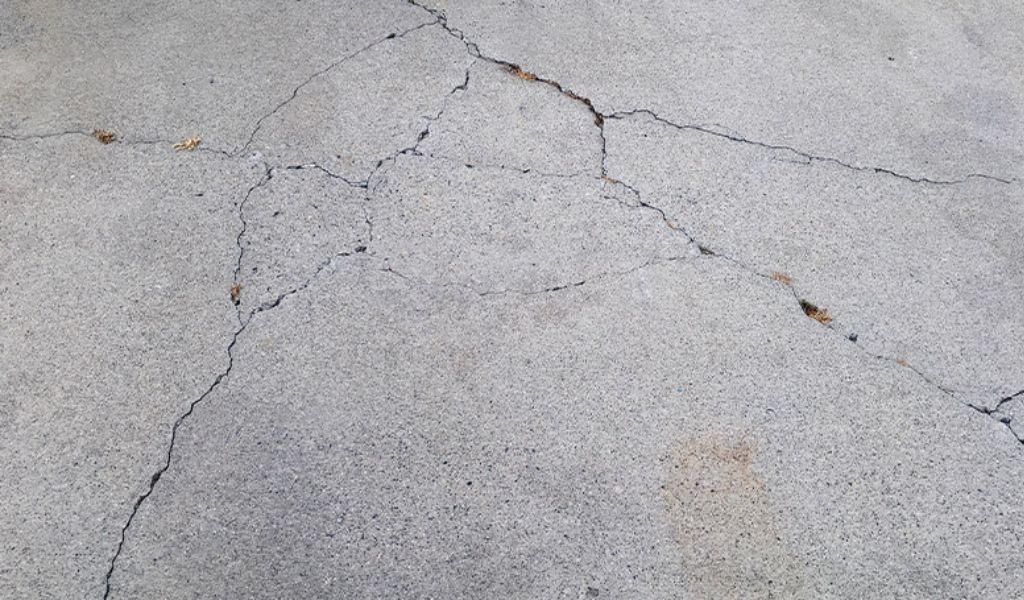
Visible Surface Cracks
If you notice any visible or developing structural cracks on the surface of your concrete driveway, this is a common sign that your driveway is in need of resurfacing. This is because cracks not only ruin the aesthetic appeal of your driveway, they worsen over time and compromise the concrete’s structural integrity.
Potholes and Depressions
If cracks are left unattended to, they deteriorate into potholes and depressed pits in your concrete driveway. This is an indicator that there are structural issues within your concrete. Concrete driveway resurfacing is needed in cases like this because it helps you even out and restore your driveway’s surface. It also reinforces the concrete’s structural integrity.
Crumbling Edges
If you notice that the edges of your concrete driveway are crumbling and deteriorating, this is a sign that you need to resurface as soon as you can. Crumbling edges are a sign of weakening concrete and compromised structural integrity. Resurfacing the concrete driveway restores these edges and strengthens the concrete.
Spalling and Flaking
Spalling is the peeling or flaking of the concrete layer on the surface of your driveway. It is caused by high traffic, freeze-thaw cycles or age. And it is a sign that your concrete driveway needs resurfacing.Resurfacing restores the intactness of your concrete driveway’s surface.
Frequent Repairs
If you are having to constantly patch or repair your concrete driveway, you need to start thinking of resurfacing. Resurfacing your concrete driveway resolves most of the issues that cause the frequent patching and repairs. Thus, you save yourself the cost of incessant repairs.
Surface Stains and Discoloration
Stains, fading and discoloration makes your concrete driveway look worn, unkempt and unattractive. Resurfacing gives it a vibrant brand-new aesthetic that greatly improves its appearance.
Tools and Materials That You Need To Resurface Your Concrete Driveway
To effectively carry out the concrete driveway resurfacing process, you will need a range of tools and materials. Here, we compile a list of what you will need and where you can get them from.
| Tool/Material | Link to Amazon/Home Depot |
| Pressure Washer | Link |
| Long-handled Squeegee | Link |
| Power Drill | Link |
| Stiff Bristle Brush | Link |
| Concrete Resurfacer Mix | Link |
| Concrete Trowel | Link |
| Concrete Float | Link |
| Concrete Bonding Agent | Link |
| Concrete Sealer | Link |
| Finishing Broom | Link |
| Concrete Edger | Link |
| Masking Tape | Link |
| Safety Gloves and Goggles | Link |
| Crack Repair Compound | Link |
How to Resurface Your Concrete Driveway in 10 Steps
Concrete driveway resurfacing can be a simple DIY project if you follow these 10 steps carefully.
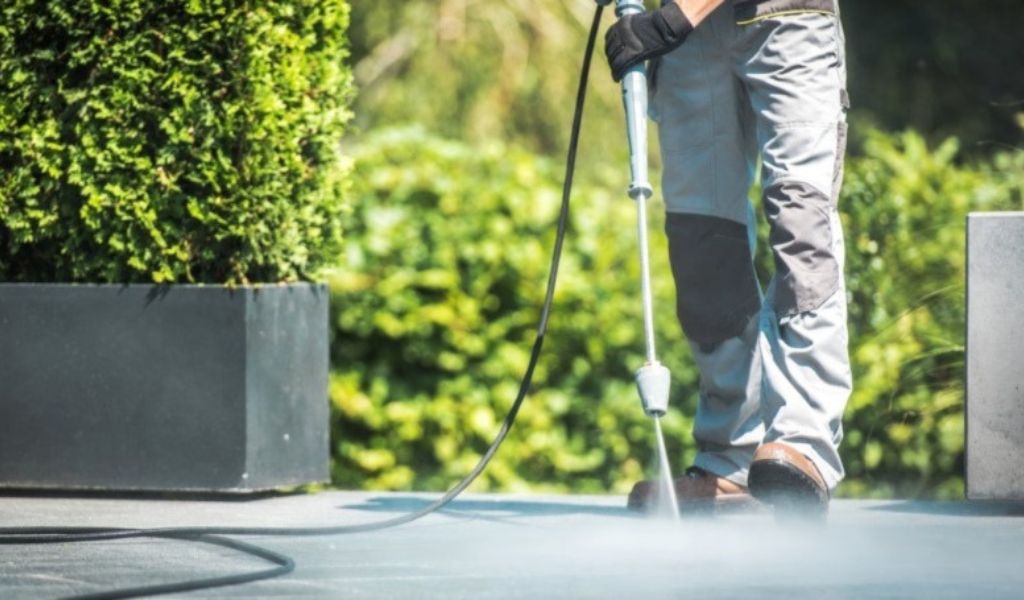
1. Assessment and Preparation
Thoroughly evaluate the condition of your concrete driveway. Look out for any cracks or damages that may need patching before resurfacing. Carry out the necessary patching that may be required. Prepare the driveway for resurfacing by removing all dirt and debris on its surface. Use a pressure washer or a suitable cleaning agent to remove tough oil stains and accumulated grime.
2. Surface Profiling
Surface profiling involves roughening up the surface of the existing driveway. This is done to make sure the new concrete layer to be poured on it will adhere firmly and securely. Profiling can be done by etching or grinding on the concrete’s surface to make it rough and textured.
3. Application of Bonding Agent
Applying a concrete bonding agent is essential to ensuring that there is a strong adhesive bond between the old and the new concrete layer. It enhances adhesion and ensures the longevity and durability of the resurfaced concrete driveway. Make sure to apply the bonding agent evenly across the cleaned and profiled surface. It usually needs some time to dry and become tacky like a masked tape. So wait a bit before moving on to the next step.
4. Mixing Resurfacing Material
The concrete resurfacing material can either come as a powder or in pre-mixed bags. Read the manufacturer’s instructions on the material’s package carefully and make sure to follow them to the letter when mixing. Use a mixing container and a drill with an attached paddle for ease. Usually, you need to add just enough water to achieve the right lump-free consistency. The right consistency for the mixture looks just like thick pancake batter.
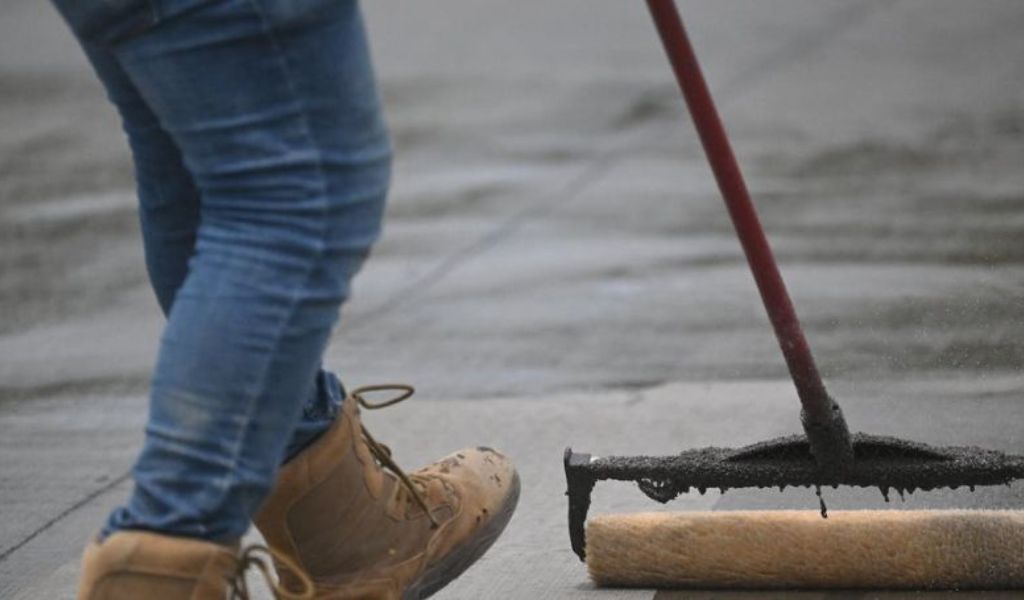
5. Application of Resurfacing Material
This is where we apply the resurfacing material mixture from the previous step to our concrete driveway. Start at one end of the driveway using a long-handled squeegee or concrete towel to apply the mixture. Focus on repair areas and uneven spots in the concrete. Work your way carefully towards the other end maintaining an even and uniform thickness.
6. Texturing and Finishing
While the resurfacing material is wet, you can use a concrete float or trowel to create your desired texture and finish. You can smoothen the concrete’s surface with the trowel if you want your driveway smooth. If you want a bit of grip and texture, you can apply a finishing broom across the concrete’s surface. You can even use stamping tools for decorative patterns.
7. Curing
Curing means giving the newly resurfaced concrete time to dry and harden properly. Cover the surface with a plastic sheet or a wet burlap and keep it moist for at least 24 hours, preferably longer. This allows the concrete to gain strength as it dries.
8. Sealing
Apply a concrete sealer after the concrete has cured fully. The sealer protects the new concrete driveway surface from moisture and stains. Use a roller or sprayer to apply an even coat across the concrete’s surface.
9. Clean-Up
Clean all your tools immediately after use. Use a cleaning agent if necessary, and rinse them off with water. This prevents the concrete from setting on them. Make sure to dispose of any waste materials properly and safely.
10. Fix Imperfections (if any)
This step is done after the curing process. Inspect the newly resurfaced concrete driveway after it has cured fully. If you find any imperfections like small cracks, missed or uneven spots, you can fix them with a concrete patching compound. It is important to do this step before sealing. If you check for imperfections after sealing, you would have to reseal the concrete after repair.
How to Maintain Your Resurfacing Results
Maintaining the results of your concrete driveway resurfacing is important to ensure its longevity and preserve its aesthetic appeal. Here are a few guidelines on how to maintain your resurfacing results effectively:
- Keep your resurfaced driveway clean always. Use a garden hose or pressure washer to remove dirts, debris and stains. You can add a mild detergent to remove tough stains.
- During winter, do not use deicing chemicals like rock salt on your driveway. They can damage the surface of your driveway. Use sand or cat litter for traction instead.
- Routinely inspect your concrete driveway for any signs of crack or damage and attend to them promptly.
- Avoid spilling oil or chemicals on your concrete driveway. Oil and chemicals stain and damage the concrete.
- Pay attention to the type of sealer you used on your concrete, you may need to reapply it every 1-3 years.
- Avoid leaving heavy loads or parking heavy vehicles on the same spot on your driveway for extended periods.
- Ensure that your driveway has a well-functioning drainage to keep water from pooling on its surface.
Concrete Driveway Resurfacing Cost per Square Foot: DIY Vs Professional
Let’s break down the costs, pros and cons for DIY and professional concrete driveway resurfacing. This will help you know which one to go for for your next resurfacing project.
DIY Concrete Driveway Resurfacing
Pros
- Cost-saving – Doing it yourself is budget-friendly as you get to save on labor costs.
- Customization – You have total control over the resurfacing process. So you can get to experiment with the texturing and finishing as much as you want.
- Learning Experience – DIY projects are always an opportunity to learn and improve your skills. The feeling of accomplishment afterwards is also a nice bonus.
Cons
- Skill and Knowledge – Concrete work can sometimes be complex. And you might struggle with achieving professional results.
- Time-consuming – The process is time-consuming as it involves multiple steps. You may not have the time or the patience to carefully undertake each step in the process.
- Risk of Mistakes – Non-professional may be prone to making errors during the resurfacing process. Errors in mixing, application, or finishing can lead to unsightly results, requiring costly fixes.
Costs
DIY concrete resurfacing costs can vary but typically range from $2 to $4 per square foot. Additional costs may include tools and equipment rental, which can add around $100 to $200 or more to the total cost.
Professional Concrete Driveway Resurfacing
Pros
- Expertise – Professionals have the skills and experience to achieve high-quality and long-lasting finish.
- Time Efficiency – Hiring professional saves you time as they can execute the project much more quickly,
- Warranty – Many professionals offer warranties to guarantee the high quality of the service provided.
Cons
- Higher Cost – Professional resurfacing comes with labor costs, so they are usually more expensive upfront.
- Limited Customization – While you can still communicate your preference to the hired professional; you do not have as much creative freedom as you would have had doing it yourself.
Costs
The cost of professional concrete driveway resurfacing can vary depending on factors like location, the condition of the driveway, and the chosen finish. On average, you can expect to pay between $4 to 8 or more per square foot. For a typical 1,000-square-foot driveway, this could range from $4,000 to $8,000 or more.
FAQs About Concrete Driveway Resurfacing
There are alot of concerns for concrete driveway owners when deep cracks begin to appear in their paving. However asking the right questions is key to successfully plan a resurface concrete driveway. Here are the top 5 questions to ask before you resurface your concrete driveway.
What Is the Average Cost To Redo a Concrete Driveway?
The average cost to redo a concrete driveway typically varies from $5 – $10 per square foot. This includes the cost of removing the old concrete driveway, hauling away debris, and installing the new driveway.
What Is the Best Product To Resurface a Concrete Driveway?
There are a lot of very good concrete resurfacing products on the market. If you are planning on hiring a professional to do your resurfacing, we advise that you seek product recommendations from them. If you are planning to DIY, we can recommend QUIKRETE Concrete Resurfacer. It is easy to use and provides a durable finish that can withstand various weather conditions. It is also available in most home improvement stores and online retailers.
Is It Better To Resurface or Replace Concrete?
When it comes to deciding whether to resurface or replace concrete, there is one major factor to consider. The condition of the concrete. Carefully assess the concrete and note the level of damage it currently has. If the damage is limited to surface cracks and slight damages, resurfacing is the ideal option. Or if the concrete is in good condition but has lost its visual appeal, resurfacing is also the ideal option. However, in cases where there are structural damages both to the surface and to the underlying slab, you may need to replace the entire concrete.
Can You Put a Coating on a Concrete Driveway?
Yes, you can apply coating on a concrete driveway. Concrete coatings are a popular option for enhancing the appearance of concrete surfaces, including driveways.
Are Driveway Coatings Worth It?
Whether driveway coatings are worth it depends on your specific needs and goals. But in a general context, where the appearance and durability of the concrete driveway is prioritized; driveway coating is a worthy investment.
Conclusion

We have walked through everything there is to know about concrete driveway resurfacing. All you need to do now is to understand your unique needs. And then make an informed decision to rejuvenate your driveway, ensuring it welcomes you and your guests with both function and style for years to come.

Leave a Reply
Want to join the discussion?Feel free to contribute!