Driveway Sealcoating – Protect Your Pavement Investment
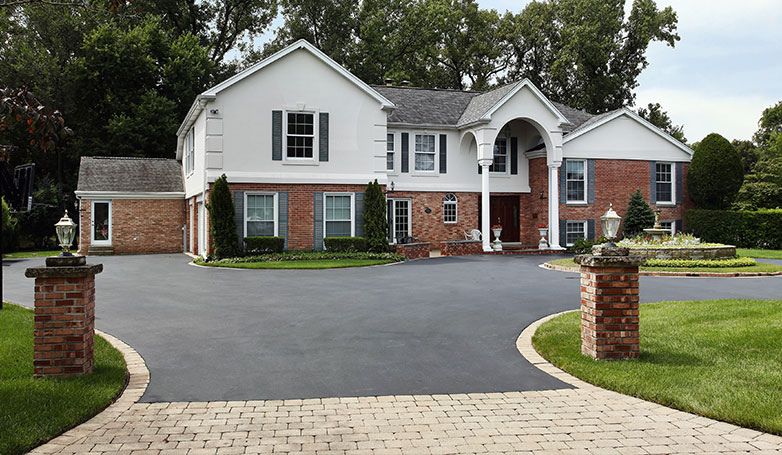
Driveway sealcoating is a crucial part of house maintenance, greatly increasing the lifespan of your driveway. It shields the driveway from damaging substances like UV rays, water, and vehicle chemicals, improving the pavement’s sturdiness and aesthetic attractiveness. Any homeowner wishing to maintain the condition of their driveway would be wise to invest in this process.
Driveway sealcoating entails putting a specific coating on surfaces made of asphalt or concrete as a primary preventive strategy. The procedure creates a barrier against environmental wear and tear, UV deterioration, and chemical damage. This increases your driveway’s lifespan and aesthetic appeal while lowering long-term maintenance expenditures.
Ready to dive deeper?
Keep reading for expert advice as we unpack the numerous benefits of sealcoating driveway, list the tools you’ll need for the job, guide you through each step of the process, and more. Your journey to a longer-lasting, more attractive driveway starts here.
What is Driveway Sealcoating?
So, what is seal coating exactly?
Driveway seal coating is essential for increasing the life of your asphalt driveway and is not just an optional home improvement project. But what is it exactly?
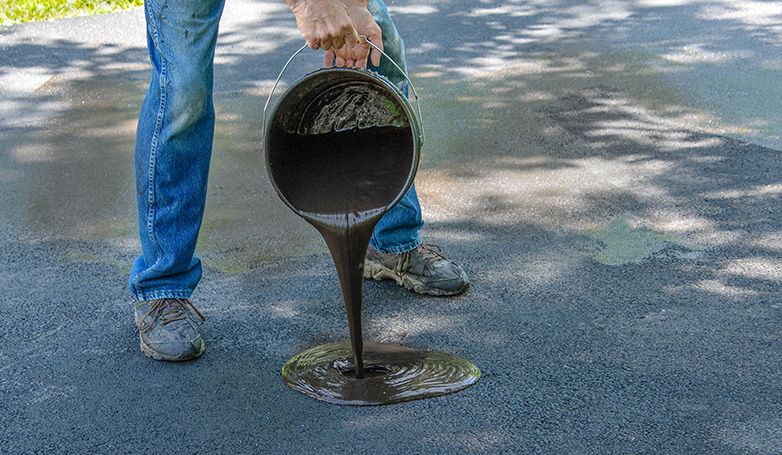
A seal coat is a unique liquid layer applied to an asphalt surface to offer protection from harm such as cracks, water erosion, UV radiation, and chemical spills. It’s like covering your driveway with a raincoat and sunblock, to put it simply.
Why, then, do you require it? This is why:
Benefits of Sealcoating a Driveway
Sealcoating offers a plethora of benefits that extend beyond merely making your driveway look new. Here are some of the advantages:
How Sealcoating Extends the Lifespan
Untreated asphalt sealer driveways last between 12 to 20 years, depending on maintenance and weather conditions. The seal coat is a barrier against various forms of wear and tear,
including cracking, potholes, and rutting. Minimizing these issues delays the need for costly repairs or replacements.
Sealcoating as a UV Protection Shield
Solar radiation is not just harmful to the skin; it can also fade and deteriorate your driveway. The seal coat contains UV-blocking additives that shield the asphalt from the sun’s harmful rays.
This is particularly beneficial in sunny climates, where UV radiation can speed up the aging process of your driveway, making it look old and worn out in just a few years.
Resists Chemicals
The modern driveway is frequently exposed to chemicals, mainly from car oils and other fluids. Driveway sealcoating helps resist the corrosive effects of these chemicals, preventing them from seeping into the asphalt. This is vital for prolonging the lifespan of your driveway.
Read more: Best 20 Driveway Lights
Cost-Efficient
Although sealcoating your driveway may seem expensive initially, it is an investment in its lifespan. An untreated driveway’s average repair cost for holes and cracks might be between
$100 and $150. Nevertheless, a properly applied seal coat diminishes the necessity for such repairs, potentially saving you thousands of dollars throughout your driveway.
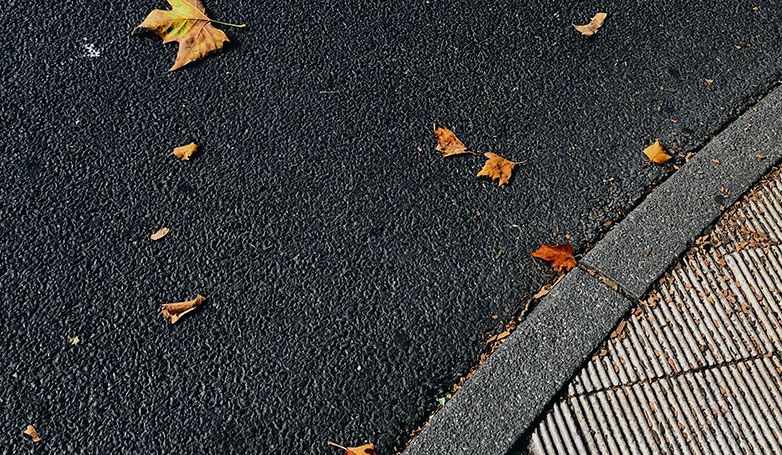
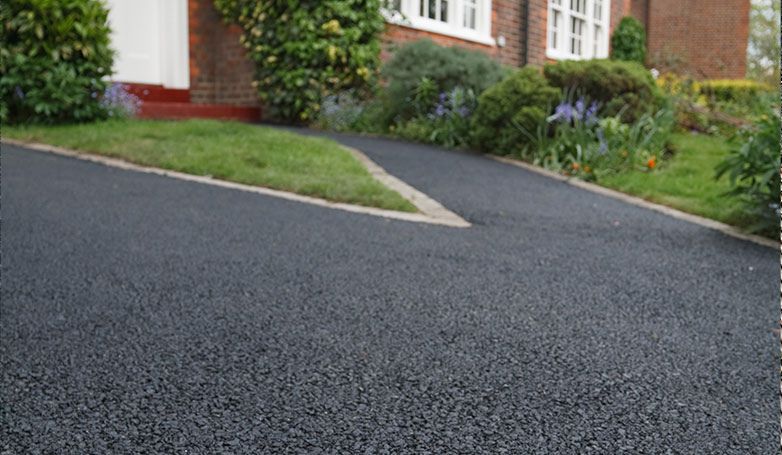
Aesthetic Appeal
Beyond its useful advantages, sealcoating greatly enhances your driveway’s cosmetic attractiveness. Your driveway will appear brand new thanks to the dark, rich color it adds. It also has a big impact on a home’s market value.
Tools Required for Sealcoating Your Driveway
Before you dive into the project, make sure you have all the necessary tools and materials at your disposal:
- Broom or Blower: Necessary for removing loose debris from the surface. Opt for a gas-powered blower for better efficiency.
- Wire Brush or Scraper: For tackling stubborn stains and attached debris. Stainless steel wire brushes are durable and effective.
- Crack Filler: Essential for prepping the driveway before sealcoating.
Look for a high-quality, rubberized filler for best results. - Asphalt Patch: To handle larger damaged areas.
Cold patches are suitable for minor repairs, but a hot asphalt mix is best for significant damage. - Pressure Washer: For an in-depth cleaning of the driveway surfaces prior to applying driveway sealcoating.
A unit with at least 2,500 PSI is recommended for effective cleaning. - Sealant: The actual seal coat material.
Acrylic-based sealants are environmentally friendly and long-lasting. - Stir Stick: To thoroughly mix the sealant.
Opt for a long wooden stick that can reach the bottom of the sealant container. - Sealcoating Squeegee or Brush: For the actual application.
A squeegee helps spread of the sealant, but a brush is better for textured surfaces. - Protective Gear: Safety first! Get a mask and gloves.
Nitrile gloves offer excellent chemical resistance. - Edging Tool or Trim Brush: For detailed work along the edges.
Angled brushes give you better control while sealing edges.
How to Sealcoat a Driveway in 6 Steps
Follow this simplified 6 steps guide to perfectly sealcoat a driveway:
1. Cleaning the Driveway
Before starting, remove any loose debris using a broom or blower. For an even more thorough cleaning, using a pressure washer is highly recommended. This initial step is crucial as it ensures that the sealcoat adheres well to the driveway surfaces.
2. Repairing Cracks and Holes
Use crack filler and asphalt sealcoating for any cracks or holes in your driveway. Allow these materials to fully cure as per the sealcoat product’s directions. Don’t skip this step; proper repair is vital for the long-lasting effectiveness of the sealcoat.
3. Remove Residue and Dirt
Besides sweeping and power-washing, you may also need a specialized cleaner for oil or grease stains. Ensuring a clean surface is essential for the sealcoat to bond effectively with the asphalt.
4. Gathering Necessary Materials
Collect all the items you’ll need for the job to fill cracks and potholes, from sealant to protective gear, in one place to make your work easier. Being organized will streamline the process and help avoid unnecessary delays.
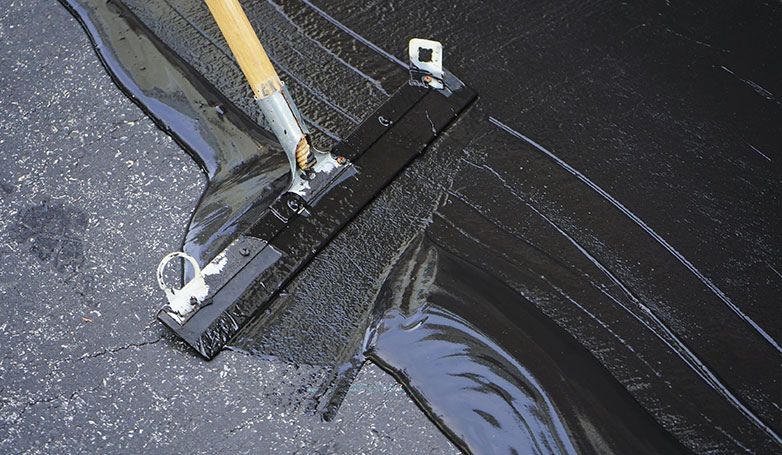
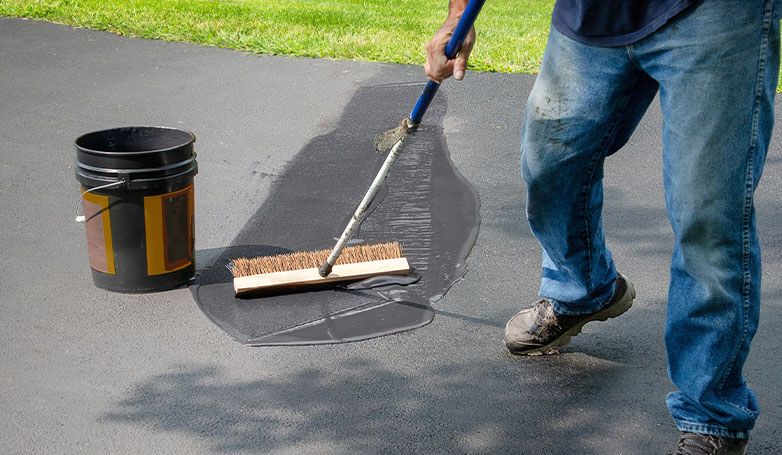
5. Applying Sealcoat
Using a squeegee or brush, apply the sealcoat in thin, even layers. Following the manufacturer’s instructions closely is key for achieving the best results. The even application ensures that the driveway sealcoating will be fully cured, extending the lifespan of your driveway.
6. Drying and Curing Process
After application, allow at least 24-48 hours for the seal coat to dry and fully cure before using the driveway. The waiting period is crucial; using the driveway too soon could ruin your hard work and the integrity of the sealcoat.
How Often Should the Sealing Coat Be Applied?
The amount of traffic your driveway receives, the type of sealant applied, and the temperature all affect how often you should seal a driveway. For best effects, it is advised to reapply the sealant every two to four years. Driveways in areas with harsh weather or significant traffic may benefit from sealcoating every 18 months. For expert advice tailored to your needs, join our Pro Network of sealcoating professionals.
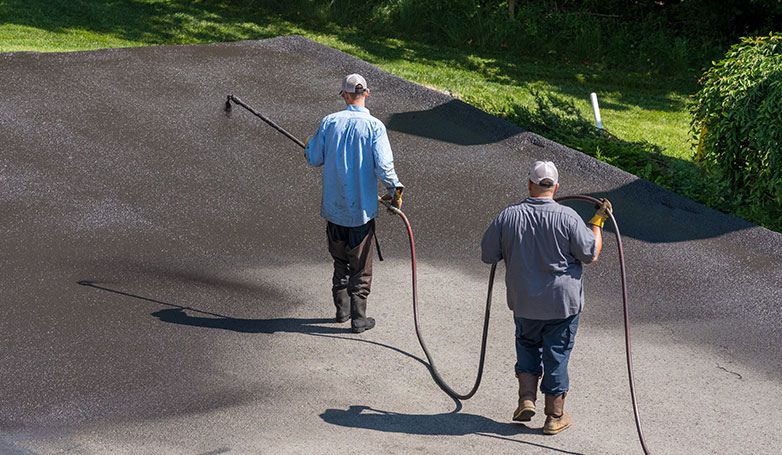
How Much to Sealcoat Driveway: DIY vs. Professional
In the world of paving services; the cost of sealcoating can vary greatly based on whether you choose to DIY or hire a professional.
DIY: The costs can range from $50 to $200 for basic sealcoating. Pros: Lower upfront cost, sense of accomplishment.
Cons: Time-consuming, requires some skill.
Professional: Costs can exceed $400, depending on the size and condition of your driveway. Pros: Speed, professional finish, longer-lasting results.
Cons: Higher cost, less personal involvement.
Common Mistakes to Avoid When Sealcoating a Driveway
You’ll be well on your way to a good, long-lasting sealcoating job by being aware of the following typical mistakes made while driveway sealcoating. Make sure to use a paving finder to find the best driveway sealer that fits your needs.
Applying Too Thickly
What Happens: While it might seem like a thicker coat would offer more protection, this is a misconception. A layer that’s too thick will not cure properly, leading to an unstable surface that can crack, peel, or become pockmarked.
Why It’s a Mistake: Sealcoating is designed to penetrate the asphalt, bonding with it to create a durable layer. If applied too thickly, it can’t properly bond, leading to a host of issues.
How to Avoid: Always follow the manufacturer’s instructions regarding application thickness. Typically, applying two light layers is more effective than one heavy coat.
Expert Tip: Use a calibrated squeegee or specialized applicator wand to maintain an even layer.
Skipping Repairs
What Happens: If you apply a sealcoat over cracks or holes, you’re merely masking the problem, not solving it. These problems will only worsen over time, costing you more in long-term repairs.
Why It’s a Mistake: Sealcoat is not a filler or a patching agent. Applying it over damaged areas will not provide any structural integrity to the asphalt.
How to Avoid: Prioritize repairing all cracks and holes before sealcoating. Use a high-quality crack filler or asphalt patch for this purpose.
Expert Tip: For larger cracks and potholes, consider professional repair services to ensure a smooth, even surface suitable for sealcoating.
Disregarding the Weather
What Happens: For driveway sealcoating to cure correctly, the atmosphere must meet specific requirements. It may not stick to the asphalt sealer in cold weather— rain may wash it away before it can set.
Why It’s a Mistake: Ignoring the weather might lead to a failing project that necessitates removing the seal coat and starting over, which will double your costs.
How to Avoid: Before sealcoating driveway surfaces, always check the weather prediction. A dry day with temperatures between 50- and 85-degrees Fahrenheit is the perfect circumstance.
Expert Tip: Humidity levels should be lower than 50% to dry and fully cured the driveway. Ensure conditions are right for the seal coat to fully cure.
Conclusion
Driveway sealcoating is an effective and crucial component of driveway maintenance and care. With the right tools, materials, and techniques, you can either take on the task yourself or hire professionals to ensure a high-quality finish. Make sure to avoid common mistakes and keep an eye on the weather for the best results.

Leave a Reply
Want to join the discussion?Feel free to contribute!