Parking Lot Sealcoating – Guide to Protection & Maintenance

Parking lot sealcoating is a crucial process that keeps your asphalt surface looking new and significantly extends its lifespan.
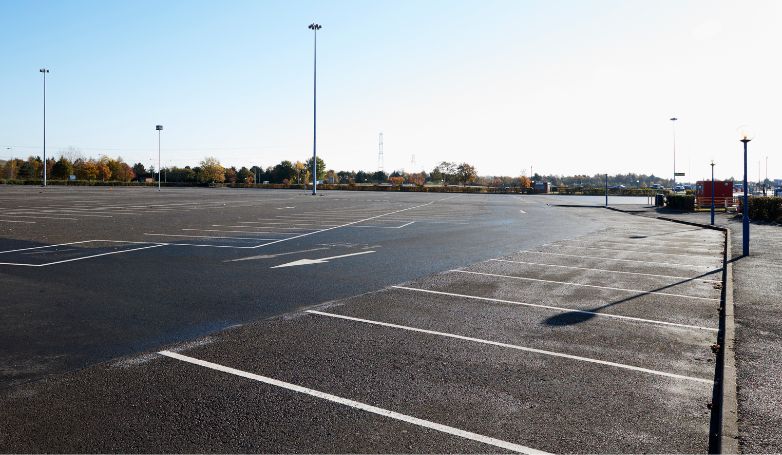
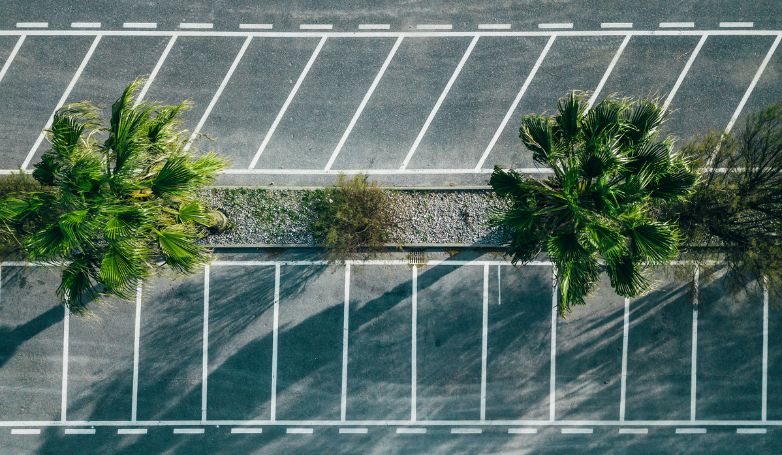
Parking lot sealcoating involves applying a protective layer to asphalt surfaces to shield them from elements like water, oils, and UV damage. This process not only prevents cracks and potholes from forming but also maintains the lot’s dark, rich color, enhancing its overall appearance. By creating a barrier against the elements, sealcoating effectively slows the wear and tear on your parking lot, saving you money on extensive repairs and replacements in the long run.
Discover the benefits, the installation, the ideal frequency of application, and maintenance tips to ensure your parking lot remains in top condition year after year.
The Benefits of Sealcoating Your Parking Lot
Sealcoating acts as a shield for your parking lot, protecting against weather, chemicals, and traffic wear. This preventative maintenance can significantly extend the life of your asphalt, saving on costly repairs down the line. It’s an investment in durability and longevity, ensuring your parking area remains functional and appealing.
Extend Asphalt Life
It prevents water penetration, oxidation, and damage from oil or gas spills, which are primary causes of asphalt degradation. This protective layer keeps the foundational integrity intact, delaying the need for extensive repaving projects.
Improve Appearance
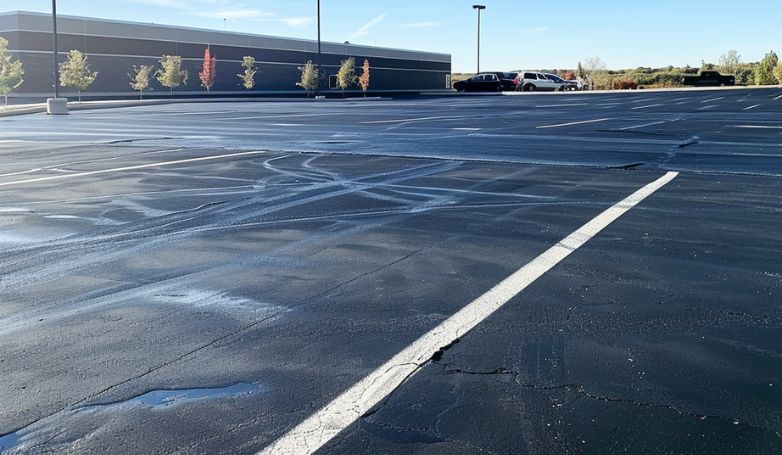
A fresh sealcoat gives your parking lot a dark, rich color, much like new asphalt. This not only enhances curb appeal but also marks your property as well-maintained. An attractive parking area can leave a positive impression on customers and visitors, contributing to the overall image of your business.
Cost-Effective Maintenance
Investing in sealcoating is far more cost-effective than dealing with the consequences of neglect. By preventing severe asphalt damages, you reduce the need for expensive repairs and replacements. Regular sealcoating maintains your parking lot’s condition at a fraction of the cost of major rehabilitation or reconstruction work.
When to Sealcoat Your Parking Lot
To ensure your parking lot remains in prime condition, it’s important to understand the optimal timing and indicators for sealcoating.
Ideal Timing
The best time to sealcoat your parking lot is during warmer months, typically from late spring to early fall. During this period, temperatures are more conducive for the sealant to adhere and cure properly. Aim for dry weather with low chances of rain and temperatures above 50°F to ensure optimal application and drying conditions.
Frequency
Experts recommend sealcoating every 2-3 years to maintain their integrity and appearance. However, this can vary based on traffic volume, climate, and the current condition of the asphalt. Regular assessments can help determine the appropriate frequency for your specific parking lot.
Signs Your Parking Lot Needs Sealcoating
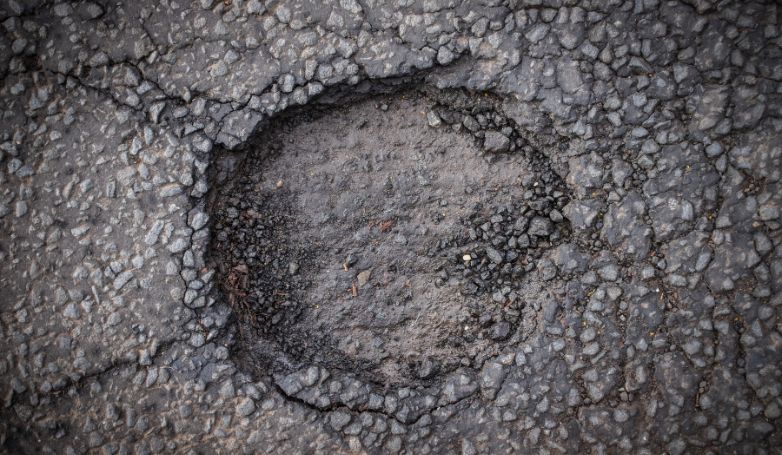
Visible signs indicating the need for sealcoating include fading color, surface cracks, and areas where the asphalt appears dry or brittle. Water pooling and the presence of potholes are also clear indicators that the protective layer is wearing off and the asphalt is susceptible to damage. If the surface looks worn or you can see the aggregate, it’s time to plan for sealcoating.
How to Sealcoat your Parking Lot in 10 Steps
Sealcoating your parking lot is a straightforward process that, when done correctly, can significantly extend its lifespan and improve its appearance.
1. Evaluate and Document Condition
Begin by conducting a detailed assessment of your parking lot, noting any damage, including cracks, potholes, and areas of significant wear. This initial step is critical for tailoring the sealcoating process to your parking lot’s specific needs. Documenting the current condition helps in planning the extent of repairs needed and ensures a comprehensive approach to the sealcoating process, aiming for a uniform and effective application.
2. Debris and Stain Removal

Prioritize the complete removal of debris, dirt, and stains from the parking lot surface using power washing and specialized cleaning agents. This step is essential for ensuring that the sealcoat adheres properly to the asphalt. Removing stains, especially oil and chemical spills, prevents them from seeping through the new sealcoat. A clean surface ensures a smoother application and a more visually appealing finish.
3. Crack Filling
Address all cracks in the asphalt to prevent water infiltration and further deterioration of the parking lot. Use a high-quality crack filler compatible with your asphalt to fill and seal cracks, creating a smooth, unified surface. This preventive measure is crucial for maintaining the structural integrity of the parking space and maximizing the effectiveness of the sealcoating.
4. Pothole Repair
Repair potholes by cleaning out the debris and filling them with an asphalt patching compound. Proper pothole repair is vital for preventing vehicle damage and enhancing the safety and appearance of your parking space. This step ensures a level surface, which is essential for the uniform application of the sealcoat and the longevity of the parking lot’s surface.
5. Oil Spot Treatment
Treat oil spots with a primer or oil spot sealer to ensure the sealcoat adheres properly. Oil spots can prevent the sealcoat from bonding correctly, leading to premature wear and potential damage. This targeted treatment creates a uniform surface for sealcoating, enhancing the durability and appearance of the final product.
6. Edge Trimming
Trim grass and vegetation along the parking lot edges to prevent overgrowth onto the asphalt surface. This step not only improves the appearance of the parking space but also prevents root damage to the asphalt. A clean edge allows for a more precise and effective sealcoating application, ensuring complete coverage.
7. Sealant Mixing and Preparation
Mix the sealant according to the manufacturer’s instructions to ensure it has the proper consistency for application. Proper mixing and preparation are crucial for achieving a uniform texture and optimal adhesion to the parking lot surface. This step ensures that the sealcoat will provide maximum protection and aesthetic appeal.
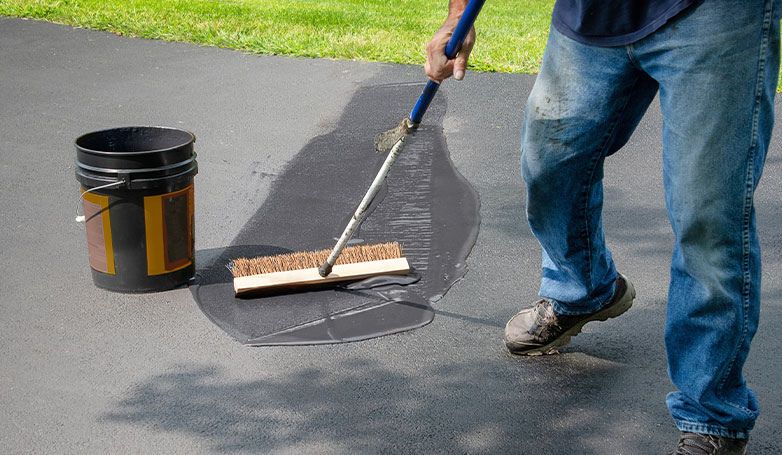
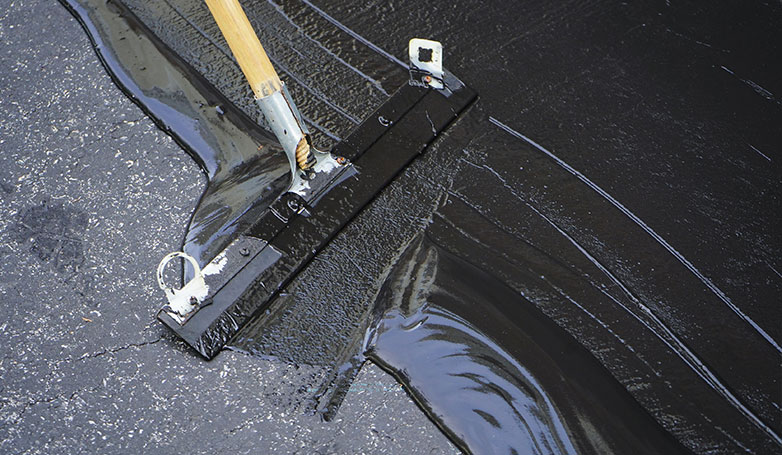
8. Sealcoat Application
Apply the sealcoat evenly across the parking lot using a sprayer or squeegee, ensuring thorough coverage. The technique used should provide a consistent layer of sealant, protecting the asphalt from the elements and extending its lifespan. This step is critical for enhancing the parking lot’s durability and resistance to wear and tear.
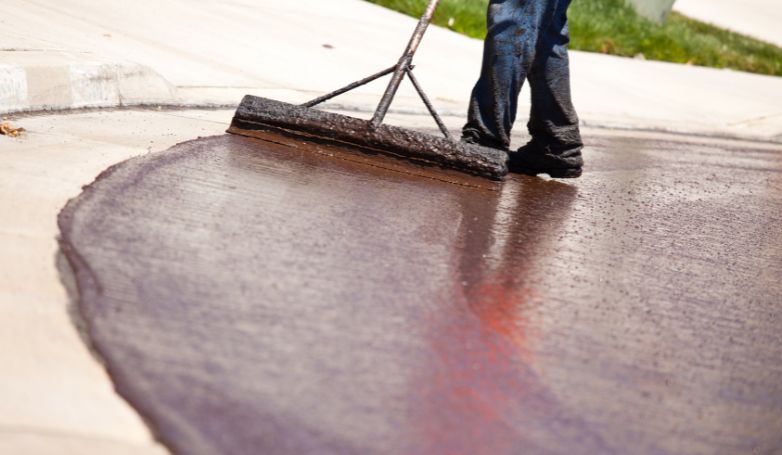
9. Curing Time Observation
Allow the sealcoat to dry and cure completely before reopening the parking lot to traffic. The curing process is essential for the sealcoat to fully bond to the asphalt, providing a durable protective layer. Observing the recommended curing time prevents damage to the sealcoat and ensures its longevity.
10. Line Striping and Marking
After the sealcoat has cured, apply fresh line striping and markings to clearly define parking spaces and traffic flow. This final touch enhances the parking lot’s functionality and safety, providing a visually appealing and well-organized space. Proper line striping and marking are essential for maximizing the usability and navigability of your parking lot.
Cost of Sealcoating a Parking Lot
| Cost Component | Cost Range (per sq ft or linear ft) | Example for 10,000 sq ft Lot |
| Material Costs | $0.08 – $0.18 (per sq ft) | $800 – $1,800 |
| Labor Costs | $0.10 – $0.25 (per sq ft) | $1,000 – $2,500 |
| Preparation and Application Costs | $0.05 – $0.15 (per sq ft) | $500 – $1,500 |
| Additional Expenses | Line Striping: $0.20 – $0.60 (per linear ft) | Line Striping (1,000 linear ft): $200 – $600 |
Understanding the costs involved in sealcoating a parking lot is crucial for effective budgeting and planning to ensure your parking area remains in top condition.
Material Costs
Sealcoating materials typically cost between $0.08 and $0.18 per square foot, depending on the quality and type of sealant used. For a 10,000-square-foot parking lot, material costs can range from $800 to $1,800. This price can vary based on the sealant’s grade and any bulk purchase discounts.
Labor Costs
Labor costs for professional sealcoating services usually range from $0.10 to $0.25 per square foot. This means labor for a 10,000-square-foot lot could cost between $1,000 and $2,500. These costs can vary based on the complexity of the job and the geographical location.
Preparation and Application Costs
Preparation, including cleaning, crack filling, and minor repairs, can add an additional $0.05 to $0.15 per square foot to the overall cost. For a lot of the same size, this would be an additional $500 to $1,500. Equipment rental for DIY projects can also fall within this range.
Additional Expenses
Additional costs may include line striping, which averages between $0.20 and $0.60 per linear foot, potentially adding $200 to $600 for a standard-sized parking lot with 1,000 linear feet of markings. Special treatments, such as crack sealing or patching, can add $1 to $2 per square foot for extensive repairs.
How to Choose the Right Sealcoating Contractor
Choosing the right sealcoating contractor is crucial to ensuring a high-quality job that extends the life of your parking lot. Here’s how to navigate the selection process:
What to Look For
- Experience and Reputation: Seek out contractors with extensive experience in sealcoating and a positive reputation in the community. Look for online reviews, testimonials, and before-and-after photos of their previous projects.
- Insurance and Licensing: Ensure the contractor is fully licensed and insured to protect against any liabilities. This is a sign of professionalism and dedication to their craft.
- Quality of Materials: Inquire about the type of sealcoating materials they use. High-quality materials lead to longer-lasting results. Contractors committed to quality will be transparent about their products.
- Detailed Quotes: A reliable contractor provides detailed quotes that break down the costs, scope of work, and timeline. This transparency helps avoid any unexpected charges or misunderstandings.
- Warranty and Service Guarantees: Look for contractors who stand behind their work with a warranty or service guarantee. This shows they are confident in the quality of their work and committed to customer satisfaction.
Questions to Ask
- How long have you been in the sealcoating business? This question helps gauge their experience and reliability in the field.
- Can you provide references or photos of past projects? References and photos offer insight into their work quality and customer satisfaction.
- What type of sealcoating material do you use, and why? Understanding the materials they use can indicate the durability and quality of the finished job.
- How do you prepare the surface before applying sealcoat? Proper preparation is key to a successful sealcoating job. Their process should include cleaning, crack filling, and addressing oil spots.
- What is included in your quote? Confirm that the quote includes all necessary work and there are no hidden fees.
- What is your process if weather affects the job schedule? Weather can impact sealcoating projects. A reputable contractor will have a clear policy for rescheduling due to weather.
- Do you offer a warranty on your work? A warranty indicates they are willing to stand behind the quality of their work.
Maintenance Tips After Sealcoating
Maintaining your sealcoated parking lot is essential to extend its lifespan and keep it looking its best. Here are some tips to ensure your investment remains protected:
Regularly clean the surface to remove dirt and debris
Keeping your parking lot clean is crucial. Regular sweeping and washing remove harmful materials and prevent them from breaking down the sealcoat. A clean surface not only looks better but also extends the life of the sealcoating.
Avoid using harsh chemicals or deicers on the sealcoated area
Harsh chemicals, including some deicers, can damage the sealcoat. Instead, use sand for traction in winter. If deicers are necessary, opt for products that are safe for asphalt and follow the manufacturer’s guidelines for the least harmful options.
Perform routine inspections for cracks or damage
Regularly inspect your parking lot for any signs of wear, such as cracks or potholes. Early detection of these issues allows for timely repairs, preventing minor problems from becoming major ones.
Seal cracks promptly to prevent water infiltration
Water is a major enemy of asphalt, leading to further damage and deterioration. Sealing cracks as soon as they appear prevents water from penetrating the base layer, which can cause more extensive damage.
Reapply sealcoat as recommended, typically every 2-3 years
The frequency of sealcoating depends on various factors, including traffic volume and weather conditions. Generally, reapplying sealcoat every 2-3 years maintains its protective layer, keeping your parking lot in optimal condition.
Following these maintenance tips after sealcoating ensures that your parking lot remains durable and visually appealing, maximizing the return on your investment.
FAQs about Parking Lot Sealcoating
Navigating the intricacies of parking lot sealcoating can raise several questions; here are some of the most frequently asked to help clarify the process.
What does it mean to seal coat a parking lot?
Sealcoating a parking lot involves applying a protective layer over the asphalt to shield it from damage caused by water, oils, UV rays, and traffic wear. This process not only extends the lifespan of the asphalt but also enhances its appearance, giving it a fresh, new look.
What is the best parking lot sealer?
The best parking lot sealer depends on the specific needs of your parking lot, including traffic volume and local weather conditions. Generally, high-quality acrylic or asphalt-based sealers are preferred for their durability and effectiveness in protecting against the elements and chemical spills.
How do you reseal an asphalt parking lot?
Resealing an asphalt parking lot involves thoroughly cleaning the surface, repairing any cracks or potholes, and then applying a new layer of sealant over the entire area. The process requires proper preparation and application techniques to ensure the sealant adheres correctly and provides maximum protection.
What material is used to seal parking lots?
Parking lots are typically sealed with either coal tar emulsion or asphalt emulsion sealers. Coal tar sealers provide excellent resistance to water, oil, and UV damage but are subject to environmental concerns. Asphalt emulsion sealers are more environmentally friendly and offer good protection, making them a popular choice for many property owners.
Conclusion
In conclusion, parking lot sealcoating is an indispensable maintenance procedure that not only preserves the longevity and aesthetics of your asphalt but also saves you money on future repairs. By understanding the right time for sealcoating, selecting a reliable contractor, adhering to post-sealcoating maintenance tips, and navigating common questions, you can ensure your parking lot remains in top condition. Remember, a well-maintained parking lot reflects positively on your property, enhancing its appeal and value.