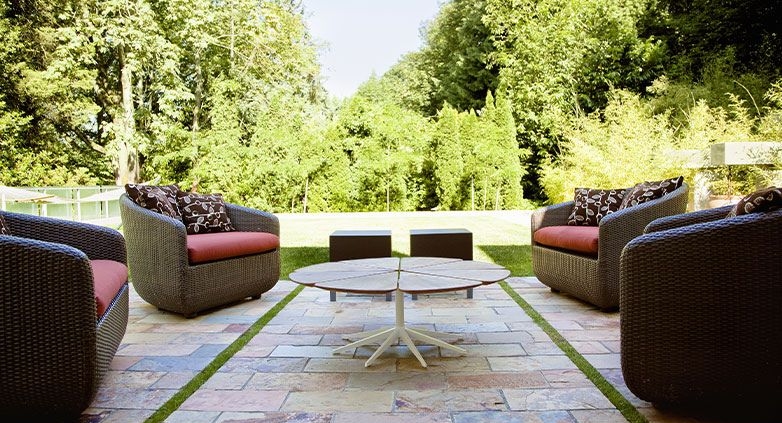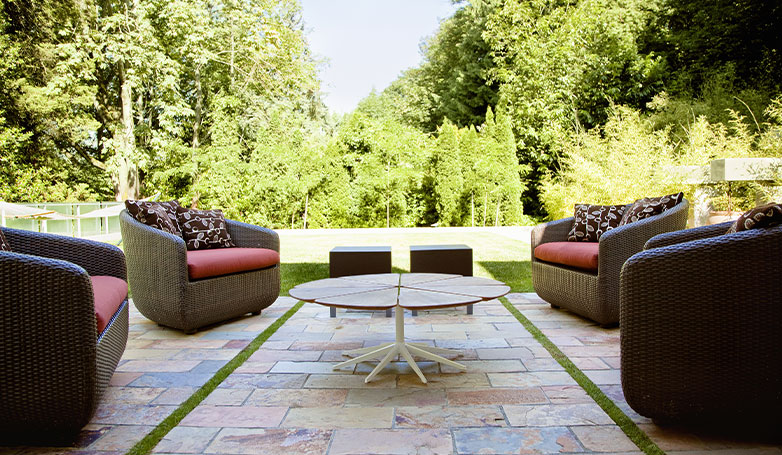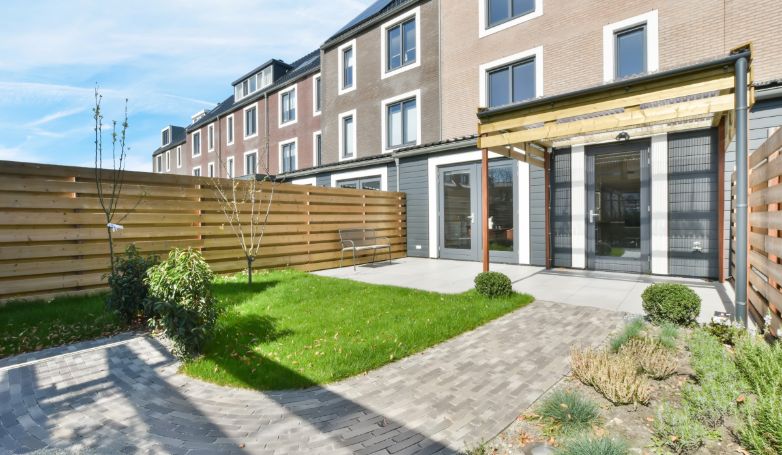
Looking to revamp your outdoor space without emptying your wallet? Our guide on cheap patio paver ideas offers innovative and budget-friendly solutions to transform your patio into a picturesque retreat.
Selecting the appropriate patio pavers can significantly influence the success or failure of your outdoor aesthetic. Affordable options like concrete, reclaimed brick, and rubber pavers provide durability and style without the high cost. By mixing materials, using DIY stenciling, or repurposing items like pallet wood, you can create a unique and inviting outdoor space. These cost-effective solutions not only enhance the beauty of your patio but also offer a personalized touch to your outdoor living area.
Dive deeper into our creative suggestions to find the perfect blend of affordability and style. Embark on your patio makeover journey with confidence and creativity.
Understanding Cheap Patio Pavers
Understanding cheap patio pavers is about finding the perfect blend of cost, durability, and style for your outdoor space. These budget-friendly options, including concrete, reclaimed brick, rubber, and recycled composites, provide a wide array of design possibilities. Concrete pavers are celebrated for their affordability and versatility, closely mimicking more expensive materials. Reclaimed brick adds a touch of historical charm and eco-friendliness, while rubber and recycled composites offer sustainable, low-maintenance choices.
Delving into these materials reveals an opportunity to creatively transform your patio into a charming retreat without overspending. With these options, designing a personalized outdoor sanctuary becomes an achievable dream, demonstrating that elegance and frugality can indeed go hand in hand.
15 Cheap Patio Paver Ideas
Discover a variety of budget-friendly patio paver ideas to enhance your outdoor living space without sacrificing style or quality.
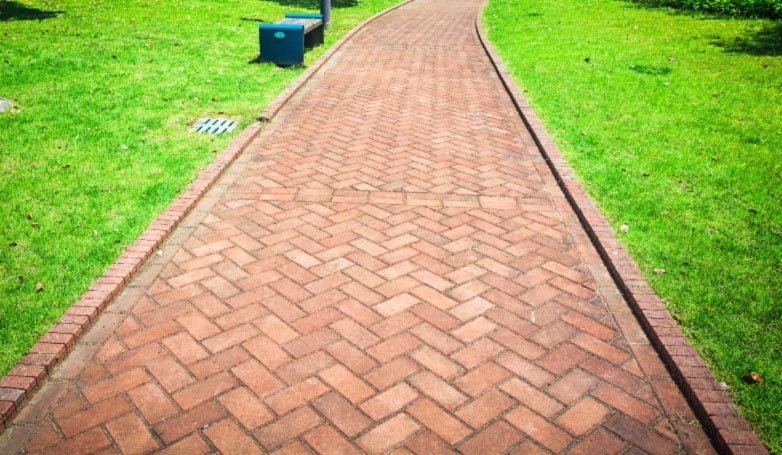
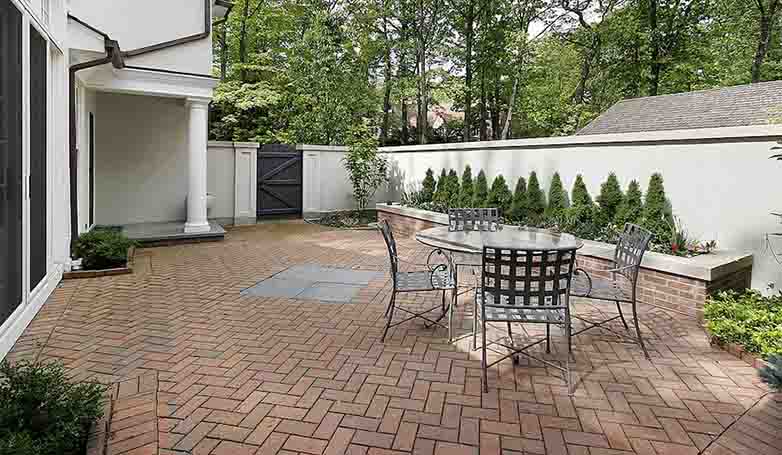
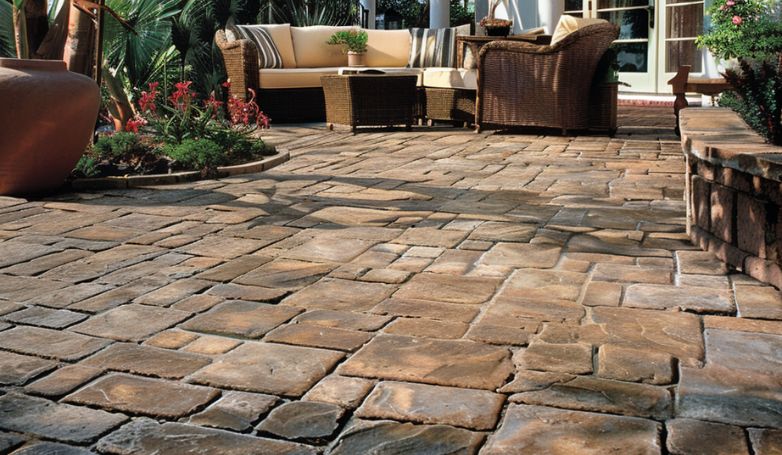
1. Reclaimed brick paver patterns
Utilizing reclaimed brick pavers for your outdoor space introduces a piece of history and sustainability into your outdoor design. By creatively arranging these bricks in patterns like herringbone, basket weave, or circular motifs, you not only achieve a distinctive aesthetic but also contribute to environmental conservation by repurposing materials. This approach adds depth and character, blending seamlessly with both traditional and contemporary landscapes. The warm, earthy tones of the bricks offer a timeless appeal, while the unique imperfections and patinas of each brick tell a story, making your patio a focal point of conversation and admiration.
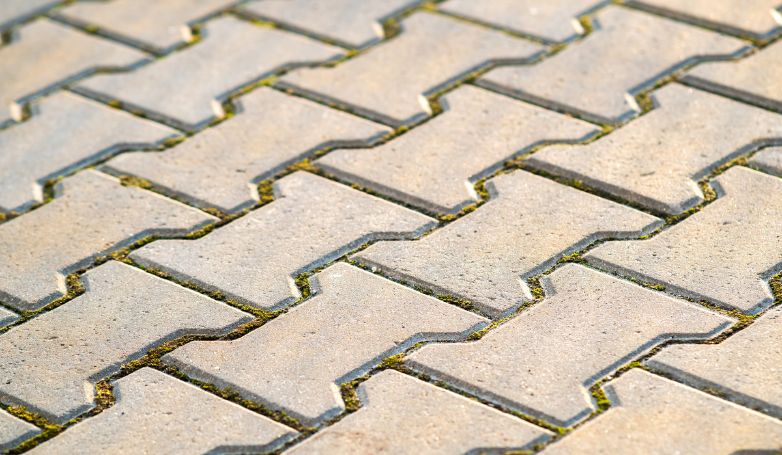
2. Concrete pavers with gravel edging
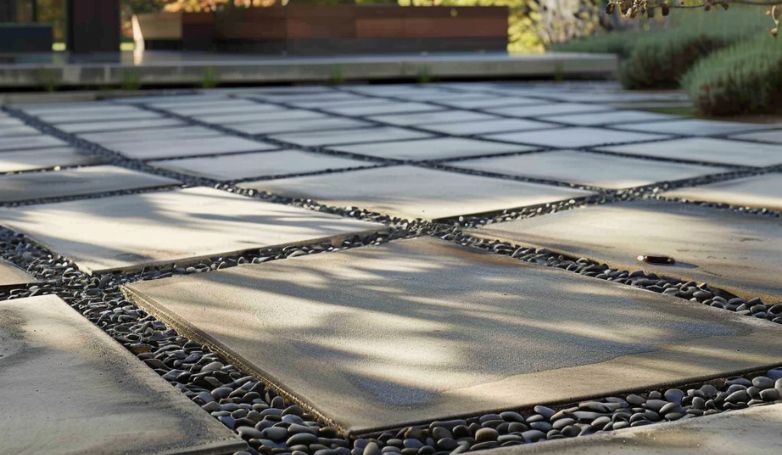
Concrete pavers, when outlined with gravel edging, present a modern and elegant patio design that’s both affordable and easy to maintain. This combination strikes a balance between the clean, geometric lines of concrete pavers and the natural, loose texture of gravel, creating a visually appealing contrast. The gravel not only serves as a decorative border but also enhances drainage around the pavers, preventing water accumulation and ensuring the longevity of your patio. This design concept is ideal for homeowners looking for a low-maintenance yet stylish outdoor living area that complements a variety of architectural styles.
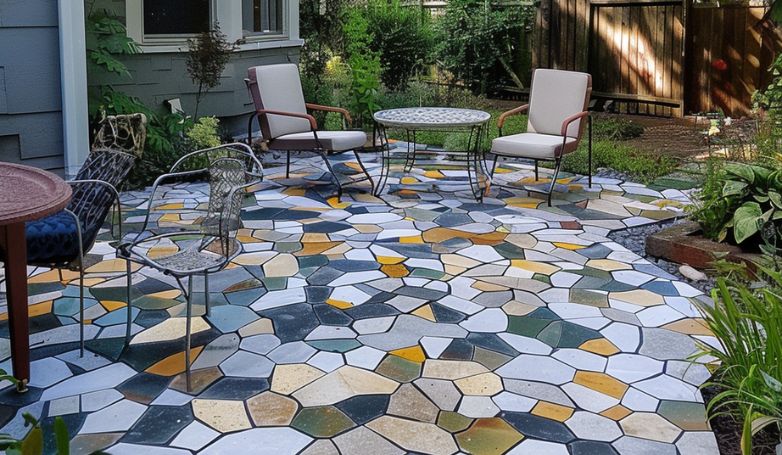
3. Mixed material mosaic
Creating a mixed material mosaic for your patio flooring is an inventive way to personalize your outdoor space. This approach involves combining different materials such as shards of ceramic tiles, pieces of colored glass, and small stones to craft a visually captivating mosaic. By arranging these materials in intricate patterns or whimsical designs, you can transform a plain patio into an artistic masterpiece. This DIY project not only allows for endless creativity but also promotes recycling and repurposing of materials, making it a cost-effective and environmentally friendly option for those looking to add a unique touch to their outdoor area.
Exploring creative yet cheap patio pavers ideas, here’s the next one in line.
4. DIY stenciled concrete pavers
Enhancing your patio with DIY stenciled concrete pavers is a simple yet impactful way to inject personality and style into your outdoor space. This method involves applying durable outdoor paint through stencils onto plain concrete pavers, allowing you to create detailed patterns, motifs, or even faux rug designs. Whether you opt for geometric shapes, floral patterns, or bespoke artwork, stenciling offers a budget-friendly alternative to more expensive decorative pavers. It’s a project that not only adds visual interest and charm to your outdoor space but also allows you to fully customize the look to match your personal aesthetic and outdoor décor.
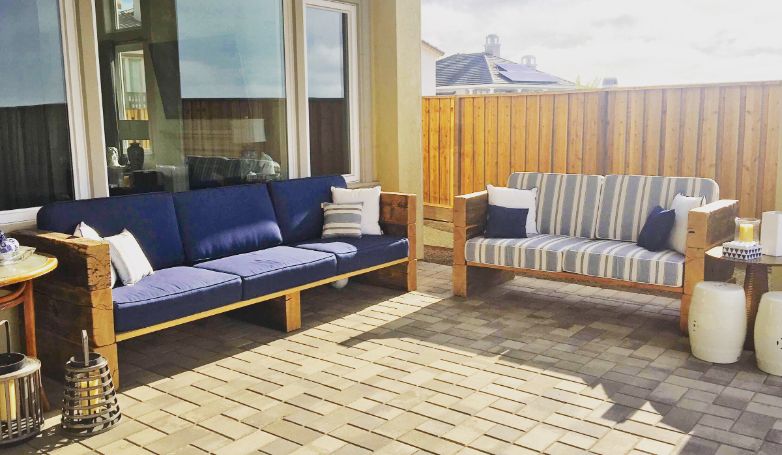
5. Salvaged wood pavers with stone accents
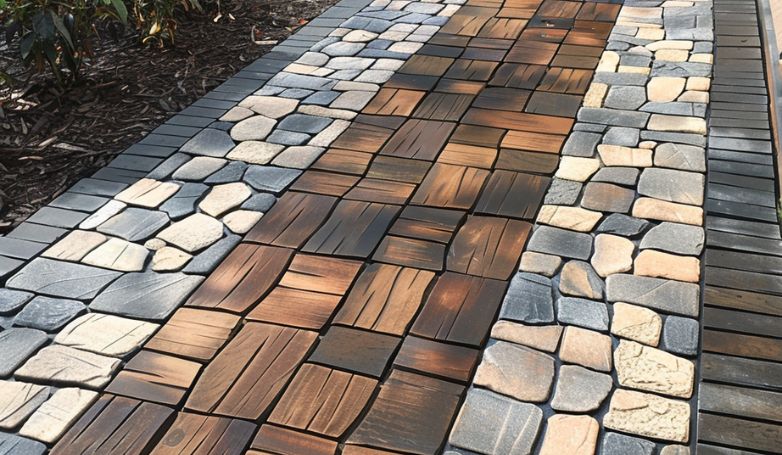
Incorporating salvaged wood pavers with stone accents into your patio design merges rustic charm with natural elegance. This concept utilizes weathered wood planks, perhaps reclaimed from old decks or barns, laid out in an attractive pattern, then interspersed with stone tiles or pebbles for contrast. This blend of materials creates a warm, inviting outdoor living space that feels both cozy and upscale. Salvaged wood offers a story and character, while the stone accents add durability and a touch of luxury. This eco-friendly patio option is perfect for those who appreciate the beauty of aged materials and the serene, grounding effect of natural elements in their outdoor spaces.
Next on our list of budget-friendly improvements is a fantastic cheap patio pavers idea.
6. Pallet wood deck tiles
Transforming pallet wood into deck tiles is an innovative and eco-conscious way to build a beautiful patio on a budget. This method repurposes wooden pallets, often available for free or at a low cost, into attractive, functional deck tiles. By disassembling the pallets and cutting them into uniform squares or rectangles, you can create a patchwork of wood tiles that can be laid out to cover your patio area. This DIY project not only saves money but also gives a new life to discarded wood, resulting in a rustic, yet refined, outdoor living space that’s both sustainable and stylish.
7. Rubber pavers for a soft, eco-friendly surface
Rubber pavers offer a unique combination of safety, comfort, and eco-friendliness for your patio. Made from recycled rubber, typically from old tires, these pavers provide a durable, non-slip surface that’s gentle underfoot, making it ideal for areas frequented by children and pets. Their shock-absorbent nature reduces the risk of injuries, while their resistance to weather and easy installation make them a practical choice for any outdoor space. Available in various colors and patterns, rubber pavers allow for creative designs that can mimic traditional stone or brick pavers, offering an attractive, low-maintenance patio solution that’s both affordable and sustainable.
8. Pea gravel and stepping stone path
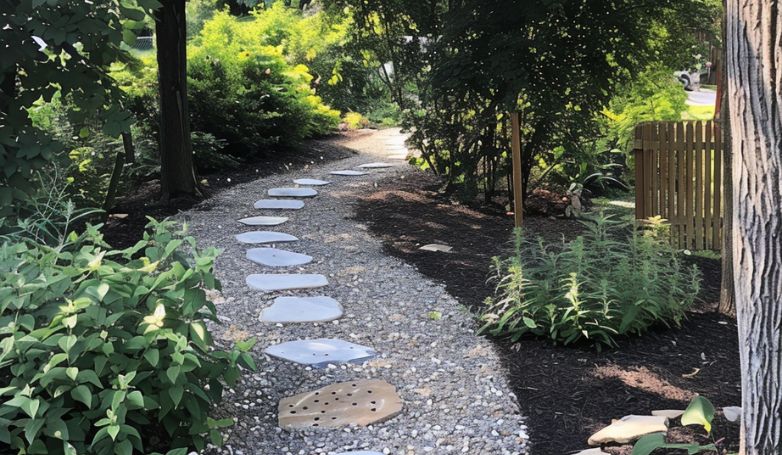
Combining pea gravel with stepping stones creates a charming and functional patio design that’s both cost-effective and easy to install. This approach involves laying down a bed of pea gravel, a small, smooth, and rounded stone, and then placing larger, flat stepping stones at intervals to provide a stable walking path. The contrast between the loose gravel and the solid stepping stones adds texture and visual interest to your outdoor space, while also enhancing drainage and preventing erosion. This versatile design can be adapted to fit any patio size or shape, offering a flexible solution for those seeking an affordable yet attractive outdoor living area.
Moving forward with our exploration, the spotlight is on the next brilliant and cheap patio pavers idea.
9. Geometric patterns with leftover tiles
Creating geometric patterns with leftover tiles offers an economical and artistic way to design your patio. This approach involves arranging tiles of different shapes, sizes, and colors into geometric patterns, such as chevrons, hexagons, or herringbone, to produce a visually captivating surface. Not only does this method minimize waste by repurposing leftover materials, but it also allows for a high degree of customization. Whether aiming for a bold, contemporary look or a more subtle, classic design, geometric tile patterns can transform your patio into a striking outdoor living area that stands out for its creativity and resourcefulness.
10. Recycled glass bottle paver accents
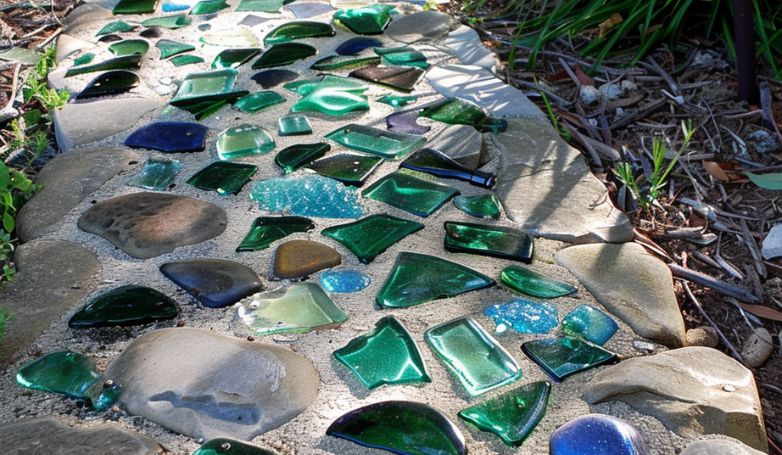
Incorporating recycled glass bottle accents into your patio pavers is a creative and sustainable way to add color and sparkle to your outdoor space. By embedding pieces of colored glass bottles into concrete pavers or using them to create decorative borders and patterns, you can achieve a stunning and unique aesthetic. This method not only repurposes waste materials but also captures sunlight, creating a dazzling effect. It’s an ideal choice for those looking to add a personal touch to their patio while promoting recycling and reducing waste. The versatility of glass colors allows for endless design possibilities, making your patio a true reflection of your creativity and environmental consciousness.
11. Sliced log pavers for a rustic look
Sliced log pavers create a rustic and natural patio surface that brings the beauty of the forest to your backyard. By slicing logs into thin sections and laying them out as pavers, you can achieve a unique and organic look. This idea is perfect for those aiming to enhance their garden with a touch of wilderness or create a cozy, cabin-like atmosphere. The varying sizes, colors, and patterns of the wood slices ensure that no two outdoor space are alike, offering a truly personalized outdoor space. Additionally, this eco-friendly option repurposes fallen trees or reclaimed wood, reducing the need for manufactured materials.
Let’s move on to the next clever and budget-friendly patio pavers idea!
12. Homemade concrete pavers with leaf imprints
Homemade concrete pavers with leaf imprints offer an artistic and personalized touch to your patio. This DIY project involves pressing leaves into the wet concrete of homemade pavers, creating delicate, fossil-like imprints. The result is a series of unique pavers that capture the intricate details of different leaves, adding a natural and whimsical element to your outdoor space. This method not only allows for creative expression but also provides a cost-effective way to produce custom pavers. Whether you choose leaves from your garden or from memorable places, these pavers serve as a beautiful reminder of nature’s beauty.
13. Painted pavers for a pop of color
Painted pavers are an easy and affordable way to inject a pop of color into your patio. By applying outdoor paint to concrete, stone, or brick pavers, you can transform dull surfaces into vibrant, eye-catching features. This approach allows for unlimited creativity, whether you prefer bold, solid colors, intricate patterns, or hand-painted designs. Painted pavers can define different areas within your patio, create visual pathways, or simply add a personal touch to your outdoor decor. It’s a fun and flexible project that can be easily updated to match changing styles or preferences.
14. Interlocking plastic pavers for easy installation
Interlocking plastic pavers provide a quick and easy solution for creating a durable and attractive patio surface. Made from high-density polyethylene, these pavers snap together without the need for mortar or special tools, making installation a breeze. They are lightweight, yet strong enough to withstand heavy foot traffic and adverse weather conditions. Available in various colors and textures, interlocking plastic pavers can mimic the look of traditional materials like stone or brick, offering a low-maintenance and eco-friendly alternative for those seeking convenience without compromising on style.
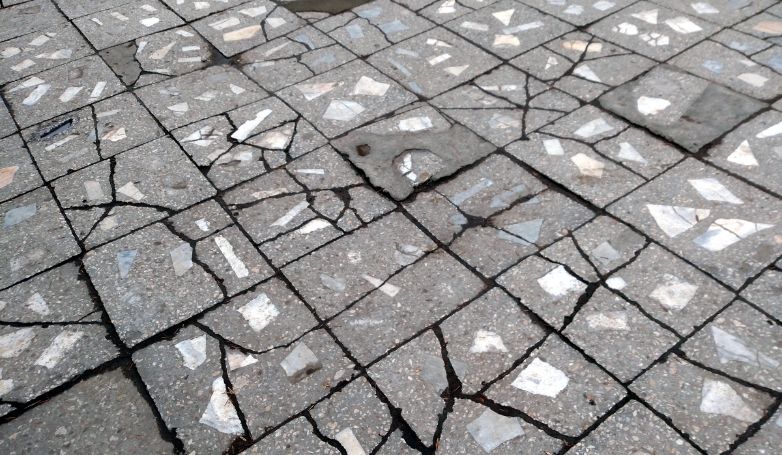
15. Broken concrete pieces (urbanite) for a unique, eco-friendly path
Using broken concrete pieces, also known as urbanite, offers a unique and eco-friendly way to construct a patio path. This method repurposes discarded concrete from construction sites or old patios, reducing landfill waste. The irregular shapes and sizes of the concrete pieces can be artfully arranged to create a mosaic-like pathway that adds character and charm to your outdoor space. Not only does this approach promote sustainability, but it also provides a cost-effective solution for those looking to add a touch of creativity to their patio design. Urbanite paths blend seamlessly with natural landscaping, enhancing the overall aesthetic of your garden.
Affordable Patio Paver Materials to Consider
Explore the most cost-effective materials for patio pavers, offering both durability and aesthetic appeal for your outdoor projects.
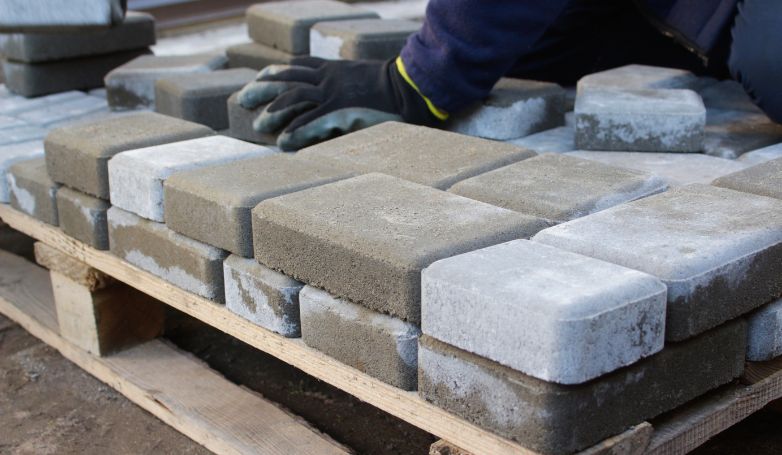
Concrete Pavers
Concrete pavers are a popular choice for their affordability and versatility. They come in a variety of shapes, sizes, and colors, allowing for customization to fit any outdoor space design. Concrete pavers are durable and can withstand harsh weather conditions, making them a practical option for any outdoor space. Their ease of installation and low maintenance requirements further enhance their appeal as an economical paving solution.
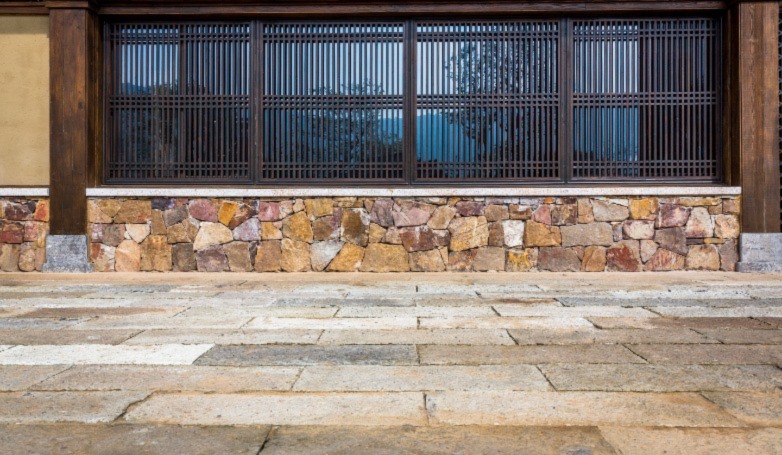
Brick Pavers
Brick pavers offer a classic, timeless look for your patio at a reasonable price. Made from natural clay, they provide a durable surface that can last for decades with proper care. Brick pavers are available in a range of warm, earthy tones, adding a rustic charm to your outdoor area. They’re also eco-friendly, as they can be reused or recycled, making them a sustainable choice for environmentally conscious homeowners.
Rubber Pavers
Rubber pavers are an innovative and eco-friendly option made from recycled tires. They are soft underfoot, making them safe and comfortable for areas where children and pets play. Rubber pavers are slip-resistant and can absorb impact, reducing the risk of injuries. Available in various colors and designs, they offer a unique look while being incredibly durable and easy to maintain, making them a cost-effective choice for a patio surface.
Composite Pavers
Composite pavers, made from a blend of recycled plastics and wood fibers, are an environmentally friendly alternative to traditional paving materials. They combine the aesthetic appeal of natural wood with the durability and low maintenance of synthetic materials. Composite pavers resist fading, cracking, and warping, offering a long-lasting solution that can withstand extreme weather conditions. Their lightweight and easy-to-install nature make them an attractive option for DIY enthusiasts looking for a budget-friendly outdoor space upgrade.
Benefits of Choosing Affordable Patio Pavers
Learn about the advantages of selecting affordable patio pavers, from significant cost savings to creative design flexibility.
Cost savings
Opting for affordable patio pavers significantly reduces the overall cost of patio construction and renovation. These cost-effective materials allow homeowners to create or refresh their outdoor living spaces without compromising quality or aesthetics. By choosing affordable options, you can allocate your budget to other aspects of your patio project, such as furniture or landscaping, ensuring a well-rounded and complete outdoor area that enhances your home’s value and appeal.
Versatility in design
Affordable patio pavers come in an array of materials, colors, shapes, and sizes, offering endless design possibilities. This versatility enables homeowners to tailor their patio to match their style preferences and the architectural character of their home. Whether aiming for a modern, minimalist look or a more traditional, rustic appeal, the wide selection of affordable pavers ensures that there is something to suit every taste and design concept.
Ease of installation
Many affordable patio pavers are designed for easy installation, making them ideal for DIY projects. This ease of installation not only saves on labor costs but also allows for greater flexibility in timing and customization. Homeowners can work at their own pace, making adjustments as needed to achieve the desired outcome. Additionally, the straightforward installation process of many affordable pavers means that changes or expansions to the patio can be made with minimal hassle in the future.
DIY Installation Tips
Get valuable tips for installing your patio pavers, ensuring a smooth and successful DIY project from start to finish.
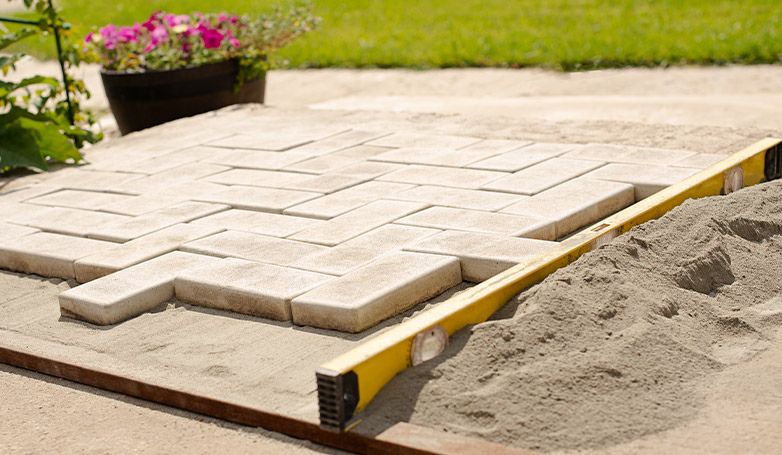
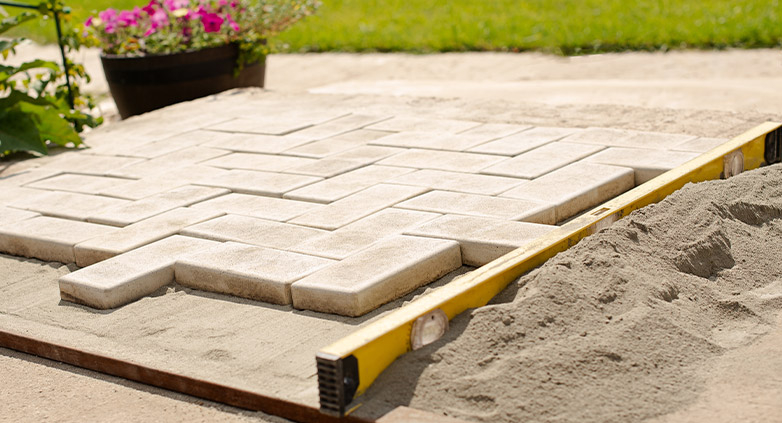
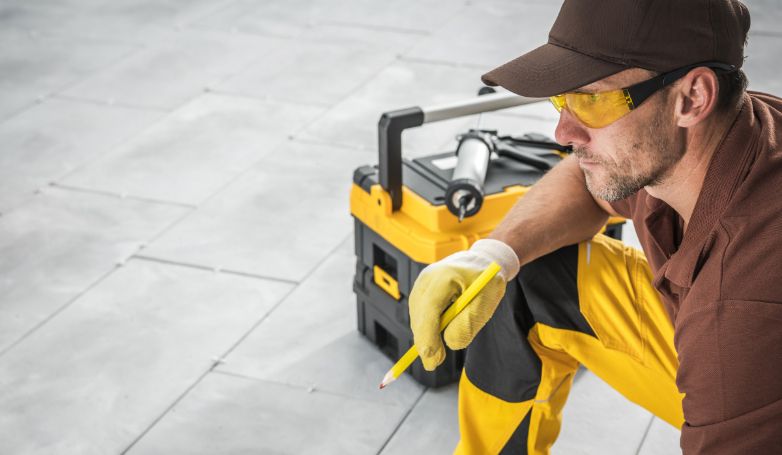
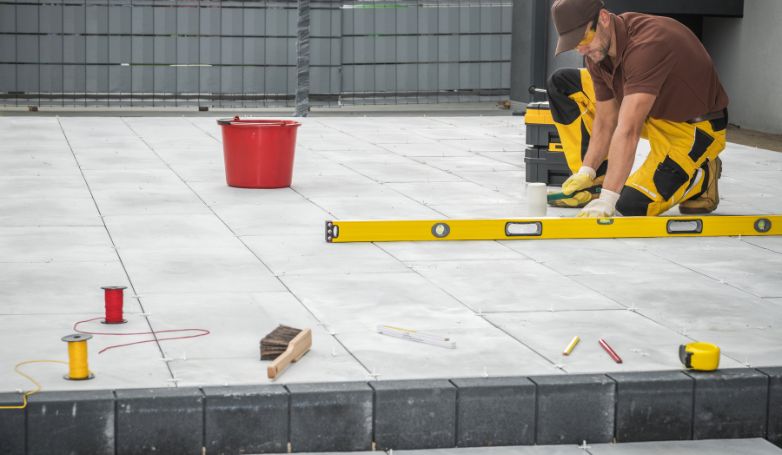
Preparation
The first step in DIY patio paver installation involves thorough preparation of the site. This includes clearing the area of any debris, grass, or old paving materials and ensuring a level base. Compacting the soil and adding a layer of gravel and sand provides a solid, even foundation for the pavers. Proper preparation prevents future settling or shifting of the pavers, ensuring a long-lasting patio surface.
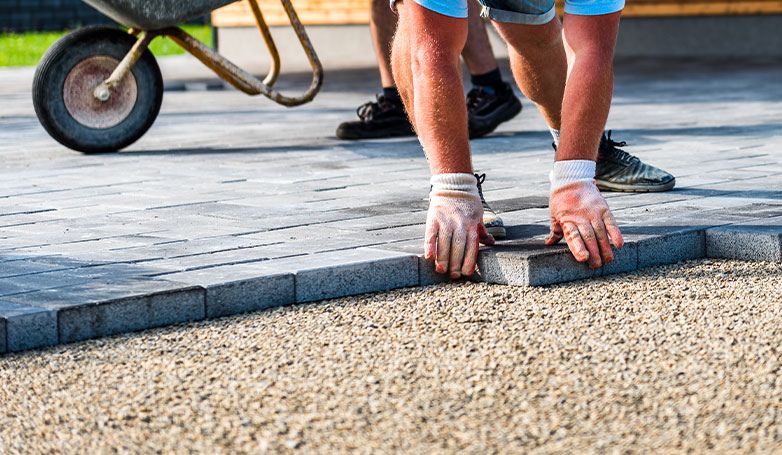
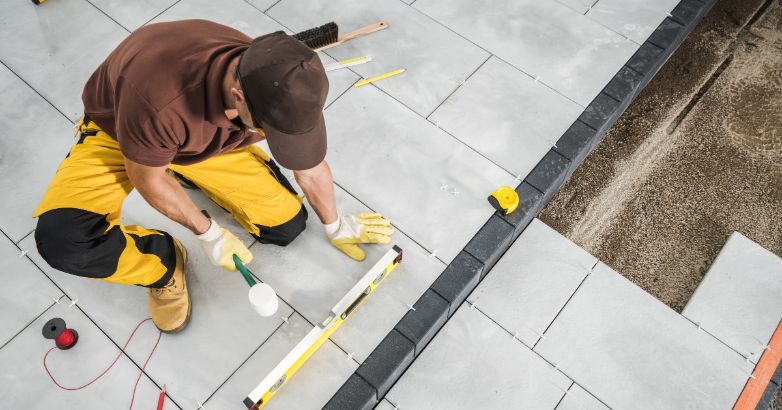
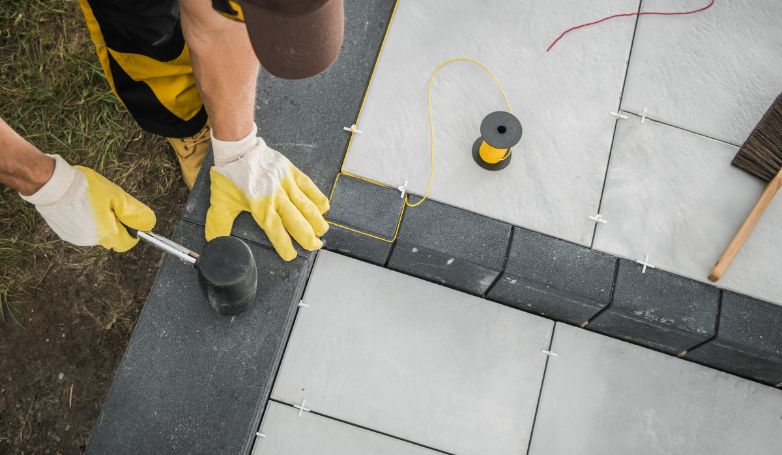
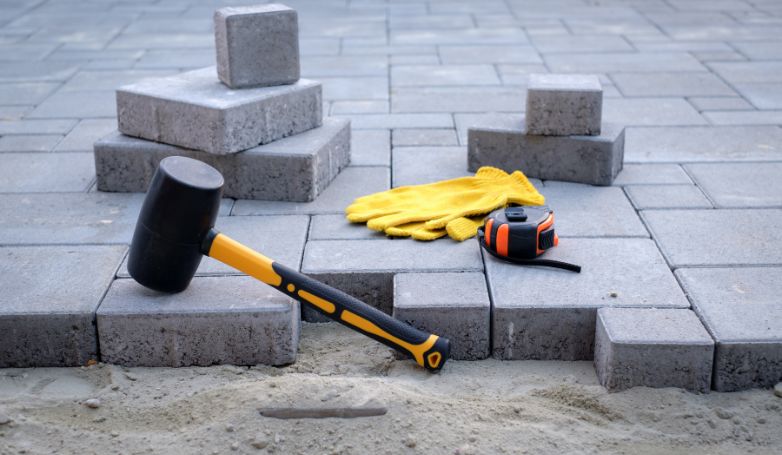
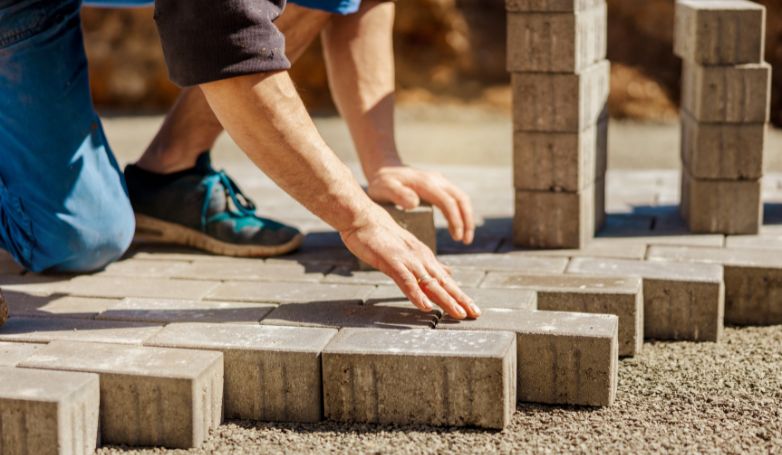
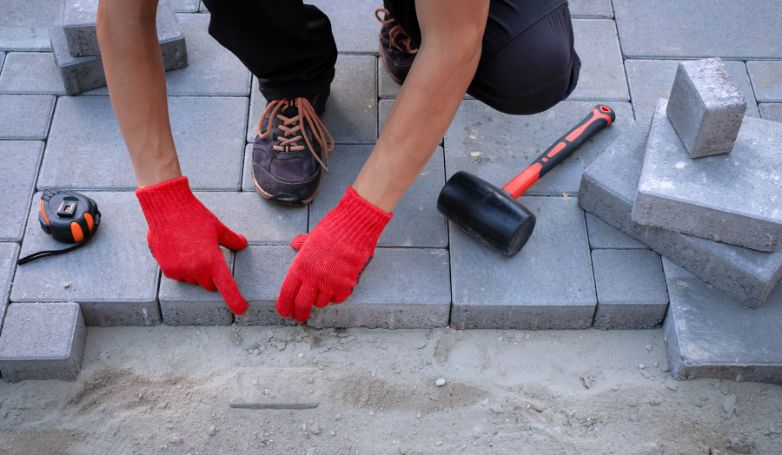
Laying Pavers
Once the base is prepared, the next step is laying the pavers according to your chosen pattern. Start from a corner or edge and work your way across, keeping the pavers as close together as possible. Use a rubber mallet to gently tap each paver into place, ensuring they are level with each other. If necessary, cut pavers to fit the edges or around obstacles using a wet saw or paver splitter. Consistency in spacing and alignment is key to achieving a professional-looking finish.
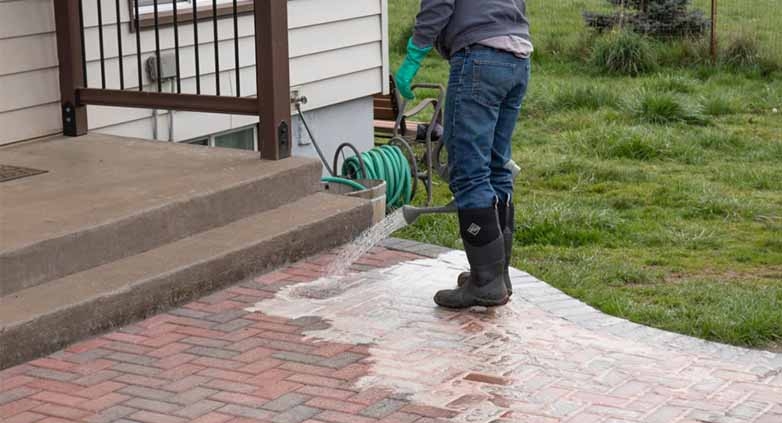
Finishing Touches
After all the pavers are laid, filling the joints between them with sand stabilizes the pavers and prevents weed growth. Pour fine-grained sand over the surface and use a broom to sweep it into the gaps. A plate compactor can help settle the sand into the joints; repeat the sand application until the joints are fully filled. Finally, applying a sealer can enhance the color of the pavers and protect them against stains and weathering, completing your DIY patio paver project with a durable and polished look.
Maintenance and Upkeep of Cheap Patio Pavers
Understand the essential maintenance and upkeep practices to keep your budget-friendly patio pavers looking great for years to come.
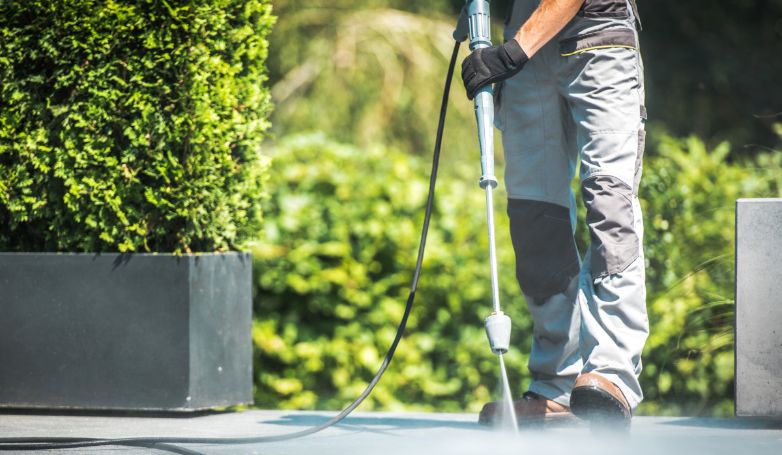
Cleaning
Regular cleaning is crucial to maintain the appearance and longevity of your outdoor space. Sweeping away debris and washing the surface with a mild detergent and water can prevent stain accumulation and moss growth. For tougher stains, a pressure washer set to a low intensity can be used to avoid damaging the pavers. Cleaning your patio pavers annually or as needed keeps them looking fresh and well-maintained.
Sealing
Sealing your patio pavers every two to three years can protect them from the elements, stains, and fading. The sealer forms a protective layer over the pavers, enhancing their color and making them easier to clean. Before applying a sealer, ensure the pavers are clean and dry. Choose a sealer appropriate for the paver material and exposure conditions to maximize protection and aesthetic appeal.
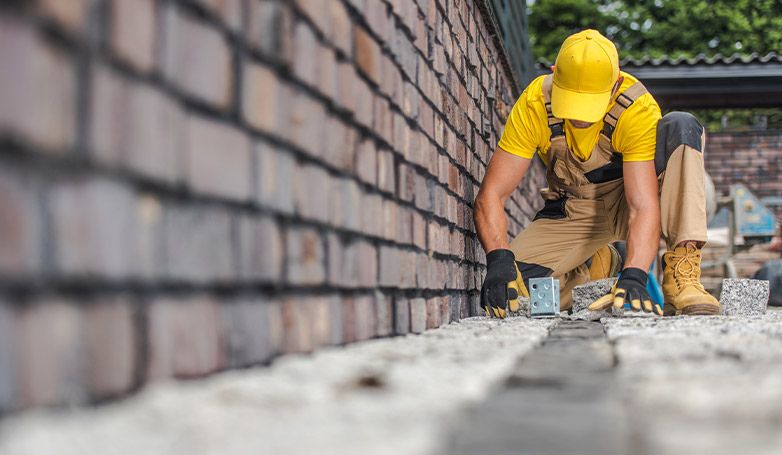
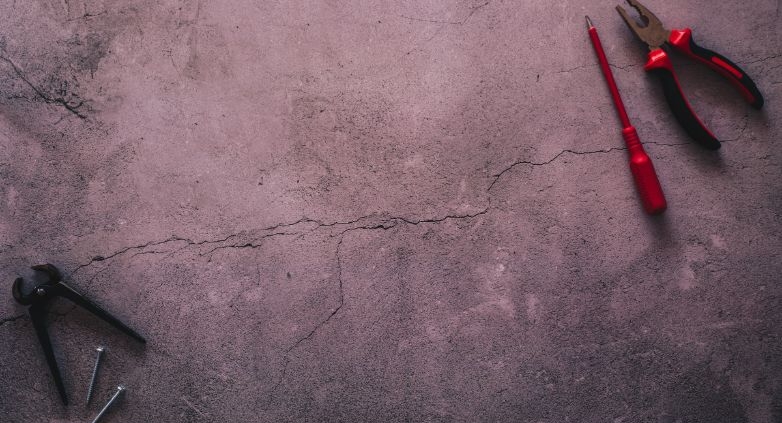
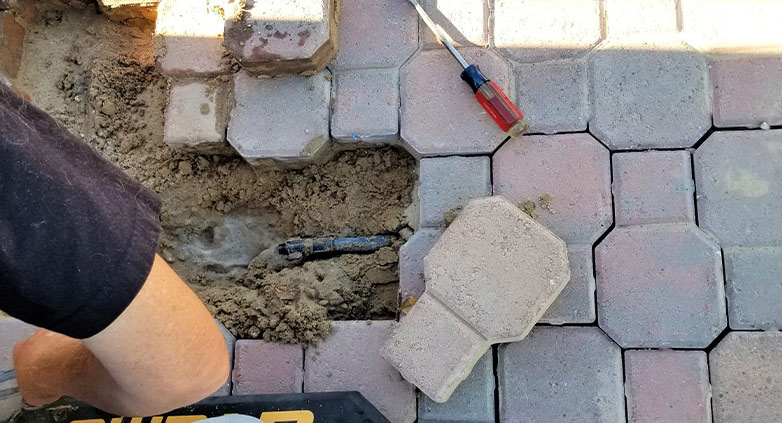
Repair
Pavers are durable, but they may shift, crack, or break over time. Regularly inspect your patio and address any issues promptly. For pavers that have shifted, remove them, re-level the base material, and replace the paver. Cracked or broken pavers can be easily lifted and replaced with new ones. Keeping a few extra pavers on hand from the original batch can ensure a perfect match for repairs.
Replacement
In cases where the patio shows extensive wear or damage, or if you wish to update its look, replacement of the entire surface or sections may be necessary. Replacing pavers offers the opportunity to refresh your outdoor space without a complete overhaul. Consider reusing or repurposing removed pavers for other projects around your garden or home to maintain sustainability and cost-effectiveness in your maintenance efforts.
Alternative Ideas to Cheap Patio Pavers
Consider these creative alternatives to traditional patio pavers for a unique and cost-effective outdoor space.
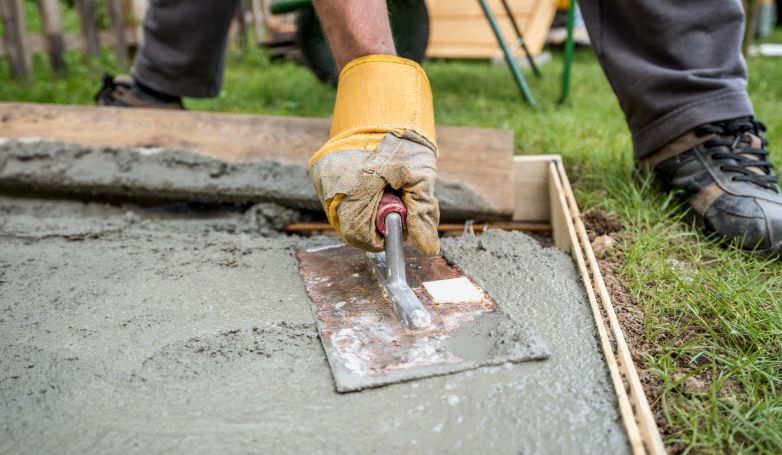
Concrete slabs or poured concrete
Concrete slabs or poured concrete offer a sleek, uniform look for your patio area. This option provides a continuous surface without the gaps seen in paver installations, creating a modern aesthetic. Poured concrete is versatile, allowing for various finishes and colors through staining or stamping, which can mimic more expensive materials like natural stone.
Natural stone
Natural stone, such as slate, limestone, or flagstone, adds a luxurious and unique touch to any outdoor space. Each piece varies in color, texture, and shape, offering a one-of-a-kind look. While natural stone can be more expensive upfront, its durability and timeless beauty make it a worthwhile investment for those seeking an upscale patio design.
Permeable pavers
Permeable pavers are designed to allow water to pass through the surface and into the ground, reducing runoff and promoting natural water filtration. This environmentally friendly option comes in various materials, including concrete and recycled plastic. Permeable pavers are ideal for creating sustainable, low-impact outdoor spaces that contribute to groundwater recharge.
Brick
Brick offers a classic and versatile paving option with a warm, inviting aesthetic. Its durability and ease of repair make it a practical choice for outdoor space. Available in a range of colors, from traditional red to more muted tones, brick can be laid in various patterns to create a personalized look. Reclaimed or recycled bricks can provide a cost-effective and eco-friendly alternative.
Gravel
Gravel is an inexpensive and easy-to-install option for patio areas, offering a casual, natural look. It allows for excellent drainage and can be used in combination with stepping stones or pavers for added stability and visual interest. Gravel comes in a variety of colors and sizes, enabling customization to fit any landscape design.
Artificial turf
Artificial turf provides a low-maintenance, green alternative to traditional patio surfaces. It offers the appearance of lush grass without the need for watering, mowing, or fertilizing. Artificial turf is durable, pet-friendly, and can be used in areas where natural grass might struggle to grow, making it an ideal choice for creating a year-round vibrant outdoor space.
FAQs about Cheap Patio Pavers Ideas
Find answers to frequently asked questions about cheap patio paver ideas, helping you make informed decisions for your patio project.
What is the least expensive paver patio?
The least expensive paver patio typically involves using concrete pavers or bricks, especially if you can source reclaimed or recycled materials. Concrete pavers offer a balance of affordability, durability, and aesthetic flexibility, making them a popular choice for budget-conscious homeowners. Opting for a simple design and doing the installation yourself can further reduce costs.
What is the cheapest way to pave a patio?
The cheapest way to pave a patio is by using gravel or crushed stone, which involves a straightforward installation process that homeowners can easily undertake themselves. Another cost-effective option is to use concrete pavers or reclaimed bricks. DIY installation, minimizing the patio size, and choosing simple designs can also help keep costs down.
What is an alternative to paver patio?
An alternative to a paver patio includes options like poured concrete, gravel, mulch, or artificial turf. These materials can offer different aesthetics and functionalities while potentially reducing costs and maintenance. Poured concrete provides a uniform surface, while gravel and mulch offer a more natural look. Artificial turf creates a green, low-maintenance space.
What is the least expensive DIY patio?
The least expensive DIY patio can be achieved using gravel or mulch, which are not only affordable but also simple to install without professional help. Creating a patio area with these materials involves clearing the space, laying a weed barrier, and spreading the gravel or mulch. This approach provides a quick, budget-friendly way to enjoy an outdoor living area.
Conclusion
In conclusion, transforming your outdoor space with cheap patio paver ideas is both achievable and budget-friendly. By exploring materials like concrete, brick, rubber, and composite pavers, or considering alternative options such as gravel or artificial turf, you can create a beautiful and functional patio area. These cost-effective solutions not only enhance the aesthetic appeal of your home but also offer durability and easy maintenance. With creativity and some DIY effort, your outdoor space can become a cherished outdoor sanctuary without breaking the bank.