Blacktop paving is a popular choice for everyday paving needs. Its versatility and characteristics make it a go-to material for various projects. If you’re unfamiliar with blacktop, this article will illuminate its essentials.
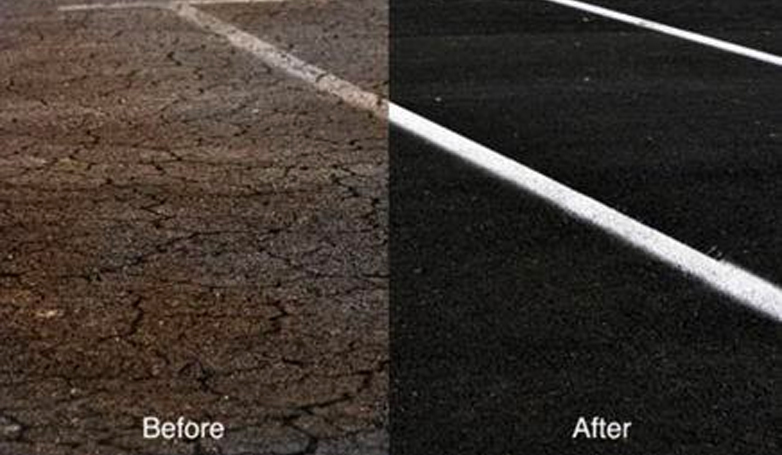
Blacktop, often confused with asphalt, is a specific type of asphalt mixture used primarily for paving roads, driveways, and parking lots. Its installation involves laying and compacting a hot mixture of aggregate, binder, and filler. The cost varies based on project size and location, but it’s generally considered cost-effective. Blacktop pavements are known for their durability, typically lasting up to 20 years with proper maintenance, which includes regular cleaning and timely repairs of cracks and potholes. When comparing blacktop to other paving options, it stands out for its affordability, ease of repair, and strong resistance to weather conditions. However, it can be susceptible to damage in extremely hot climates and requires resealing every few years to maintain its integrity.
Discover more about blacktop paving, including detailed cost analysis, installation tips, maintenance guidelines, and a comprehensive comparison with other paving materials.
What is the difference between blacktop and asphalt?
When it comes to paving, the terms ‘blacktop’ and ‘asphalt‘ are often used interchangeably, yet they represent distinct materials with unique properties and uses. Understanding the difference between these two is crucial for making informed decisions about paving projects. Let’s delve into the specifics of blacktop and asphalt to clarify their differences.
Blacktop
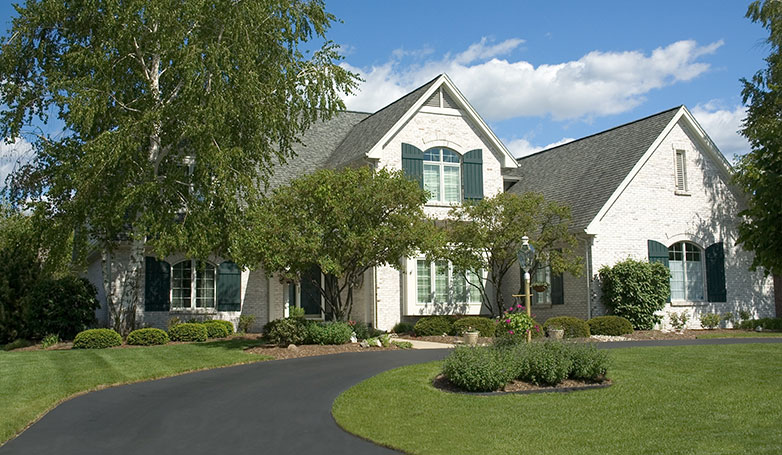
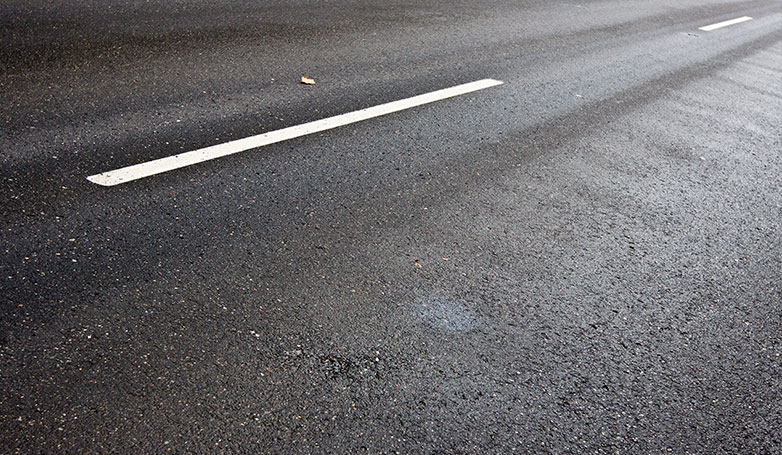
Blacktop, also known as hot mix asphalt, is a specific type of asphalt mixture. It’s primarily used for paving residential and commercial driveways, smaller roads, and play areas. The composition of blacktop is a blend of bitumen (a sticky, viscous liquid), sand, and stone. This mixture is heated at a higher temperature, which makes it more malleable and easier to spread. Once cooled, Blacktop Paving hardens into a durable, smooth surface. It’s favored for its dark, rich color and smooth finish, which is why it’s commonly chosen for aesthetic purposes in residential applications.
Asphalt
Asphalt, in a broader sense, refers to a mixture used for constructing roads, airport runways, and parking lots. It contains a lower percentage of bitumen and a higher percentage of crushed stone compared to blacktop. This composition makes asphalt sturdier and more suitable for handling heavy traffic and larger vehicles. The texture of asphalt is usually rougher, providing better traction and durability under high-stress conditions. Asphalt’s robustness and endurance under heavy use make it the preferred choice for commercial and public infrastructure projects.
How blacktop and asphalt are made

Understanding how blacktop and asphalt are made can be quite fascinating. These materials, while similar in appearance, have different production processes that give them unique qualities. Let’s take a closer look at how each is created.
How blacktop is made
While that paving material shares similarities with asphalt, there’s a distinction in their composition. Most mixtures in this paving category feature natural stone as their primary component. As you navigate your paved surfaces, whether it’s a roadway, parking lot, or driveway, you’ll notice a distinct shine and sparkle on the surface compared to a dense layer of asphalt. This aesthetically pleasing effect is achieved by incorporating a higher proportion of natural stones into the crushed mixture.
Blacktop is heated to elevated temperatures of about 300 degrees elevated temperatures (around 50 degrees greater than asphalt), which, together with the varying ratios of stones, contribute to its durability.
As time goes on, this material would generally be more resilient than asphalt. This resilience is due to the process of production requiring higher temperatures, rendering it a more pliable surface that you can reseal instead of it to suffer potholes and sharp cracks easily.
How asphalt is made
Asphalt is made directly from the heaviest component of petroleum after it is processed from fossil fuels. This dense and heavy product requires a cutting agent such as crushed stone to get the right consistency.
The use of crushed stones as cutting agents help to achieve the required correct consistency. The petroleum by-products and crushed stones mixture are then placed in a big drum to help keep climate control for the mixing phases. It is now pliable enough to pour on driveways, roadways, parking lots, etc. Asphalt is mixed at a minimum of around 250 degrees to make it tough enough to endure anything that moves, walks, and runs over its surface.
The 250-degree level is a standard that is required to be reached for asphalt. However, the temperature needs to remain in that range rather than rising higher. Anywhere between 250 and 260 degrees is perfect because higher temperatures negatively affect the finished product. The asphalt surface is rigid, but it does not have the same flexibility as a Blacktop Paving surface.
What blacktop and asphalt are used for
While blacktop and asphalt might appear similar at first glance, they serve distinct purposes based on their composition and durability. Let’s explore the specific applications for which each material is best suited.
Uses for blacktop
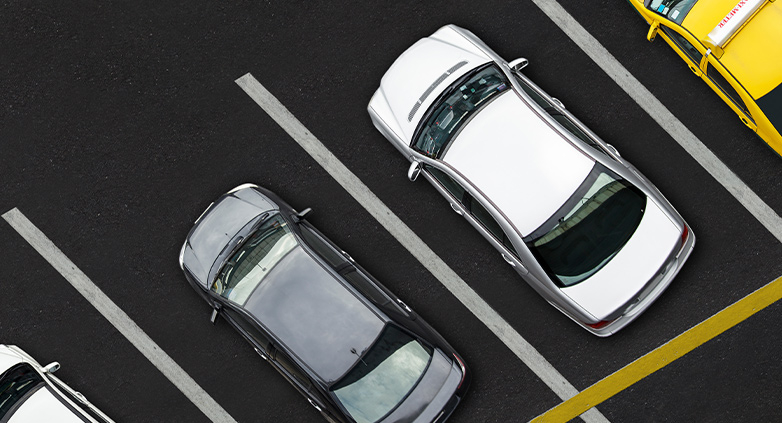
Unlike asphalt, blacktop surfaces are more susceptible to highly congested areas. It does not have much weight strength to tolerate heavier loads, so it is not as popular as asphalt to be used on major roadways. Instead, it is a perfect blend which is commonly used on:
- suburban roads,
- driveways,
- residential sidewalks,
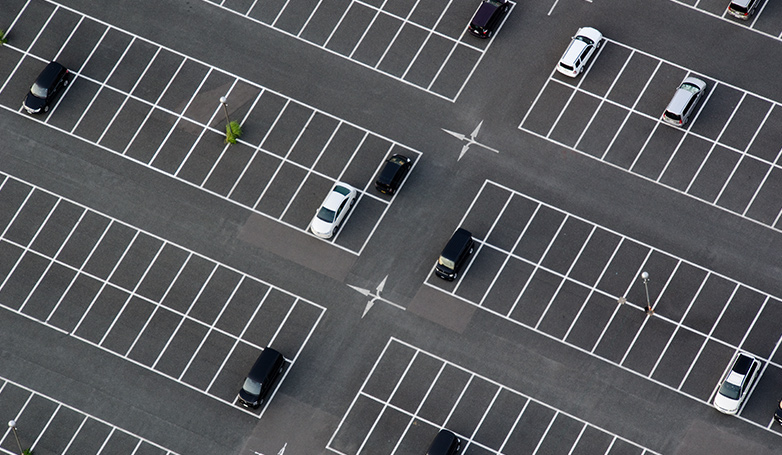
- parking lots,
- Playgrounds,
- Usually, this material is also used to construct game and court areas.
Blacktop does not have heavy traffic and weight load, like major roadways using asphalt; thus, it is usually used when referring to game areas and residential pathways.
Uses for asphalt
Asphalt is primarily recognized for its long-lasting performance and capacity to withstand harsh conditions. Hence, it is mostly used for:
- Major roadways,
- highways,
- freeways.
Aside from major roads that cross the world’s cities and byways, the versatile and water-resistant characteristics of asphalt make it suitable also for:
- Airport runways
- Reservoir linings
- Cable coatings
- Pool linings
- Soundproofing
- Tile underlying waterproofing
- Damp-proofing
Blacktop grade and asphalt grade
In the world of paving, both asphalt and blacktop come in various grades, each tailored for specific uses and environments. Understanding these grades helps in choosing the right material for your paving needs. Let’s delve into the different grades of asphalt and blacktop.
Asphalt grades
When you talk of blacktop and asphalt variations, it is also important to note that asphalt has more distinctions. The five grade types of asphalt include:
- Quiet Asphalt: This type of asphalt is widely used in residential neighborhoods or motorways that are near residences
- Porous Asphalt: It is generally used for parking lots or other pavements where you want the water to flow under the surface down to the ground.
- Warm mix asphalt: It uses a reduced heating temperature to minimize greenhouse gas emissions and prolong the paving season.
- Hot Mix Asphalt: This is identical to blacktop paving since “hot mix” is what makes its blacktop
- Perpetual Pavement: It’s a multilayered asphalt process. It can be deemed much comparable to the blacktop since it is the most versatile way of installing asphalt.
Blacktop grades
Blacktop, while less varied than asphalt in terms of grades, offers a unique blend that caters well to specific paving needs. Its composition is tailored to provide both aesthetic appeal and functionality for areas with lower traffic intensity. Here’s a closer look at the characteristics of blacktop’s singular standard:
- Single Standard Type: Predominantly available in one standard form.
- Composition: Comprises a mix predominantly of natural stone and bitumen.
- Appearance: Recognizable for its smooth, glossy finish.
- Usage: Best suited for residential driveways, playgrounds, and areas with less vehicular stress.
- Key Feature: Designed to offer durability and visual appeal in lighter traffic conditions.
How to Install Blacktop Paving in 8 Steps
There are several aspects that homeowners and business owners may not know about when it comes to paving with blacktop. Of course, there are specific steps you need to take and things you should consider while installing a new blacktop or replacing an existing one, ensuring its longevity.
Whether you want to carry out the project yourself or contract a professional, below are the steps you should take to properly install a blacktop pavement.
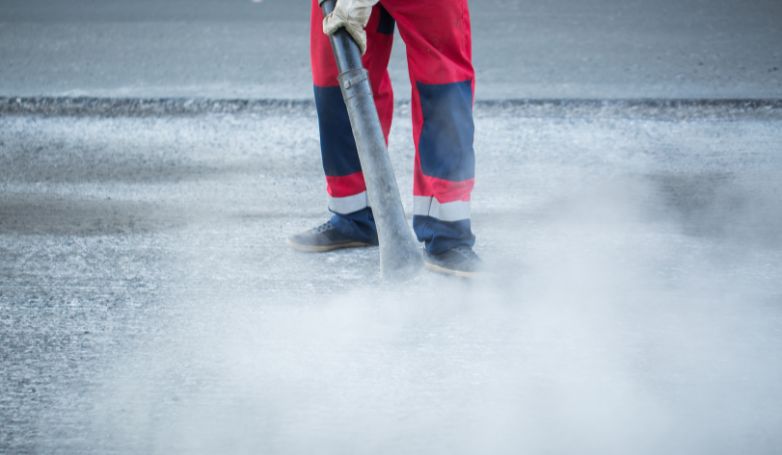
1. Remove Old Paving
The installation process starts with the removal of any old paving. This is done using heavy machinery such as forklifts, small bobcats, and front loaders. The goal is to clear the area thoroughly to create a stable base for the new blacktop, ensuring that the new surface will be even and properly aligned.
2. Grading and Sloping
Grading and Sloping
This step involves leveling the surface that will be paved. Using laser-guided transits and automated motor graders, professionals ensure that the area has the correct slope. Proper grading and sloping are critical to prevent water accumulation, which can cause damage like cracks, potholes, and heaving in the pavement.
3. Preparation of the Sub Base
The sub-base is crucial for providing a stable foundation for the new pavement. It must be compacted adequately to prevent shifting and settling. An improperly prepared sub-base can lead to premature deterioration of the blacktop, reducing its lifespan and durability.
4. Sub Base Repair, Undercutting, and Proof Roll
After grading and compacting the sub-base, additional steps such as proof rolling, undercutting, and sub-base repair are performed. This ensures that the ground surface is stable and ready to support the new Blacktop Paving. These steps are vital for preventing future issues with the pavement.
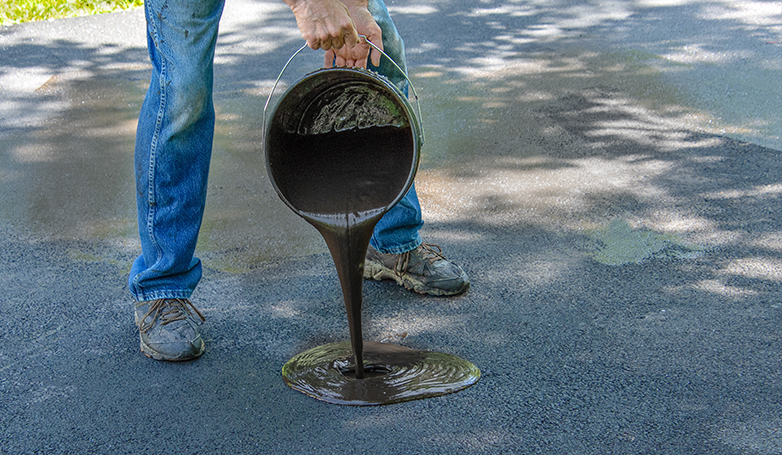
5. Binder and Surface Course
The binder layer, consisting of large aggregate mixed with oil, is then installed. This layer is crucial for the pavement’s strength and durability. It acts as the foundation for the blacktop, providing stability and resilience against traffic and environmental conditions.
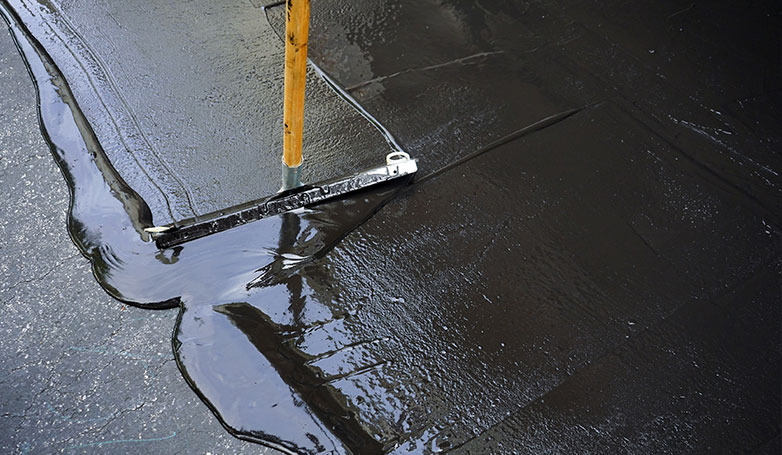
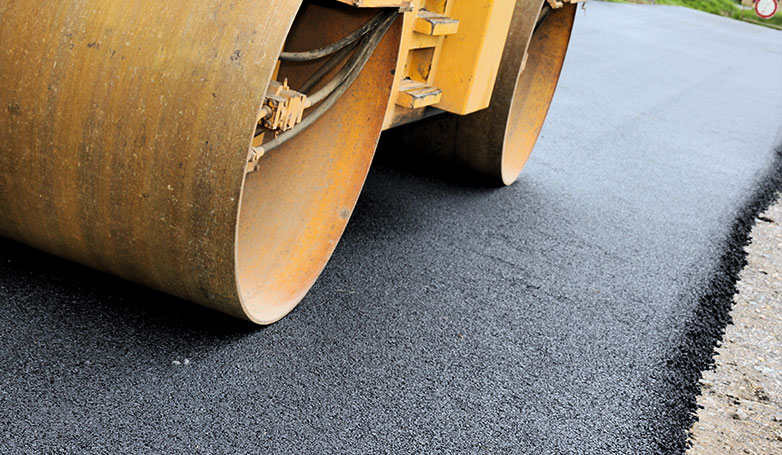
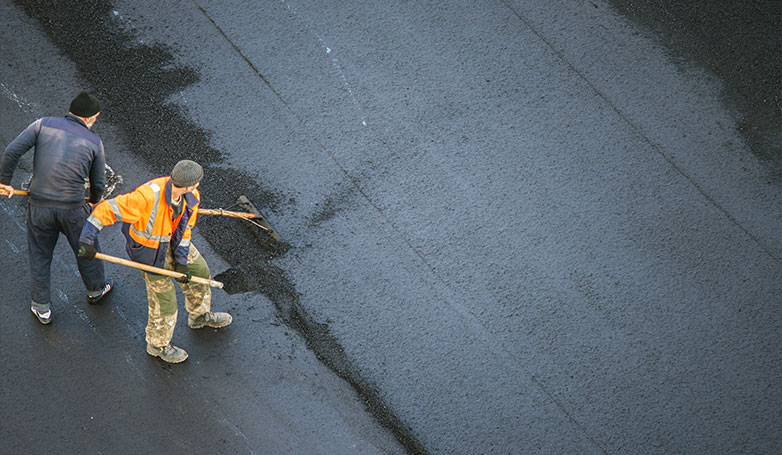
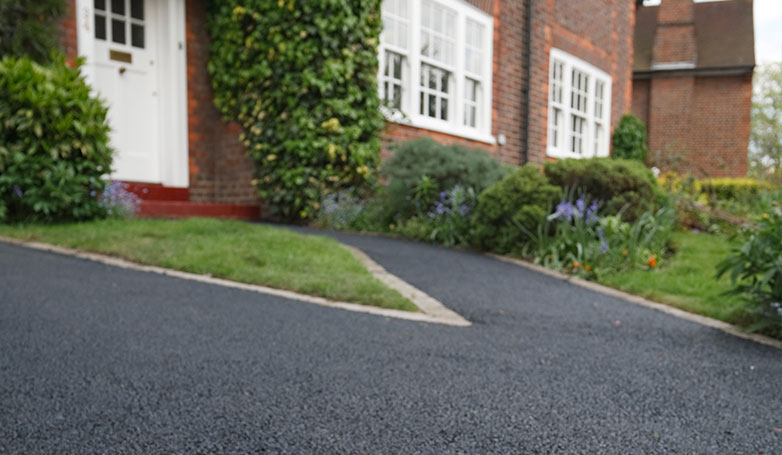
6. Apply a new blacktop
The final surface layer of blacktop is applied next. This layer is heated to around 300 degrees for optimal application. It provides a smooth, comfortable ride and gives the pavement a shiny, attractive finish. Careful application is key to ensuring a uniform surface.
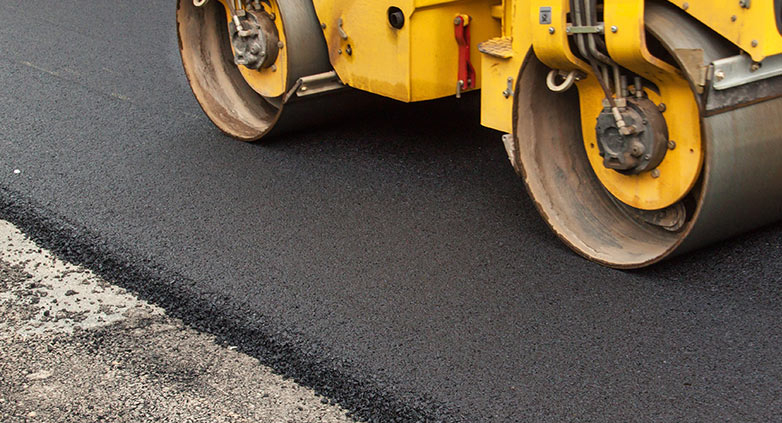
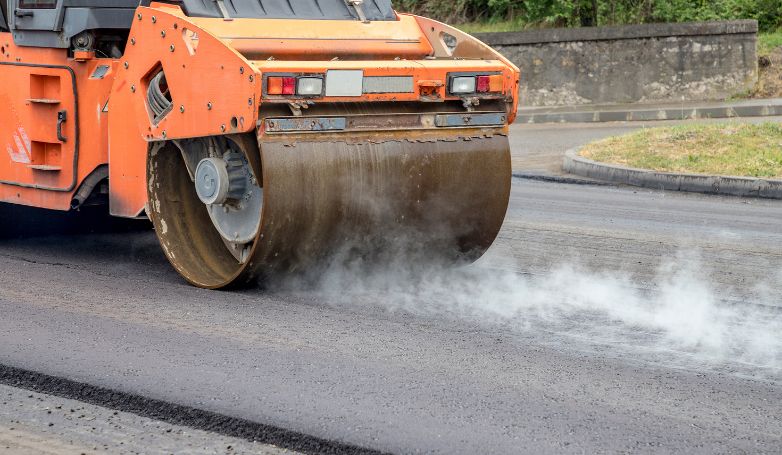
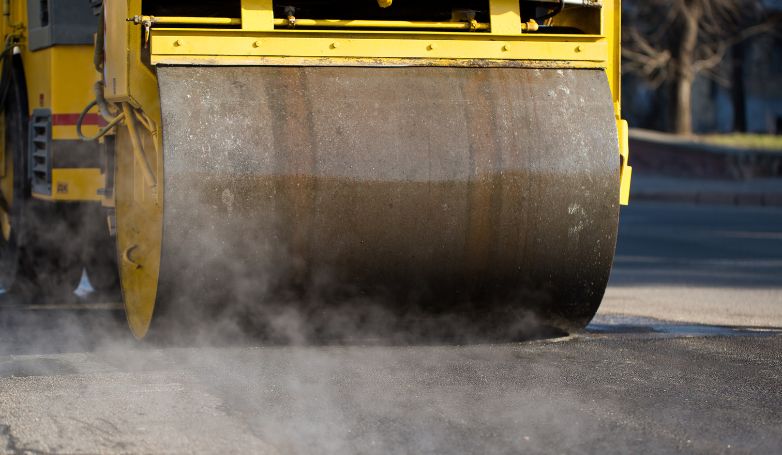
7. Final roll
After laying the blacktop, it’s essential to smooth out transition areas and butt joints. A roller truck is used to compact the entire surface, ensuring proper grading for water runoff and a smooth finish without any aggregate or stone protruding through.
8. Curing
The newly laid blacktop requires time to cool and strengthen. It typically takes 24-48 hours before it can be used. Allowing adequate curing time is critical; otherwise, it might stretch and sustain damage more quickly.
How much does blacktop paving cost?
Three factors may affect the average cost of blacktop installation, including:
- Location on Property
- Regional Variations
- Excavation/Grading
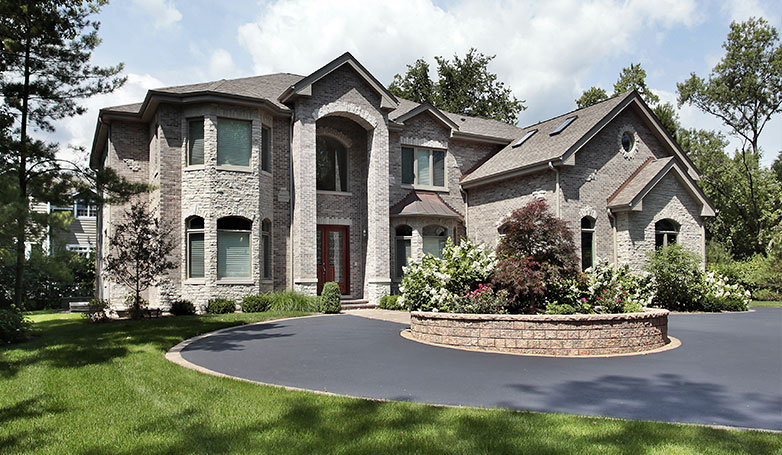
Location on Property
The cost of blacktop paving varies depending on where it’s being installed on the property. For a standard 2-car driveway, the average cost is about $3,600. However, the price range for many homeowners falls between $950 and $7,940, influenced by factors such as driveway size and the complexity of the installation. In contrast, blacktop installation in a backyard or other non-standard areas may be more costly, ranging from $3,500 to $32,500, depending on the specific requirements of the project.
Regional Variations
Geographical location plays a significant role in determining the cost of blacktop paving. Labor and material costs can differ widely from one region to another. For instance, urban areas or regions with higher living costs typically see higher prices for paving services. Additionally, the availability of the materials in a given region can also impact the overall cost.
Excavation/Grading
The initial groundwork, including excavation and grading, is a crucial factor in the overall cost. This process involves preparing the site for paving, which may include removing existing surfaces, leveling the ground, and ensuring proper drainage. The complexity and extent of this preparatory work can lead to varying costs. Sites requiring extensive excavation and grading work will generally incur higher costs due to the additional labor and machinery involved.
How durable is blacktop paving?
A blacktop pavement can last between 10 and 30 years, depending on several factors, including but not limited to, the following:
- Proper Installation
- Type of usage (residential or commercial)
- Weather conditions
- Maintenance culture
Proper Installation
The first step towards a long-lasting pavement is proper installation. So, ensure you hire the right contractor who will observe all the correct steps in the process to avoid damage caused on top of the pavement by water pooling.
Type of usage (residential or commercial)
You could cause premature damage to your driveway if you fail to plan for the correct type of use. So, ensure to properly determine the vehicles’ style and weight that will be using the driveway or parked on it.
Weather conditions
Weather conditions, including Cold, freezing temperatures can cause contraction and crack of the pavement. If you reside in a region with significant seasonal changes in temperature, then this is something you need to watch out for.
Maintenance culture
Furthermore, remember that proper maintenance and repairs can elongate the durability of your pavement. Hence, always ensure you give adequate care to your blacktop pavements.
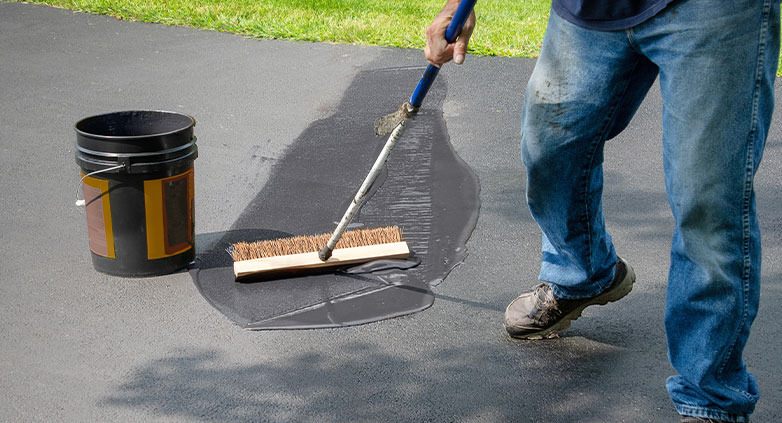
Blacktop paving maintenance
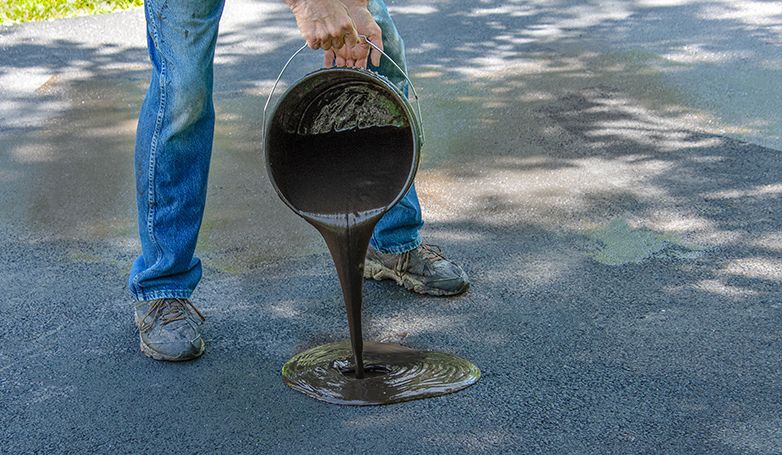
If you want your blacktop surfaces to last long or longer than expected, you need to adopt proper maintenance because good maintenance contributes to pavement durability. Below are tips on how you can adequately maintain your blacktop pavement:
- After installation, allow your pavement to cure properly before use.
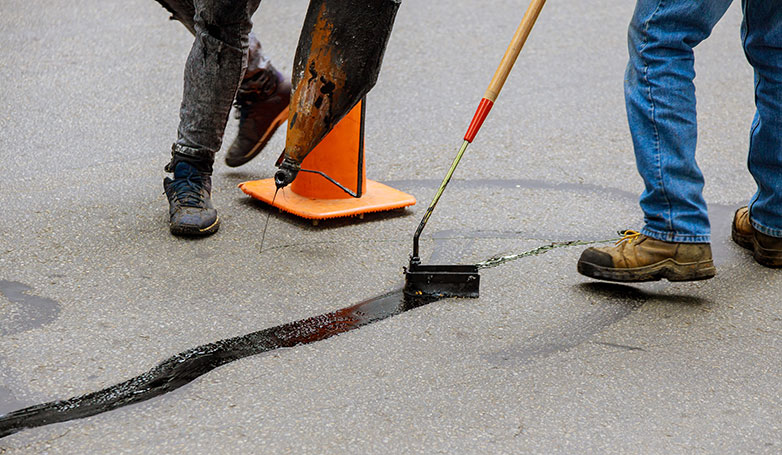
- Assess the blacktop pavement periodically for cracks and immediately patch them to prevent water from seeping into and weaken the material.
- Don’t park vehicles that are leaking fluids like oil or gasoline on your driveway because it can cause damage that can result in early repair of the driveway.
- It is also important to keep heavy commercial vehicles away from residential blacktop driveways. If required, park tow trucks or other similar vehicles in the street.
- During wintertime, use rock salt to remove ice and snow or thick brush for the same purpose, rather than to use a shovel or snow blower to shield this material’s upper layer from scratches and damage.
- Do not drive along the blacktop edge because the closer it gets to the edge of a paved region, the weaker the blacktop gets.
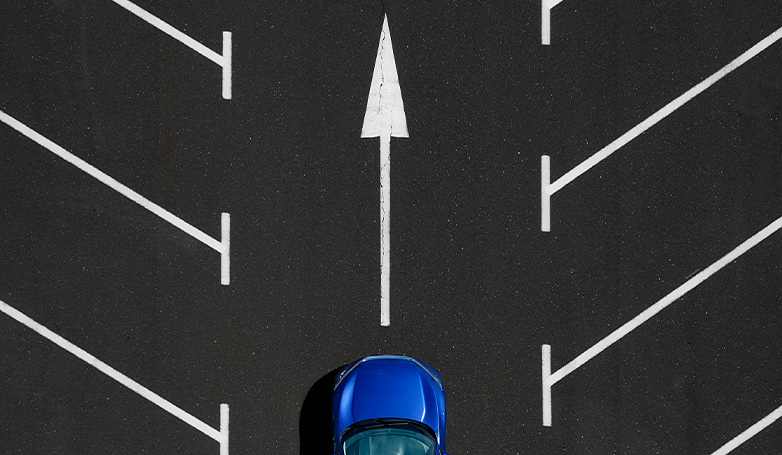
- Do not park vehicles in the same spot in the driveway at the same location because it will sustain excessive pressure and weight on one blacktop area. This area could then begin to degrade over time.
The Pros and Cons of blacktop paving vs. other paving options
Here are the pros and cons of using asphalt compared to other materials.
Pros of using blacktop
You can use blacktop in several places, including parking lots, roadways, home driveway, game areas, etc. Below are the advantages of using blacktop:
- Safe: blacktop pavement provides a very smooth, sparkling, and attractive surface. This implies a comfortable ride for your tires, resulting in fewer accidents.
- Minimum disruption: Since blacktop can be handled in lanes or strips, you can use your parking lot or road in places where the contractor is not working. Besides, since projects can be carried out fast, they can often be executed outside regular business hours, which does not hurt your business.
- Noise control: Blacktop pavement is the quietest option for paving surfaces. It is claimed to reduce noise pollution by 50 percent.
- Cost-effective: Blacktop pavement is inexpensive to maintain. It can be done on time, saving you money on human resources.
Cons of using blacktop
Despite its many benefits, it also has a downside. The disadvantages of using blacktop for your paving project are but not limited to, the following:
- Its uses are limited to areas that do not regularly experience heavy traffic.
- The mixing nature of blacktop’s ingredients is not sturdy enough and does not last long compared to asphalt paving.
- Blacktop paved surfaces tend to need more maintenance than other paving options.
- Blacktop has a higher mixture of stone than its other option, requiring it to be heated to a higher temperature (around 300 degrees). This means more time would be needed to prepare the mixture.
Other attributes of blacktop and asphalt

Here are some attributes of asphalt and asphalt that you may want to consider
Mixing Requirements and Seasonal Considerations
Asphalt and blacktop exhibit distinct characteristics in their mixing requirements. Both materials necessitate elevated temperatures during the mixing process. Consequently, it is customary for contractors to undertake paving projects primarily during warmer months to ensure optimal working conditions.
Surface Texture and Composition
When comparing asphalt and blacktop, differences in surface texture become apparent. Asphalt generally boasts a smoother finish, while blacktop contains higher concentrations of crushed natural stone in its mix. This variation in composition contributes to differences in the final texture of the paved surface.
Application Considerations
The choice between asphalt and blacktop often hinges on the specific requirements of the project. Asphalt, with its smoother finish, is well-suited for applications where a superior, smoother ride is desired. This makes it an ideal choice for constructing major roadways, where a comfortable driving experience is paramount. In contrast, blacktop, with its stone-rich composition, may be preferred for certain applications where a different texture or aesthetic is desired.
FAQs about Blacktop Paving
Discover now the most frequently asked questions about this material.
Is blacktop cheaper than pavers?
Yes, blacktops are generally more cost-effective than pavers. The installation process for blacktop is quicker and requires less labor compared to laying individual pavers. The overall cost may vary based on factors such as project size, material quality, and local labor costs.
Is blacktop better than concrete?
The choice between blacktop and concrete depends on several factors. Asphalt is more flexible and can withstand freeze-thaw cycles better than concrete, which may crack under certain conditions. Additionally, blacktop is easier to repair, making it a suitable choice for areas with frequent temperature fluctuations. However, concrete is known for its durability and may be preferred in certain applications. The decision ultimately depends on specific needs, climate considerations, and maintenance preferences.
Conclusion
Blacktop paving is a safe, durable, and commonly used paving option for a wide range of projects as much as asphalt. While blacktop is durable like asphalt, it is more malleable, and asphalt is typically more rigid than blacktop.
Their resemblances make them both commonly used materials for paving projects, but their disparities help you better understand which will be your project’s best pavement choice.
It is critical to analyze how each material will impact the performance, irrespective of the project intent. A small variation could go a big step in the making or marring of your next project. So, ensure to consult a professional paving contractor for any paving project you may need for your home or offices.
Professionals know the right material for a particular project, understand the perfect time for paving work, and can give you a precise cost estimate to ensure the project’s success.