Tarmac Driveway – Budget-Friendly Options for a Stunning Look
Tarmac driveways are increasingly popular among U.S. homeowners. They’re known for their ease of installation and longevity, but some wonder if it’s the right choice for their homes.
Tarmac, short for ‘tarmacadam’, is a robust and cost-effective driveway material. Originating from John Loudon McAdam’s 1820 technique, modern tarmac combines a tar layer over a pavement base, topped with gravel. This composition ensures durability, sturdiness, and reduced dust. Tarmac driveways are easy to install, requiring less maintenance than other materials, making them an attractive option for quick, reliable, and long-lasting driveways.
To learn more about the costs, benefits, and potential drawbacks of tarmac driveways, let’s delve deeper into what makes this material a smart choice for homeowners.
How to Install Tarmac Driveway in 8 Steps
To guide you through this process, we’ve broken down the installation into eight detailed steps. Each step is designed to ensure your driveway not only looks professional but also stands the test of time. So, let’s roll up our sleeves and dive into the intricacies of laying a tarmac driveway that you can be proud of.
1. Clearing and Preparation
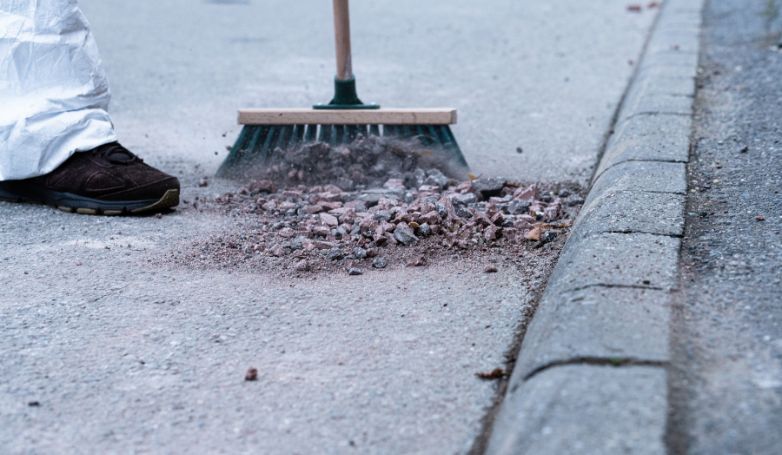
Before anything else, let’s thoroughly clear your future driveway area. This means more than just removing debris and vegetation; you’ll need to excavate the area to a suitable depth, which is usually around 200-250mm. This depth ensures that all topsoil, which is prone to swelling and shrinking, is removed. The aim here is to reach a level of subsoil that’s stable and less affected by weather changes.
It’s also a good time to think about the future: envision how water will run off your tarmac driveway to avoid puddles. You might need to plan for a slight slope or integrate drainage solutions. Precision in marking out the boundaries of the driveway ensures accuracy throughout the installation process. Consider using string lines or spray markers for this.
2. Sub-base Installation
The sub-base is crucial for a durable driveway. For standard driveways, a depth of 100-150mm is usually sufficient, but for areas expecting heavier vehicles, go deeper. The type of material used for the sub-base is vital. Materials like MOT Type 1 are commonly used due to their stability and ability to drain well.
After laying the sub-base material, it’s essential to compact it layer by layer, rather than all at once, to avoid any weak spots. This can be done using a vibrating plate compactor. Proper compaction ensures a more durable, longer-lasting driveway and reduces the risk of future sinking or distortion.
3. Geotextile Membrane
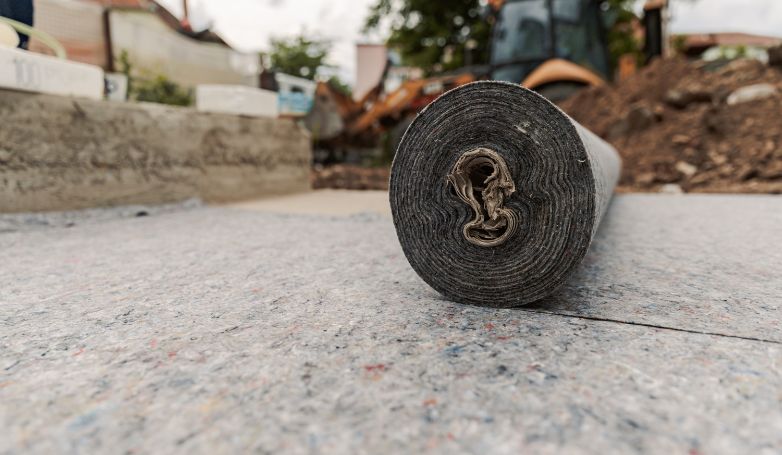
This step is often overlooked but is vital for longevity. The geotextile membrane acts as a barrier, keeping the sub-base separate from the soil below, which is important for preventing the driveway from sinking.
It also plays a role in weed prevention and aids in water management. When laying the membrane, ensure it covers the entire area and overlaps at the edges. Secure it in place to prevent movement during the installation of the upper layers.
4. Base Tarmac Layers
The foundational layer of a tarmac driveway is commonly crafted by blending coarse aggregates with bitumen. This crucial layer must possess adequate thickness, typically ranging between 50-100mm, to ensure it can effectively support the weight of vehicles. An essential aspect of this process involves laying the layer evenly and meticulously checking for uniform thickness to guarantee a well-constructed tarmac driveway.
Once laid, compacting this layer is crucial. A roller may be used for larger driveways to ensure an even and solid base. Remember, the quality of your base layer sets the tone for the rest of the driveway.
5. Binder Course Application
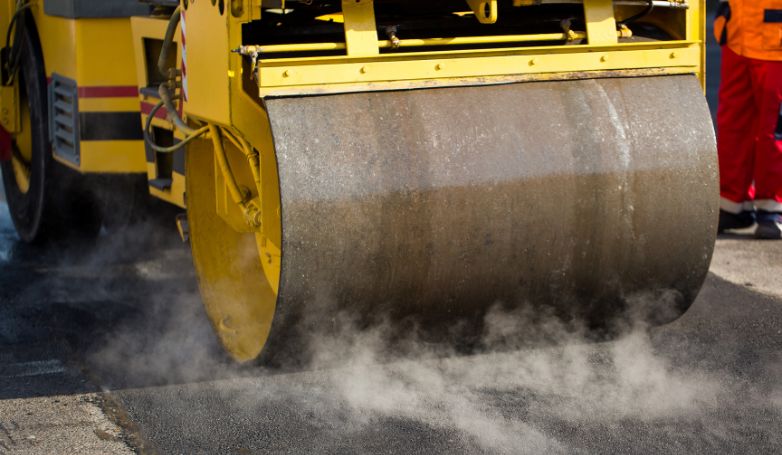
The binder course provides an additional layer of strength and binds the base layer to the surface layer. This layer should be around 40-60mm thick. When applying, it’s important to ensure an even distribution and to compact it thoroughly.
This middle layer also helps to even out any minor imperfections in the base layer and provides a smooth surface for the final layer.
6. Wearing Course Application
The top layer, or the wearing course, is what will be visible and subjected to the daily wear and tear. This layer is usually finer and includes smaller aggregates for a smoother finish. The thickness of this layer can vary but is generally around 25-40mm.
It’s important to spread this layer uniformly and compact it well to achieve a smooth, durable surface. The quality of the finish in this layer is crucial, as it affects both the aesthetics and the functionality of the driveway.
7. Edge Restraint
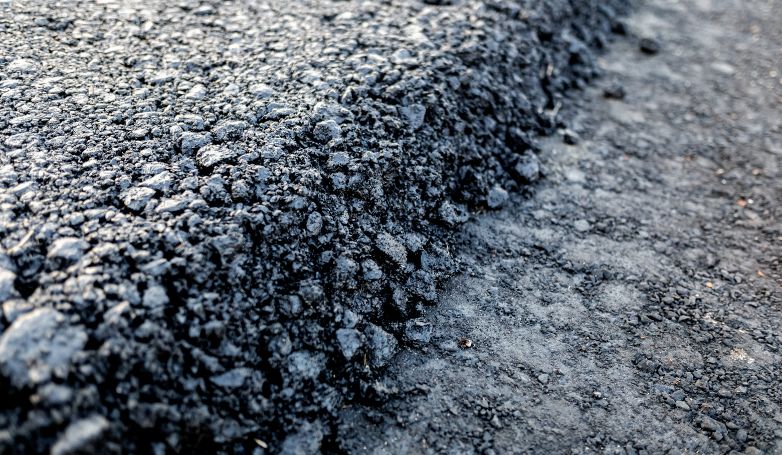
Edge restraints are essential to keep the layers of your driveway intact. They provide a boundary and help to maintain the structure of the driveway. This can be done using various materials like bricks, stone, timber, or pre-formed concrete kerbs.
The key is to install them at the correct height and ensure they are firmly embedded in concrete. This step not only enhances the driveway’s appearance but also adds to its structural integrity.
8. Cooling and Setting
The final step is to allow the tarmac to cool and set properly. This is crucial for the tarmac driveway to harden and gain its full strength. The time required for this can vary depending on the weather conditions – cooler weather means a longer setting time.
It’s generally advised to keep the driveway free from vehicles and heavy equipment for at least 24-48 hours. This patience ensures that when you finally use the driveway, it is at its maximum strength and durability.
Remember, every step in this process plays a vital role in ensuring the overall excellence and durability of your driveway. By taking your time and concentrating on quality at each phase, you’ll create a driveway that’s not only functional but also aesthetically pleasing. Keep reading to discover the benefits of this material.
Benefits of Tarmac Driveways
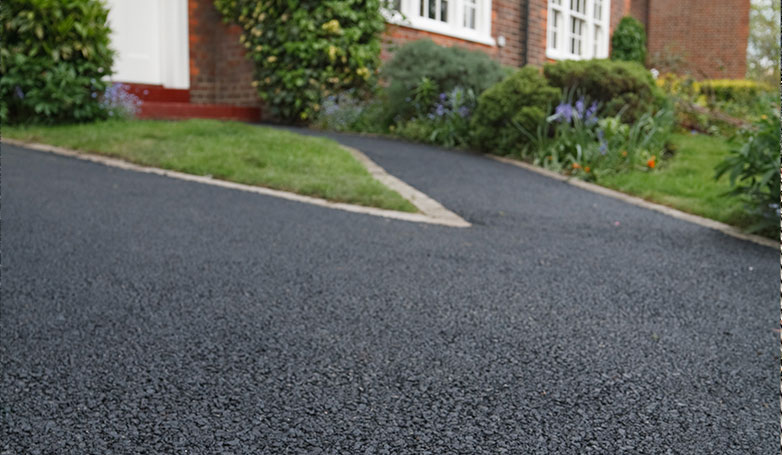
When considering a tarmac driveway for your home, it’s essential to understand the unique advantages it offers. Here are some key benefits to keep in mind:
Easy Installation
One of the primary reasons homeowners use tarmac for their driveways is that it is one of the easiest materials to install. Many homeowners will complete their tarmac driveway project within a single day, depending on the size of the driveway. The material is easy to lay, and it takes about 2 to 3 days to solidify or cure before it can be driven on.
Compared to other materials, this installation time is significantly short. For example, if you were to install a concrete driveway, you would have to wait around seven days for it to cure before you could drive on it.
Low Cost
Tarmac is also a low-cost material, which is why so many homeowners prefer it over other options. In fact, it is one of the most cost-effective solutions on the market today. Compared to brick, concrete, sandstone, and other types of pavement slabs, you can save a good amount of money.
Durability
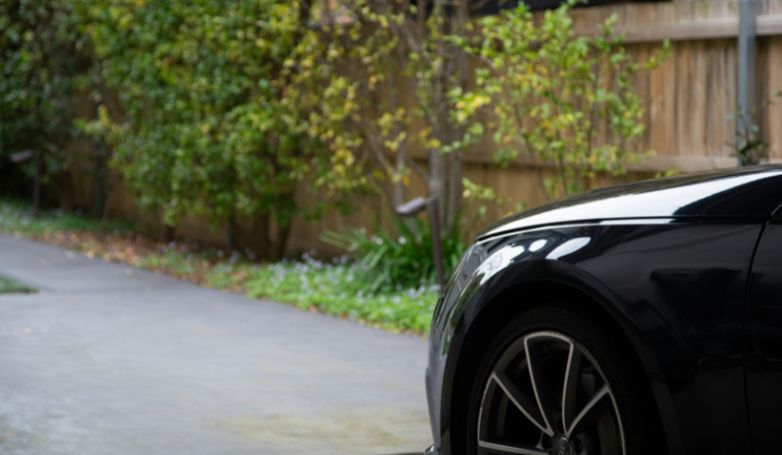
Tarmac driveways, when poured and installed correctly, have a substantial lifespan. Under favorable conditions, they can endure for about 12 to 13 years, with many lasting even longer—up to 20 years or more—before requiring repouring.
Maintaining a tarmac driveway is relatively hassle-free, and numerous experts assert that these driveways practically take care of themselves. As a homeowner, your primary task is to ensure your tarmac driveway stays clean by removing dirt and debris regularly to preserve its fresh and new appearance. Additionally, it’s advisable to apply a sealant to your tarmac driveway every four or five years for optimal protection.
Smooth Surface
One of the standout benefits of a tarmac driveway is its incredibly smooth finish. This seamless surface results from the fine aggregates used in the top layer of the tarmac.
Not only does this make for a more pleasant driving experience, but it also contributes to a cleaner look and reduces the risk of tripping hazards. Additionally, the smoothness of tarmac is kinder to vehicles, leading to less wear and tear on tires and suspensions.
Versatility in Design
Tarmac driveways offer a surprising amount of design versatility. While the classic black is popular, there are options for different colors and finishes to match the style of your home and landscape.
You can also play with borders and patterns, using materials like bricks or stones to create a unique, personalized look. The flexibility in design means that a tarmac driveway can complement a wide range of property styles, from traditional to contemporary.
Disadvantages
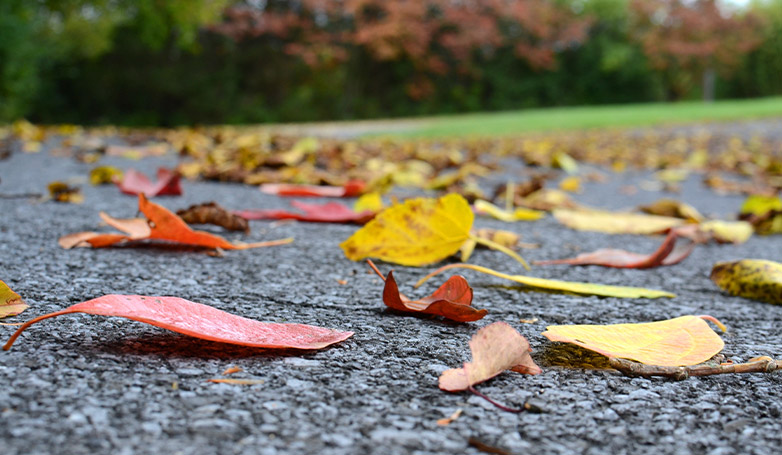
While tarmac driveways have several appealing features, it’s equally important to consider some potential drawbacks. Here are a few cons to be aware of:
UV Light
Tarmac is able to withstand heat pretty well, though UV light is one of its worst enemies. Constant UV exposure can cause this material to degrade, making it brittle. Eventually, if left without any care, potholes will start to appear.
Beyond UV light, automotive oils such as petrol and diesel can be very damaging. Similar to UV light, these oils can loosen the binding and result in cracking.
Weed Growth
Weed growth is a big problem that many tarmac driveway owners experience. If you have a crack in your driveway and you don’t repair it immediately, there is a good chance that weeds will pop up through it. When weeds start popping up through your tarmac’s cracks, they can make the cracks much bigger and more difficult to repair.
Tarmac Driveway Cost
| Cost Component | Average Cost |
|---|---|
| Material Costs | $7 – $15/sq ft or $100 – $200/ton |
| Labor Costs | Varies |
| Size of Driveway | Depends on size |
| Preparatory Work | Varies based on scope |
| Material Source and Contractor | Varies |
When delving into the financial aspects of installing a tarmac driveway, it’s crucial to have a comprehensive understanding of the various factors that contribute to the overall cost. On average, the expense for a tarmac driveway hovers around $4,500, but this figure can fluctuate based on several key elements.
Material Costs
The cost of tarmac material itself ranges from $7 to $15 per square foot. This price variation is influenced by factors such as the quality of the material, regional price differences, and any specific characteristics of the tarmac you might choose, like color or texture. If you opt to purchase tarmac by the ton, which is a common approach for larger projects, the price can be expected to fall between $100 to $200 per ton. This pricing can be affected by market demand, transportation costs, and the grade of the material.
Labor Costs
Labor costs are another significant component of the overall expense. The cost of labor can vary widely depending on the region, the expertise of the contractors, and the complexity of the installation. For instance, a driveway with intricate design features, slopes, or drainage requirements may necessitate more skilled labor, thus increasing the cost.
Size of Driveway
Additionally, the size of your driveway plays a pivotal role in determining the total cost. Larger driveways require more material and labor, thereby escalating the expenses. It’s also important to consider any preparatory work needed, such as excavation, leveling, or the removal of an existing driveway, as these can add to the cost.
Balancing Quality and Cost
Finally, the source of your materials and the choice of contractor can impact the overall price. Sourcing materials locally can sometimes reduce costs, while choosing a highly reputable contractor, though potentially more expensive, can ensure a higher quality and longer-lasting driveway.
How To Clean a Tarmac Driveway
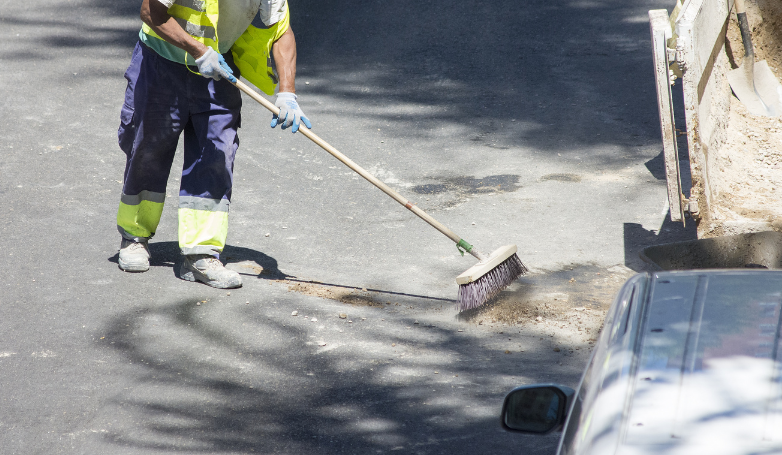
Effortlessly cleaning a tarmac driveway to maintain its pristine appearance demands minimal exertion. However, it is crucial to employ the correct cleaning approach to prevent potential damage to the base layer and surface.
One of the best approaches for cleaning a tarmac driveway is to sweep off any dirt and debris that are on the surface. If there is debris that you’re unable to get off using a broom, you can also hit your driveway with a bit of low-pressure water.
We never recommend using a high-pressure water source, as this can remove loose stone chippings and create additional damage that is difficult to repair.
How To Get Rid of Moss On a Tarmac Driveway
One of the things many tarmac driveway owners deal with, especially if they live in wet locations, is moss growth. Moss can present potential problems with your tarmac driveway, making it very slick and slippery to walk on or expanding cracks that can be difficult to repair.
It’s best to get rid of moss at the source. Luckily, the solution to ridding your tarmac driveway of moss is very simple.
Start by diluting some vinegar with water and spraying it onto the algae or moss deposits on your driveway. Let the vinegar and water solution soak for around 15 to 20 minutes before washing it off with low-pressure water. You can repeat this process every day for a week until the algae or moss disappears.
If this vinegar and water solution doesn’t work, you can also try bleach or baking soda.
How To Remove Oil From a Tarmac Driveway
One of our favorite DIY remedies for removing oil stains from a tarmac driveway is baking soda. Start by sprinkling a generous amount of baking soda atop your oil stain. To get it slightly wet, add a little bit of water.
Allow the baking soda and water to soak in for a few minutes before brushing the stain with a cleaning brush in small circular motions until the stain begins rising. You can repeat this process as many times as you need if the stain doesn’t come up right away.
Some other materials you can try this same method with include:
- Cat litter
- Coca Cola
- WD-40
- Oven cleaner
- Dish soap
How To Repair Cracks In a Tarmac Driveway
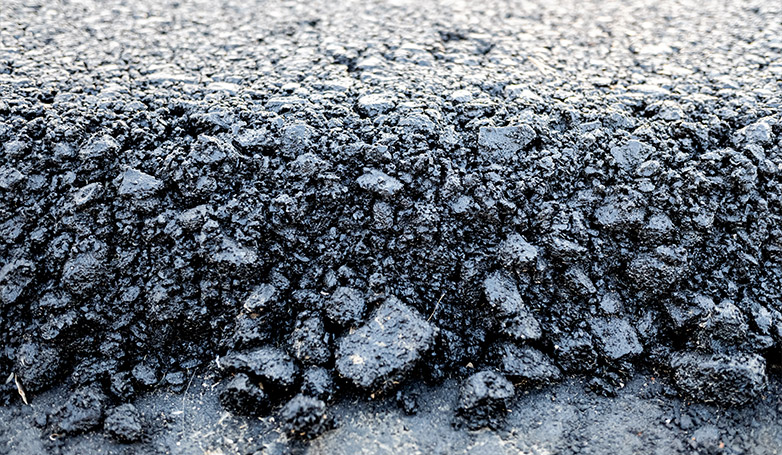
If you’re dealing with cracks in your tarmac driveway that are less than ¾ inch wide, you can use an asphalt patching product to repair it.
Start by cleaning your surface to get rid of dirt and debris. Make sure the crack itself is clean too. You can use a screwdriver or wire brush to clean out the crack. Remove any remaining debris using a low-pressure hose.
Next, prep your filler according to the instructions on your bottle. Once the filler is ready, fill the crack flush to the surrounding tarmac and smooth it out to that the height is the same as the rest of your driveway.
Tarmac Driveway Ideas
Here are some ideas that can inspire you for your tarmac driveway!
This multi-car driveway uses tarmac to provide plenty of space while blending in with the road out front.
Surrounded by paver stones, this tarmac driveway blends a modern and traditional look, accompanying the red brick material in a uniquely contrasting manner.
This tarmac driveway is sectioned using brick, breaking up the monotony of what would otherwise be a long, plain, black driveway.
With stones around the circumference and driveway lights to lead the way, this tarmac driveway has a more upscale aesthetic.
This tarmac driveway provides contrast to the surrounding gravel and brick material, perfect for a simple yet aesthetically-pleasing look.
FAQs about Tarmac Driveway
Here are some frequently asked questions to help you make an informed decision.
Can You Resurface a Tarmac Driveway?
Yes, you can resurface a tarmac driveway. While there are some methods for resurfacing on your own, these depend on the size and quality of your driveway. If your tarmac driveway is in need of serious repair, we recommend getting in touch with a resurfacing professional.
How Long Do Tarmac Driveways Last?
There are several factors that have an impact on how long a tarmac driveway will last. Some of these factors include:
- The climate of the surrounding area
- The amount of traffic the driveway handles
- The general wear and tear of the driveway
If you have a tarmac driveway that is under relatively good circumstances, such as nice weather and low-volume traffic, you can expect it to last anywhere between 12 and 13 years.
Is tarmac cheaper than concrete?
Tarmac generally tends to be more cost-effective than concrete, especially when considering initial installation costs. Concrete can be more expensive due to its material costs and the labor-intensive process of laying it. However, the total cost can vary based on factors like the project size, local material prices, and labor rates.
Is tarmac good for driveways?
Absolutely, tarmac is an excellent choice for driveways. It’s durable, long-lasting, and can withstand heavy loads, making it ideal for both residential and commercial properties. Its smooth surface provides good traction, and it’s relatively easy to maintain. Additionally, tarmac’s ability to expand and contract with temperature changes helps prevent cracking, a common issue in some other driveway materials.
How much will 1 ton of tarmac cover?
The coverage area of 1 ton of tarmac can vary based on the thickness of the layer being laid. On average, 1 ton of tarmac can cover about 8 to 10 square meters at a depth of about 50mm. It’s important to calculate the area and depth accurately for your specific project to determine how much tarmac you’ll need.
What is a cheaper alternative to tarmac?
Gravel is a popular and more affordable alternative to tarmac. It’s easier to install and doesn’t require specialized equipment. Other cost-effective options include asphalt, which is similar to tarmac but generally cheaper, and resin-bound surfaces, which offer a balance between cost and aesthetics. Each alternative comes with its own set of benefits and limitations, so it’s important to weigh these against your specific needs and budget.
Final Thoughts
Tarmac is a wonderful material for paving driveways and is quick and easy to install, perfect for any homeowner looking for a cost-effective driveway. We hope you feel more confident in your driveway-paving choice after reading our article. Make sure to get in contact with one of the many top-rated companies in our paving network here at Paving Finder.

