When Does the Paving Season End? The Ideal Conditions
Understanding when the paving season ends is crucial for successful pavement installation. The end of the season is influenced by climate, affecting project timelines and material choices. This guide highlights key aspects determining this crucial period.
The closure of the paving season is primarily dictated by temperature and weather conditions. Typically, it concludes around late autumn when colder temperatures prevail. Asphalt paving requires temperatures above 50°F (10°C) and ground temperatures above 45°F (7°C) for proper installation and curing. The arrival of freezing conditions and reduced daylight hours marks the end of the optimal paving period. Hence, monitoring local weather patterns is essential for effective scheduling.
Further, we will explore how regional climates and changing weather patterns affect paving timelines and introduce strategies for effective project planning and quality maintenance as the season draws to a close.
When Does the Paving Season End?
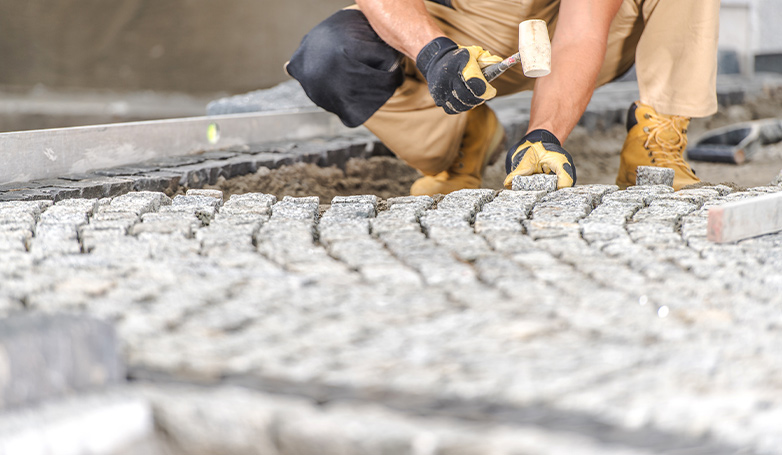
The season ends when the ground freezes for all paving companies, and they can no longer work on it. This is especially true in the case of asphalt, the most popular paving material. It paves best in summer or warm weather.
During the winter season, the ground stiffens up so much that the labor cannot work with the asphalt anymore, let alone get it right. If you attempt to lay asphalt in the winter season, it will set in long before you have had time to smooth it. Hence, the result will not be high-quality and neat.
Incorrect paving means your pavement will soon suffer more wear and tear, especially in uneven areas where there is more concentration. The bad weather will even render the seal coating finish incapable of doing its job. Do you know why? Because seal coating is a water-based sealer and it does not set incorrectly when the weather is inappropriate.
If you’re paving asphalt on your driveway and don’t want it to crack or spoil, then a temperature above 45 degrees F is ideal.
The Best Time of the Year to Pave Your Driveway or Lot

Paving a driveway or lot is a hefty investment, and surely, you want to do your best. Hence, if you ask, we’d suggest late spring till early fall as the ideal time of the year for paving your lot.
Temperature and Weather Conditions
During late spring to early fall, the temperature range is most conducive for asphalt paving. Asphalt needs to be applied when it’s warm, ideally between 70°F and 150°F (21°C to 65°C), for effective compaction and setting. This period offers the perfect balance of warmth and dryness, ensuring asphalt remains pliable for even spreading, leading to a smoother and more durable surface.
Extended Daylight Hours
The longer daylight hours in these months are a significant advantage for paving projects. More natural light not only allows for longer working hours, improving project efficiency, but also enhances visibility for better quality control during application. This extended working period is crucial for meeting project deadlines and ensuring high-quality work.
Stable Ground Conditions

Late spring and summer usually bring drier weather, which is ideal for paving. Dry and stable ground conditions are essential for preventing future pavement issues like cracking or shifting. Paving on wet or frozen ground can lead to poor compaction and an uneven surface, compromising the pavement’s integrity.
Curing and Setting Time
The warm temperatures and consistent weather patterns during this time are perfect for the curing process of paving materials. Proper curing and setting are critical for the pavement to reach its full strength and longevity. This timeframe ensures that the pavement sets correctly and achieves its maximum durability.
Planning and Scheduling Flexibility
Starting your paving project in late spring or early summer provides a broader window to complete the work before colder weather arrives. This flexibility is crucial to accommodate any unexpected delays and ensures that the project can be completed within the optimal season, thus protecting your investment.
The Ideal Window for Paving Projects
In conclusion, paving your driveway or lot from late spring to early fall offers the most favorable conditions for success. This period ensures the right balance of temperature, ground conditions, daylight, and curing time, vital for a high-quality, durable pavement. By scheduling your project within this timeframe, you maximize the effectiveness of your investment and ensure a long-lasting result.
Ideal Conditions for Asphalt Installation
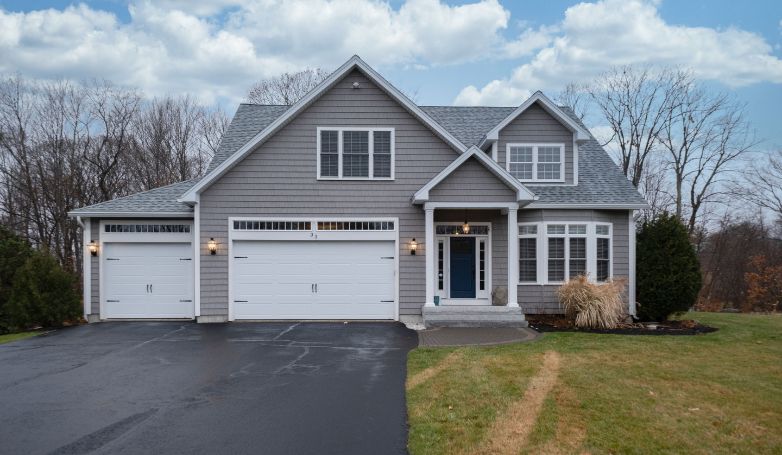
To achieve the highest quality in asphalt paving, it’s crucial to consider various factors such as temperature, ground stability, and seasonal timing. This guide aims to provide detailed insights into these key elements, ensuring your paving project not only meets industry standards but also stands the test of time and weather. By understanding and adhering to these optimal conditions, you can ensure a successful, durable, and aesthetically pleasing paving outcome.
Temperature and Asphalt Compaction
For successful asphalt installation, maintaining temperatures of at least 45 to 50 degrees Fahrenheit is essential. This range is critical for keeping the asphalt malleable, facilitating proper compaction and ensuring a smooth, durable surface. Compaction quality directly affects the lifespan and structural integrity of the pavement, making temperature control a pivotal aspect of the paving process.
Ground Stability and Seasonal Considerations
The stability of the ground is paramount when laying asphalt. The base must be firm and not subject to the freezing conditions typical of winter, as this can lead to an uneven and weakened pavement structure. Early spring poses challenges too, with the risk of precipitation and thawing conditions that can destabilize the ground. A stable ground ensures that the asphalt sets evenly, reducing the likelihood of future maintenance issues.
Optimal Paving Timeline
Late spring onwards offers the most favorable conditions for asphalt paving. This period typically provides the necessary warm temperatures and stable ground conditions, crucial for high-quality paving. Starting paving projects during this window also reduces the risks associated with wet weather and freezing temperatures, leading to more efficient project timelines and superior pavement quality. This time frame allows for optimal asphalt laying, curing, and longevity, making it the ideal choice for paving projects.
Ideal Conditions for Concrete Installation
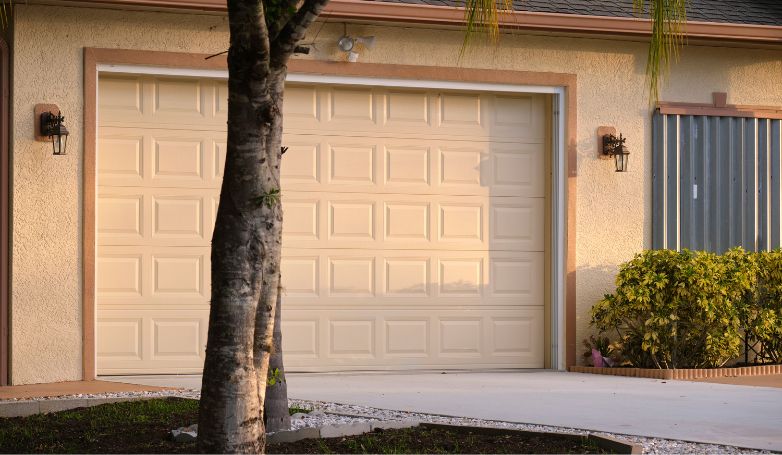
When it comes to installing concrete in driveways or lots, understanding the ideal environmental conditions is crucial for ensuring durability and aesthetic appeal. This comprehensive guide delves into the optimal temperature range and timing for concrete installation, addressing the risks associated with both low and high temperatures, and the importance of effective temperature management.
Temperature Range
The ideal temperature range for installing concrete is between 40 degrees Fahrenheit to 60 degrees Fahrenheit. Within this range, the chemical reactions necessary for strengthening concrete occur at an optimal rate. Temperatures below 40 degrees can significantly slow down these reactions, resulting in a weaker pavement. This temperature balance is crucial for ensuring the concrete sets properly, achieving the desired strength and durability.
Risks of Low-Temperature Installation
Installing concrete at or below 40 degrees Fahrenheit poses significant risks. In colder temperatures, the chemical processes in concrete slow dramatically, compromising its strength. Furthermore, if the temperature drops below freezing while the concrete is curing, the water inside can freeze. This expansion leads to cracking and structural weakness, significantly reducing the pavement’s lifespan and integrity.
High Temperature Challenges
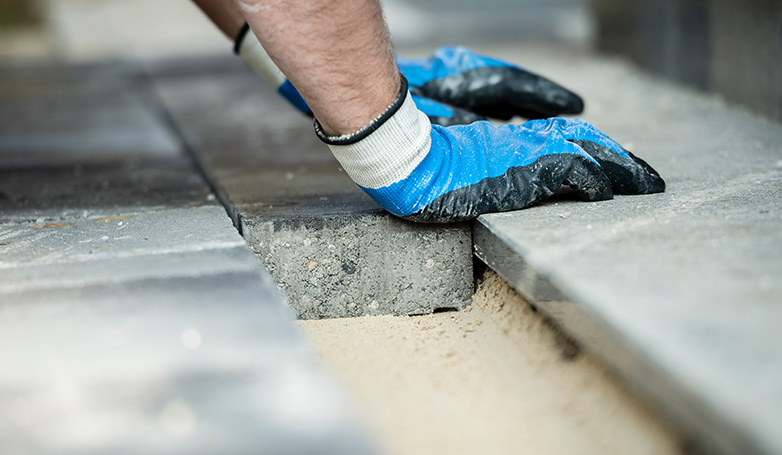
Conversely, installing concrete in temperatures above 77 degrees Fahrenheit can be equally problematic. High temperatures can cause rapid evaporation of the water necessary for hydrating and curing the concrete. This loss of moisture not only increases the concrete’s temperature but also leads to weakening, shrinking, and premature cracking. Therefore, managing the hydration process in hot conditions is critical to prevent these issues and ensure a sturdy and long-lasting pavement.
Timing and Temperature Management
In summary, maintaining the correct temperature range is vital for successful concrete installation. Proper temperature management ensures optimal chemical reactions for strength, prevents damage from freezing or overheating, and contributes to the overall durability and longevity of the concrete pavement. Adhering to these ideal conditions is key to achieving a strong, long-lasting concrete driveway or lot.
Why the Right Weather is so essential for a Successful Paving Project

The success of a paving project hinges significantly on the weather conditions during installation. ‘Optimal weather’ refers to the scenario where both base and air temperatures align with the requirements for paving. However, what exactly does this involve, and why is it so important?
Impact of Temperature on Pavement Quality
When the base and air temperatures are too low, the pavement material cools too rapidly and sets prematurely. This hastened cooling prevents achieving the desired compacted density, vital for pavement stability and longevity. In particular, the thicker layers of pavement are slower to cool than thinner ones, leading to uneven density and strength across the pavement.
Challenges with Low Ambient or Base Temperatures
If the ambient or base temperature is low, the pavement material cools quicker than desired. This rapid cooling affects the material’s density, leading to weak spots and potentially causing the pavement to deteriorate prematurely. Such conditions can result in a pavement with a rough, rocky, and unraveled surface, significantly reducing its lifespan and increasing maintenance needs.
The Importance of Temperature in Paving Durability
A pavement that cools too quickly will retain more water, accelerating the unraveling process and reducing its overall life expectancy. To avoid these issues, it’s imperative to monitor several key factors during the paving process:
- Wind velocity
- Base temperature
- Ambient temperature
- Hot mix asphalt temperature (specifically for asphalt installations)
In summary, understanding and adhering to the optimal weather conditions is a critical component in ensuring the durability and quality of your paving project.
How to Prepare Your Property for Paving
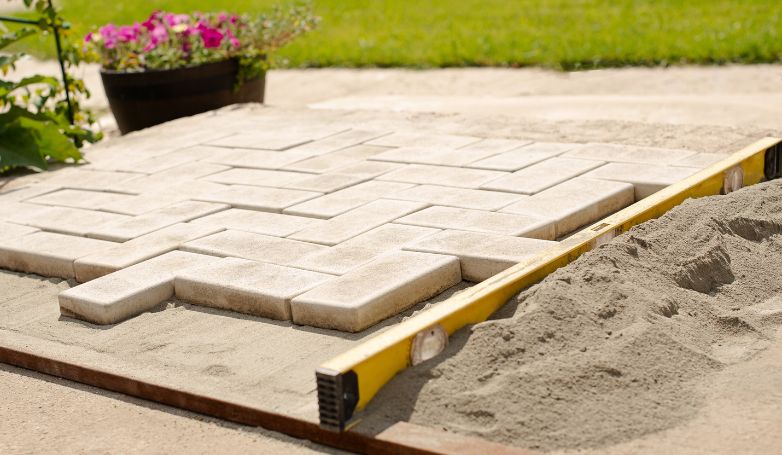
You cannot begin laying the asphalt/concrete mix as soon as you decide to pave your property. You need to undergo extensive preparations to ready the site paving. For preparing the area, here is what you need to do:
- Area excavation- you first have to excavate the area where the pavement material will go. Mark out the site and dig down to the depth you require for the base layers. Along with flattening the foundation’s bottom thoroughly, you must also clear all large rubble from underneath.
- Flattening- using a plate compactor, the next step is compacting and flattening the earth. The compactor helps with flattening and leveling the earth for a firm base. You will have to repeat this step after each base layer for perfect leveling.
- Access road- the workers need an access route for transporting equipment and material to and fro from your property. Hence, you may have to build a temporary access road with their help.
- Demolition and clearing- the project site needs to be clear of vegetation, debris, trees, and rocks. Demolition of the obstacles and clearing them off is essential.
What to Plan for when paving a New Driveway/Lot
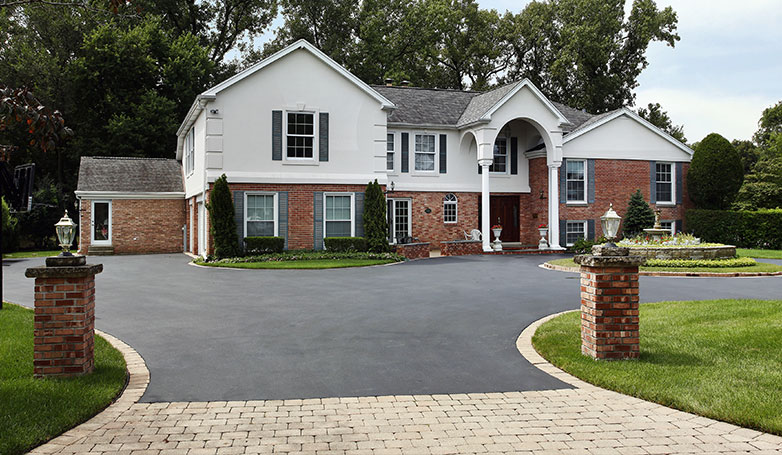
A new driveway demands attention to detail and careful planning. Remember, it is a structure that has to last you for years and return your value for money; hence it is only right to give it your best shot.
But what defines the success of a driveway or lot? The answer is thickness of the asphalt and a proper drainage system. Let’s discuss these factors in details below:
Proper Thickness of Asphalt
Residential driveways do not need to bear heavy traffic loads: they cater to a small number of vehicles at the most. That too, at slow speeds. Hence, the proper thickness would be 3″ for this use. This thickness further compacts to 2 ½ “.
By combining your carefully compacted sub-base with this thickness, you get the optimal measurement for a reliable and long-lasting residential driveway.
The problem with applying a thick asphalt layer in residential driveways is that it does not compact well and, with time, causes depressions on your surface.
Proper Drainage
One of the greatest enemies of a driveway is the freeze/thaw cycle. It damages the structure and deforms asphalt faster than it should. You can prevent the devastation of water infiltration by installing a proper draining system for your new driveway.
A proper drainage system will also minimize the damage from flooding on your new driveway. You may also consider installing a linear drainage system for your residential lot. It will help drain the water along the entire length of the pavement.
Final Thoughts
The ideal season for paving projects begins from late spring to early fall because it does not freeze to an unfavorable extent. Furthermore, the temperature conditions and wind velocity also remain feasible for paving projects.
The success and maximum life of a pavement depend on how well you built it and how well you selected the season, temperature, and time of the year. All of these factors play a significant role in extending the best performance of your paving materials and structure.


