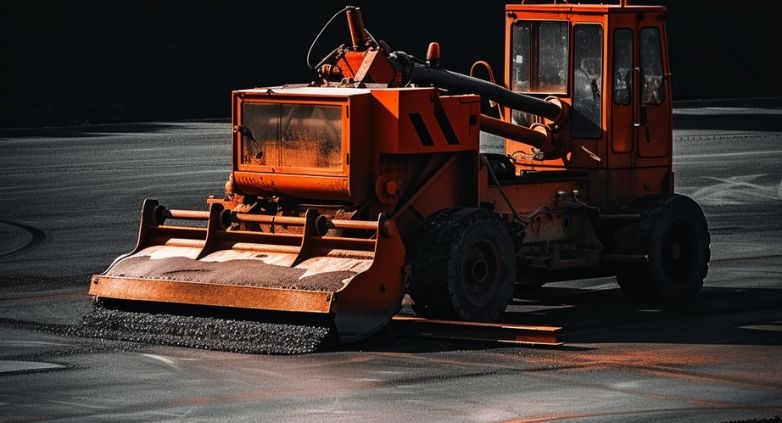
Infrared Asphalt Repair – 7 Steps to Pavement Renewal
Infrared Asphalt Repair offers a cutting-edge solution for fixing pavement issues. This method is efficient, cost-effective, and ensures a seamless repair process.
Infrared Asphalt Repair utilizes infrared technology to heat the damaged asphalt area, allowing for easy removal of the deteriorated asphalt. This process involves seven critical steps: heating the damaged area, removing the damaged asphalt, preparing the repair site, adding new asphalt mix, compacting the new mix, blending the repair area with the surrounding pavement, and finally, cooling the repaired site. This method not only repairs but also rejuvenates the asphalt, restoring its original condition while improving its longevity and appearance.
Discover more about how Infrared Asphalt Repair can transform your pavement, making it look and perform like new again.
Explanation of the Infrared Heating Process
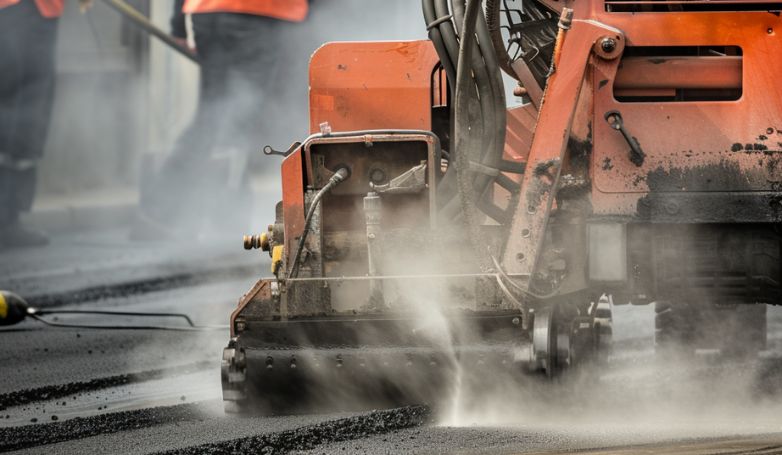
This repair method is an innovative technique, designed for efficient and seamless pavement restoration. This process uses infrared technology to evenly heat and soften the damaged asphalt layer, making it malleable for reshaping or integration with new material.
Unlike traditional methods that can be invasive and time-consuming, infrared heating is quick and non-disruptive to the surrounding pavement. It precisely targets the repair area, preserving the integrity of the existing asphalt while preparing it for the subsequent steps of the repair process. This method ensures a high-quality repair that merges seamlessly with the original pavement, extending its lifespan and enhancing its appearance.
Types of equipment used in Infrared Asphalt Repair
To ensure the highest quality and efficiency in this repair method, a specific set of tools and equipment is essential. These tools are designed to address the unique requirements of heating, removing, and replacing the damaged asphalt. Let’s explore the key equipment:
Infrared heaters
Central to the repair process, these devices emit precise infrared rays to uniformly heat the damaged pavement section. Targeted treatment of specific areas is ensured through adjustable settings, allowing the asphalt to be prepared without overheating or harming adjacent sections. Their versatility makes them suitable for various repair sizes, from small cracks to larger potholes.
Asphalt reclaimer
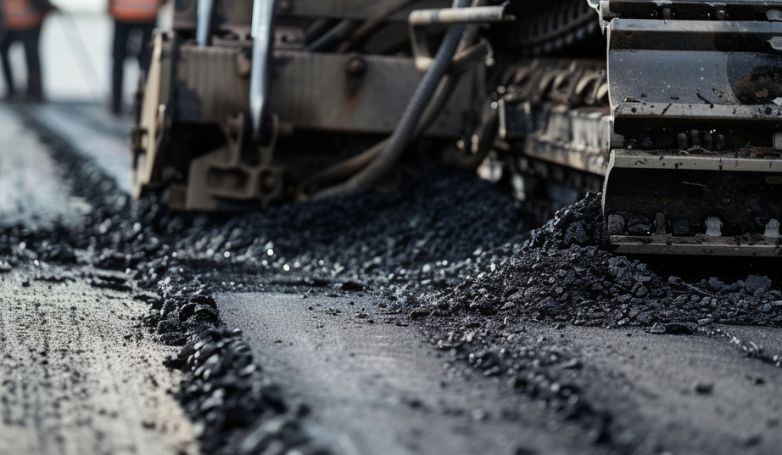
Critical for maintaining the new asphalt mix at the optimal temperature, asphalt reclaimers ensure the material is ready for immediate use. This equipment is essential for keeping the repair process efficient, allowing for quick compaction and seamless blending with the existing pavement.
Other essential tools
Completing the repair requires a suite of supporting tools. Rakes and lutes help evenly spread the new asphalt, while compactors ensure a smooth, dense finish. Infrared thermometers keep a close watch on temperatures, ensuring the material is within the ideal range for durability and adherence. Safety equipment protects workers from the intense heat and materials involved in the repair.
How to Perform Infrared Asphalt Repair in 7 Steps
Infrared Asphalt Repair is a cutting-edge technique designed to efficiently mend pavement damages, extending the lifespan of asphalt surfaces. Here are the seven critical steps that are involved in the process:
1. Clean the damaged area
The initial step in infrared asphalt repair involves meticulous cleaning of the area targeted for repair. It’s imperative to remove all forms of debris, including leaves, stones, and loose asphalt bits, to ensure a clean surface. This cleanliness is crucial for the effectiveness of the infrared heating process, as any remaining debris can hinder the proper adhesion of the new asphalt to the old layer. A clean surface also facilitates a more efficient heating process, allowing the infrared rays to penetrate the asphalt evenly and thoroughly, setting the stage for a successful repair.
2. Preheat the infrared asphalt repair equipment
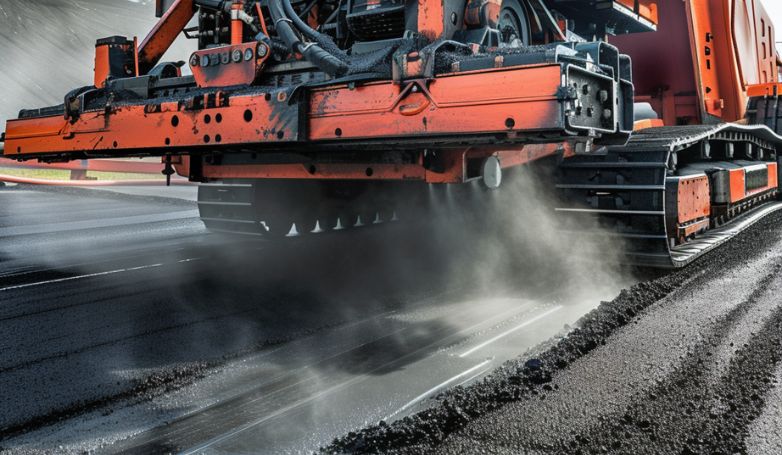
This involves activating the infrared heater ahead of the actual repair to bring it up to the optimal operating temperature. Proper preheating ensures that the equipment is ready to deliver consistent and effective heat distribution across the damaged asphalt area. This step is vital for achieving the desired softening of the existing asphalt, which is necessary for the removal of the deteriorated material and the successful incorporation of the new asphalt mix. Ensuring the equipment is preheated to the right temperature maximizes the efficiency of the repair process.
3. Place the infrared heater over the damaged area
Once the equipment is preheated, the next step is to position the infrared heater directly over the damaged section of the asphalt. This placement is critical for targeting the repair area with precise heat application. The infrared technology allows for deep penetration of heat, softening the asphalt without damaging the surrounding area. This targeted heating is what makes this restoration approach particularly effective for blending the repair seamlessly with the existing pavement. The heater’s design enables it to cover the exact dimensions of the damage, ensuring a focused and efficient repair process.
4. Heat the asphalt to the specified temperature
Heating the asphalt involves maintaining the heater over the damaged area for a predetermined amount of time to reach the specified temperature. This temperature control is essential for softening the asphalt to the correct consistency for repair, without overheating. The process relies on the infrared heater’s ability to evenly distribute heat, ensuring that the entire repair area is uniformly softened. This step is crucial for preparing the asphalt for the removal of damaged material and the addition of new asphalt, facilitating a smooth and effective repair.
5. Rake and smooth the softened asphalt
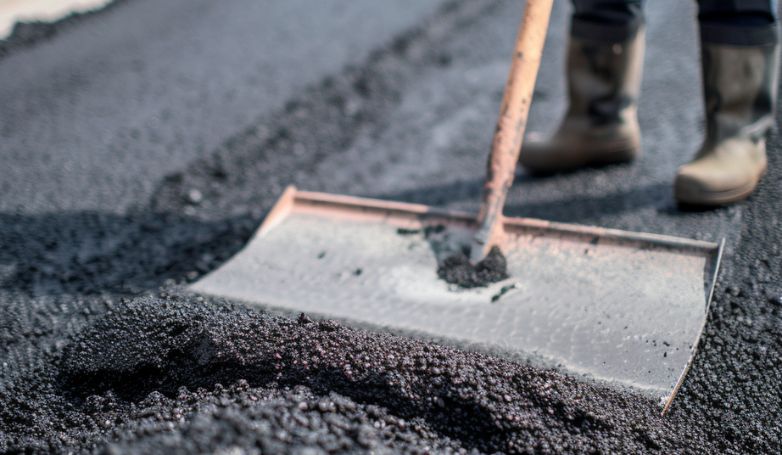
After the asphalt has been heated and softened, it is then raked to remove any deteriorated material and to prepare the base for the new asphalt. This step is crucial for creating a uniform and smooth surface, ensuring that the new asphalt will adhere properly and blend seamlessly with the existing pavement. The raking process also allows for the adjustment of the asphalt’s grade and contour, improving water drainage and the overall aesthetics of the repair area.
6. Compact the repaired area with a compactor
Once the new asphalt is applied and shaped to match the existing pavement, a compactor is used to densely press the material into place. This compaction ensures that the repaired area is solid, durable, and seamlessly integrated with the surrounding pavement. Proper compaction prevents future settlement or displacement of the new asphalt, extending the life of the repair and maintaining the smoothness of the pavement surface.
7. Seal the repaired section with asphalt sealer if necessary
The final step in this repair method may involve applying an asphalt sealer over the repaired area. This sealer acts as a protective layer, shielding the new asphalt from water penetration, UV damage, and chemical spills. While not always required, sealing can significantly extend the lifespan of the repair by preventing premature wear and tear. It also enhances the visual appeal of the asphalt, giving it a fresh, uniform look that matches the rest of the pavement.
Advantages of Infrared Asphalt Repair
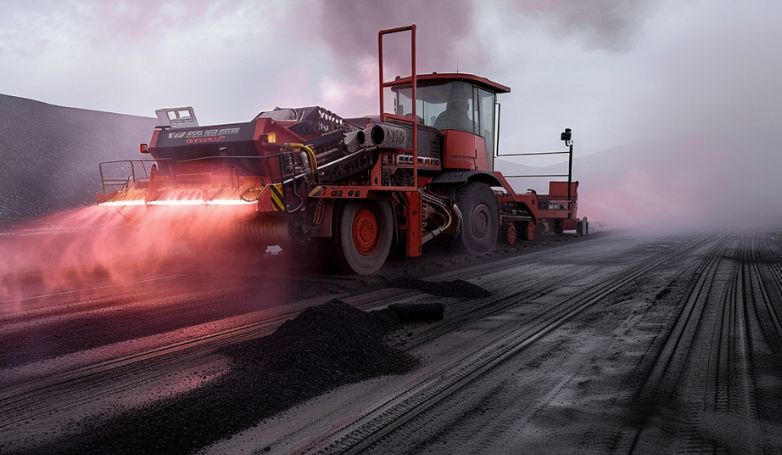
It offers a host of benefits that make it a preferred choice for pavement maintenance and repair. Here are the key advantages:
Faster repair process
This restoration approach significantly accelerates the repair timeframe compared to traditional methods. By directly heating the damaged area, it allows for quick softening, reshaping, and compaction of the asphalt. This process streamlines repairs, enabling them to be completed in a fraction of the time, thereby swiftly restoring pavement functionality.
Cost-effective
This repair technique is notably cost-efficient, eliminating the extensive labor and material costs associated with full pavement replacement. By focusing on the damaged area alone and utilizing existing asphalt, it reduces the need for new materials, cutting down on expenses. Additionally, the longevity of repairs minimizes future spending on maintenance and repairs.
Seamless and durable repairs
The infrared method produces repairs that are not only aesthetically pleasing but also durable. The seamless integration of new and old asphalt prevents water penetration and future cracking, enhancing the repair’s resilience against wear and tear. This method ensures the repaired surface matches the surrounding area, maintaining pavement integrity.
Minimizes traffic disruption
One of the key advantages is its minimal impact on traffic flow. Since repairs are completed quickly and often require only a small section of the road to be blocked off, disruptions are significantly reduced. This aspect is particularly beneficial in high-traffic areas, ensuring roads remain accessible while undergoing maintenance.
Improves pavement longevity
Infrared asphalt repair extends the life of pavement by addressing not just surface damage but also underlying issues without extensive excavation. By heating and blending the existing asphalt, it restores the structural integrity of the pavement, preventing future damages and prolonging its overall lifespan. This method sustains pavement condition over time, delaying the need for complete overhauls.
Disadvantages Of Infrared Asphalt Repair
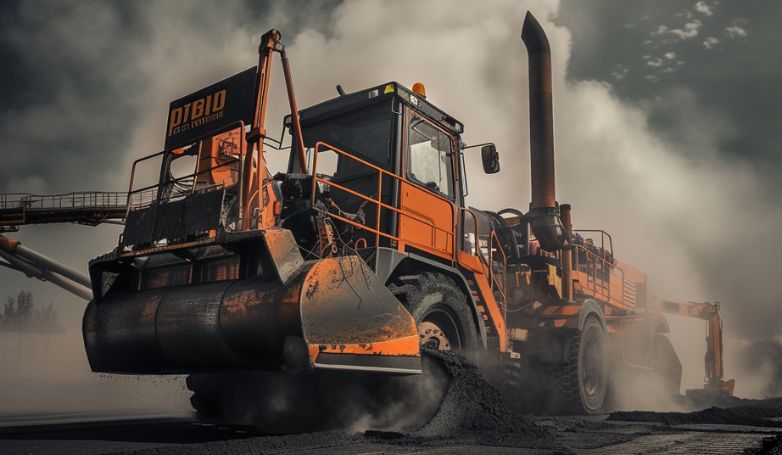
While Infrared Asphalt Repair presents numerous advantages, it’s essential to consider its limitations and challenges. Here are some of the disadvantages:
Initial high equipment cost
The upfront cost for acquiring infrared asphalt repair equipment can be substantial. This includes the purchase of infrared heaters and other necessary tools for the repair process. For organizations or contractors just starting out, this initial investment might pose a financial challenge. However, it’s important to consider the long-term savings in labor and materials, which can offset the initial expense over time.
Skill and training required for proper application
Operating infrared repair equipment and executing the repair process efficiently require specialized skills and training. The effectiveness of the repair greatly depends on the operator’s ability to correctly apply the infrared technology, including temperature control and timing. Committing to ongoing training and education for personnel becomes necessary, which can entail additional costs and operational considerations.
Limited effectiveness for certain types of pavement distress
While highly effective for many repair scenarios, infrared asphalt repair is not a one-size-fits-all solution. It may not be the best method for addressing certain types of pavement distress, such as deep structural failures or issues extending beyond the asphalt layer into the base.In such cases, those specific situations might require more extensive repair methods, limiting the applicability of infrared technology.
Infrared Asphalt Repair Cost
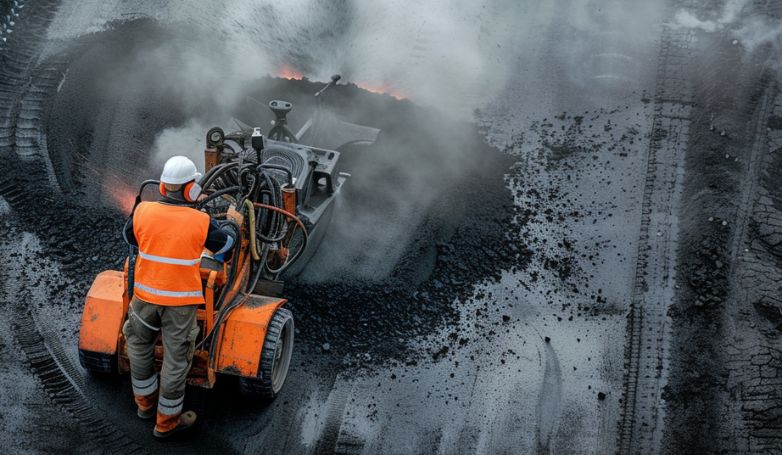
The cost of Infrared Asphalt Repair varies widely, influenced by factors like location, damage extent, and contractor rates. Here’s a streamlined overview:
- Small Repairs: Minor issues might cost between $100 to $300, reflecting the reduced materials and labor required.
- Larger Areas: More extensive repairs can range from $2 to $4 per square foot, due to increased material, time, and labor.
- Full Projects: For comprehensive work, including multiple patches or significant sections, costs could escalate to between $1,000 and $5,000 or beyond, encompassing setup, labor, materials, and equipment use.
Contractors facing high initial equipment costs, potentially between $30,000 to $150,000, might reflect this in service pricing. For precise, up-to-date rates, it is recommended to obtain direct quotes from local providers since they can offer detailed assessments tailored to specific project needs.
Considerations and Challenges
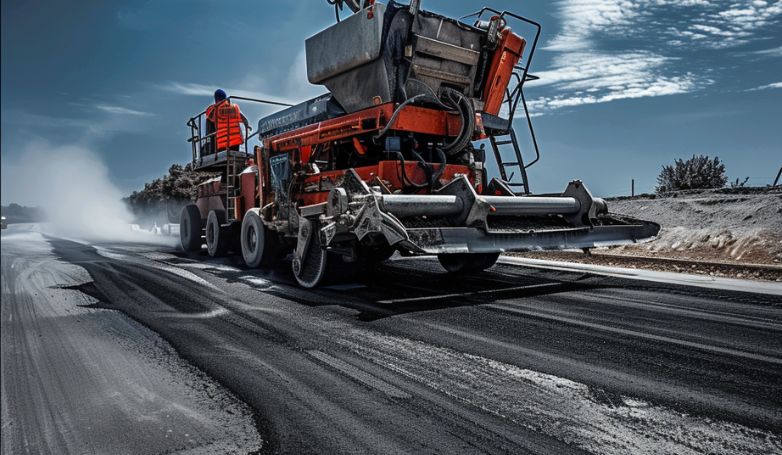
While offering a promising solution for pavement maintenance, Infrared Asphalt Repair needs to address several considerations and challenges for its successful application.
Temperature and weather constraints
The efficacy of infrared asphalt repair is highly dependent on ambient temperature and weather conditions. Optimal conditions are required for the infrared technology to effectively soften the asphalt for repair. Extremely cold or wet weather can hinder the heating process, making it difficult to achieve the desired asphalt consistency. This limitation can restrict the repair schedule to specific seasons or weather conditions, potentially delaying urgent repairs.
Training and expertise
Proficiency in infrared asphalt repair demands specialized training and expertise. Operators must be well-versed in handling the equipment, understanding the nuances of temperature control, and executing the repair process with precision. This expertise is crucial to avoid common pitfalls such as overheating the asphalt, which can compromise the repair’s integrity. Investing in comprehensive training programs is essential to equip personnel with the necessary skills, but this can pose a challenge for organizations with limited resources.
Material Compatibility
Ensuring compatibility between the existing asphalt and the new repair material is vital for a seamless and durable repair. The type of asphalt mix, its age, and its condition can affect the outcome of the repair process. In some cases, finding a compatible material that blends well with the old asphalt and adheres properly can be challenging. This consideration requires a thorough assessment of the pavement and, sometimes, custom solutions to match the repair material with the existing pavement, adding complexity to the repair process.
FAQs about Infrared Asphalt Repair
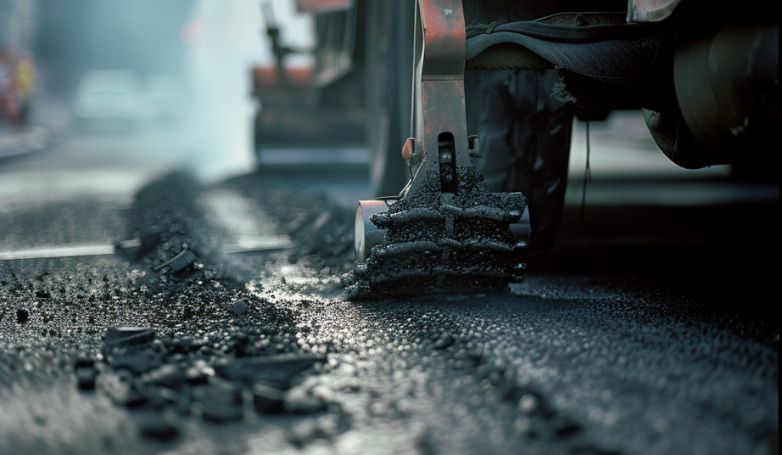
Here are some frequently asked questions that aim to provide clarity on this innovative repair technique:
What is infrared asphalt patching?
Infrared asphalt patching utilizes infrared technology to heat and soften existing damaged asphalt, enabling reworking or supplementation with new material. This process facilitates the blending of new and old asphalt seamlessly, repairing potholes, cracks, and other surface imperfections without the need for cutting out large sections of pavement. It’s a quick, efficient, and environmentally friendly way to extend the life of asphalt surfaces.
How do you heat up asphalt to repair?
Heating asphalt for repair involves using an infrared heater, which emits infrared rays directly onto the damaged asphalt surface. The heater is positioned over the area needing repair, and the asphalt is heated to a specific temperature that allows it to become malleable. This process typically takes about 7 to 10 minutes, depending on the existing asphalt’s condition and the ambient temperature. Once it softens, you can easily manipulate the asphalt, allowing for effective repairs.
How long does asphalt repair last?
The longevity of an infrared asphalt repair can vary based on several factors, including the quality of the repair work, the condition of the existing asphalt, and the environment. Generally, repairs made using infrared technology are long-lasting and can extend the life of the pavement significantly. When properly executed, infrared asphalt repairs can last for several years, often as long as the surrounding undamaged asphalt. This durability results from the seamless integration of the new and old asphalt, which reduces the likelihood of water penetration and future damage.
Conclusion
In conclusion, Infrared Asphalt Repair represents a significant advancement in pavement maintenance, offering a swift, cost-effective, and durable solution for repairing asphalt surfaces. While it comes with its set of challenges, such as initial equipment costs, the need for specialized training, and material compatibility, the benefits far outweigh these considerations. By addressing common concerns through FAQs and understanding the intricacies of the process, property owners and maintenance professionals can leverage this technology to extend the life of their pavements, ensuring a smooth, safe, and aesthetically pleasing surface for years to come.

